Console walkthrough
Experimental: this is a visual tour of the proof-of-concept console UI. Prefer the other getting-started pages for exact prerequisites and security notes.
v0.2 note: the catalog screenshots on this page are the previous console capture. In v0.2, use the Apps page and Library tab instead of Catalog for Helm chart publish and install. The Deploy first app and FleetApp pages describe the current flow. You must select the target cluster on each install — there is no placement engine. The YAIDAP VM guest section is the current Apps-era site host flow.
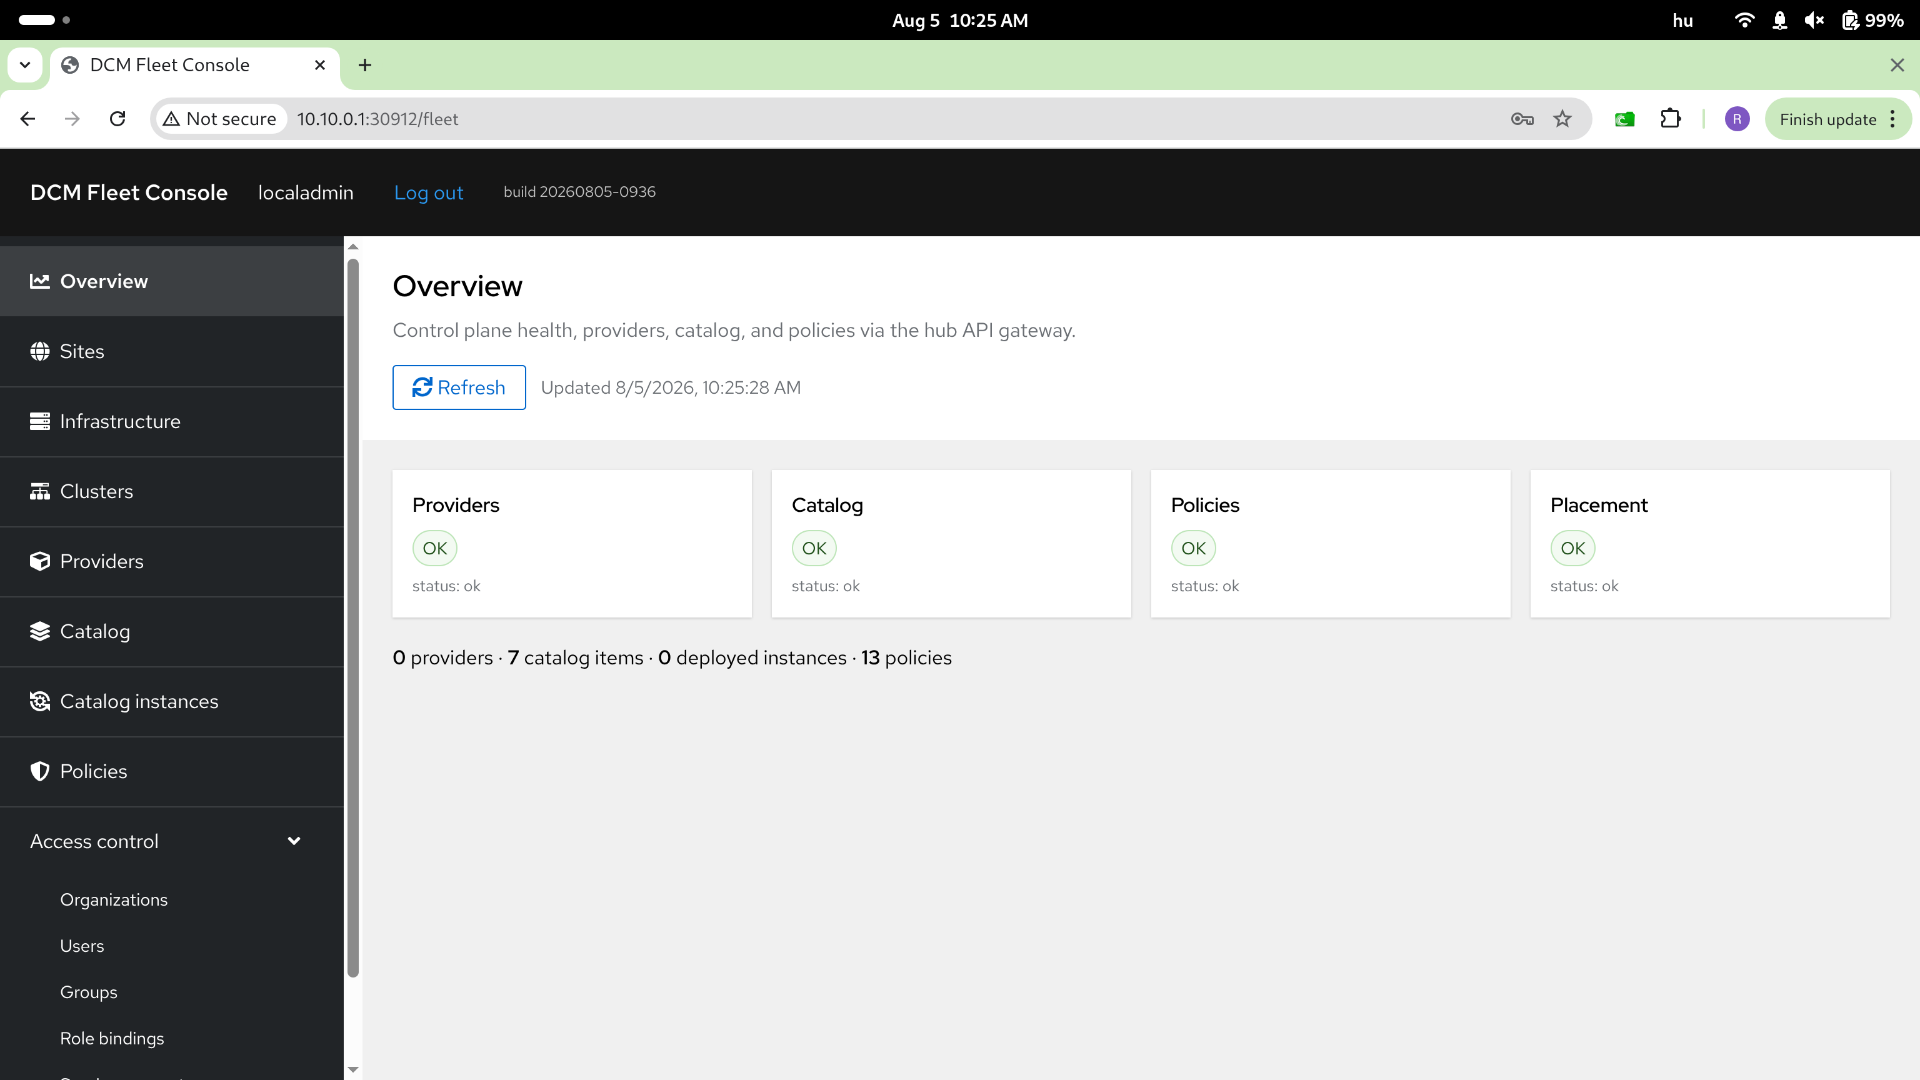
This is the UI of the UMKIM hub. On the left side are the navigation tabs for Sites, Clusters, Apps, Infrastructure, and related views.
1. Create a site
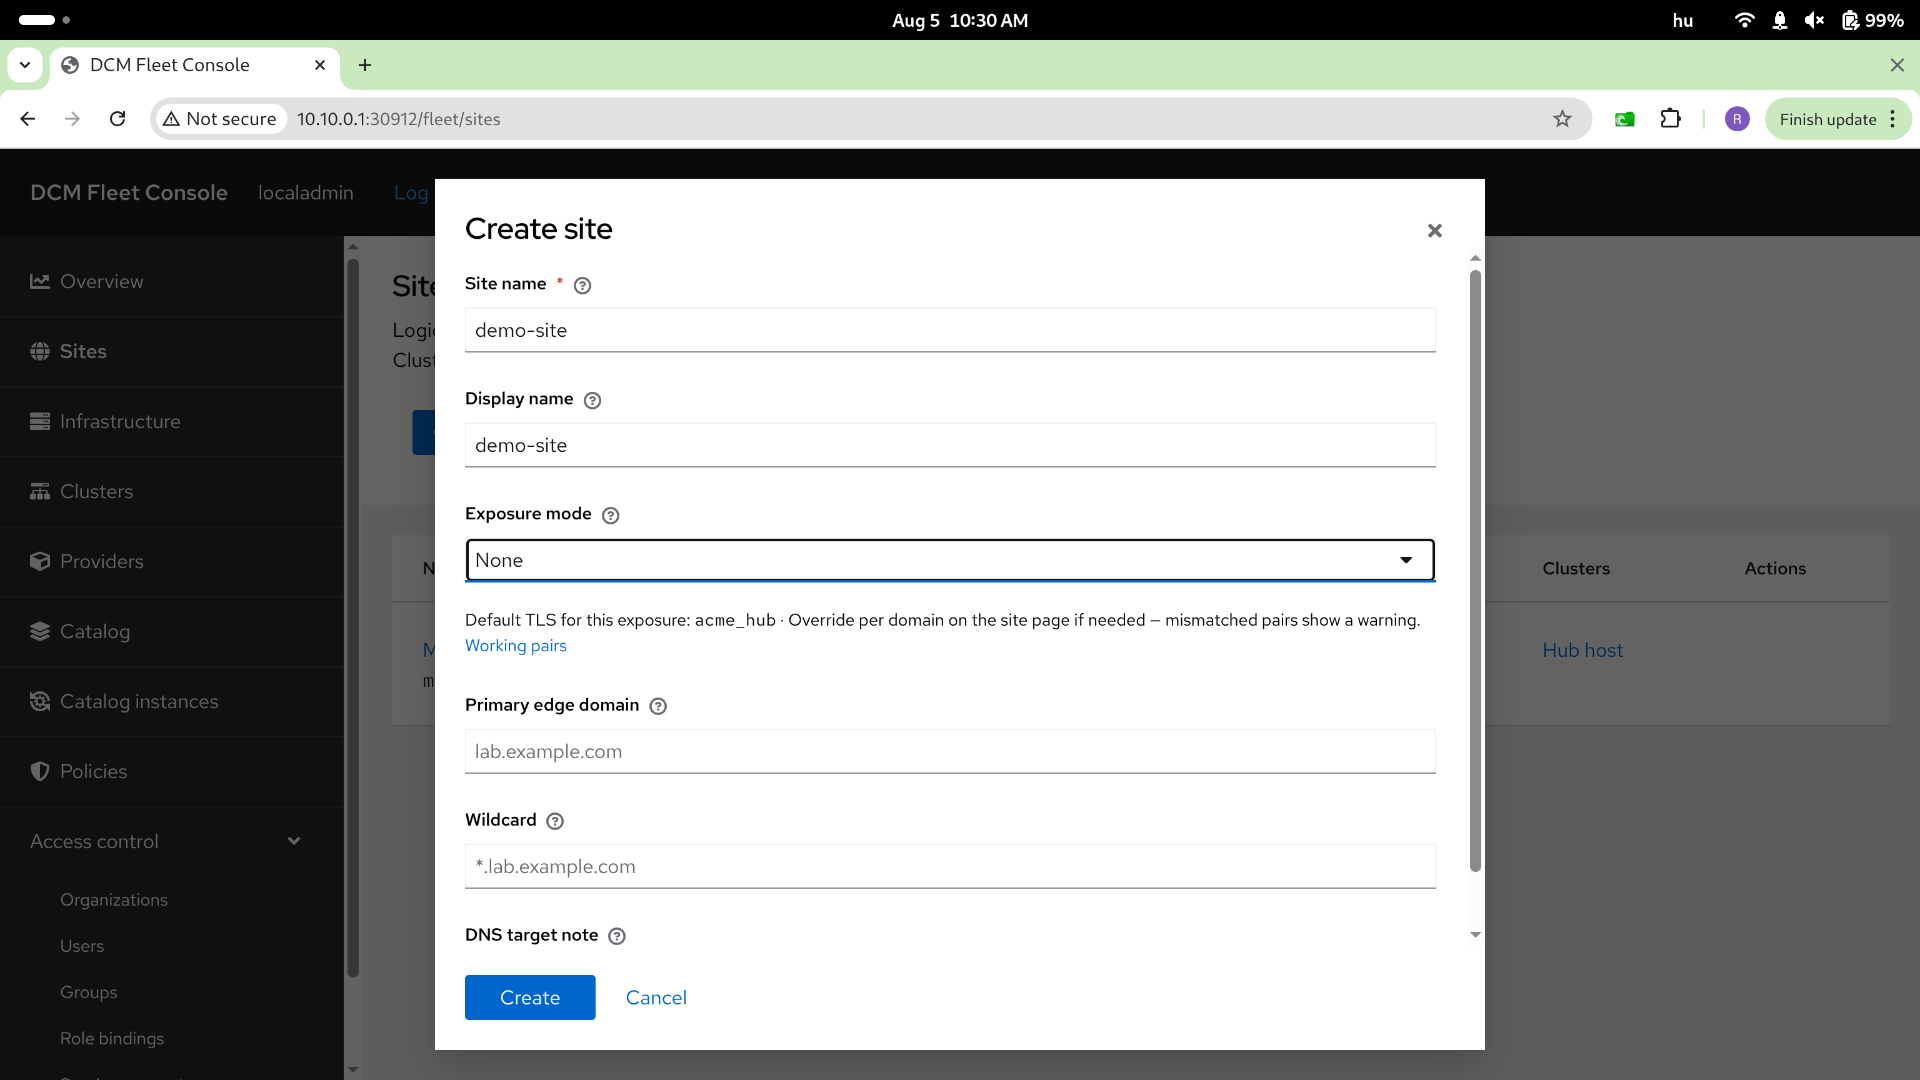
Section titled “1. Create a site”A site is a logical group for clusters with named ingress entries (port_forward / reverse_proxy) and an optional hubGateway toggle.
YAIDAP VM guest
Section titled “YAIDAP VM guest”This section is the current Apps-era site host flow. The catalog screenshots later on this page are the previous console capture.
Console is the fleet UI. On site homelab (jumphost linux@jump.otthol.hu:30200), open Provisioner inventory.
Hypervisors in this lab: virt01 172.16.10.2, virt02 172.16.10.3, virt04 172.16.10.6. virt03 172.16.10.4 is bare metal (lab-single-0), not a libvirt guest.
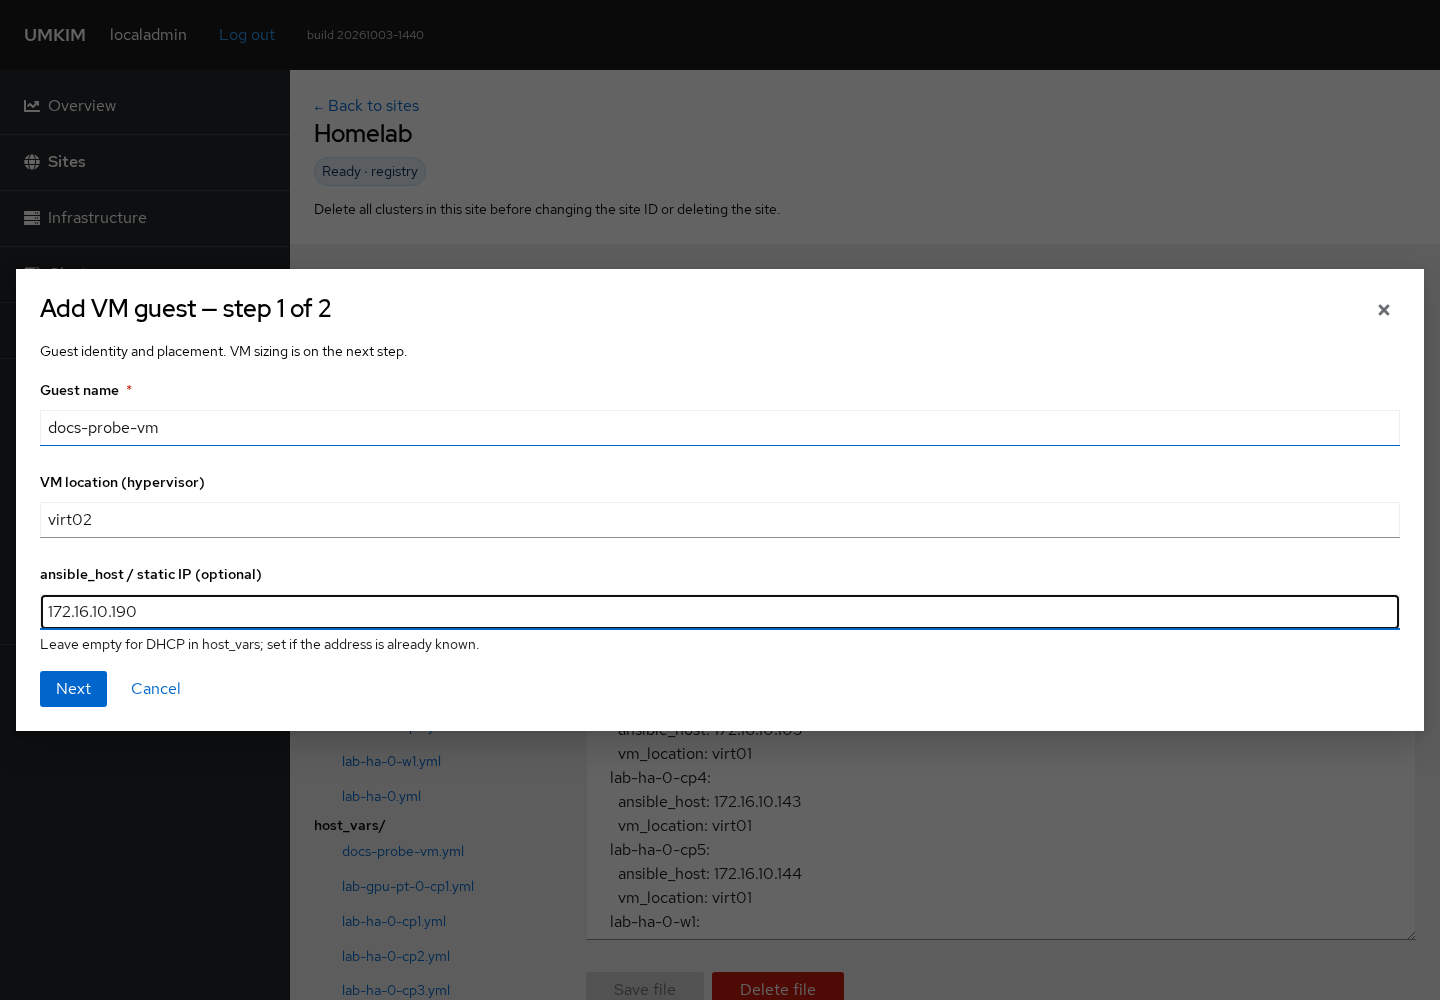
The Add VM guest form defaults are 2 CPU, 4096 MiB, and 40 GiB. This lab guest is docs-probe-vm on virt02 at 172.16.10.190.
Add VM guest, step 1: Guest name, VM location (hypervisor name such as virt02 at 172.16.10.3, or least-utilized), and optional ansible_host / static IP on the lab LAN 172.16.10.0/24.
Step 2: CPU cores, memory MiB, and boot disk GiB. Leave GPU passthrough unchecked unless the guest is a GPU passthrough VM on a prepared hypervisor (virt04 is 172.16.10.6).
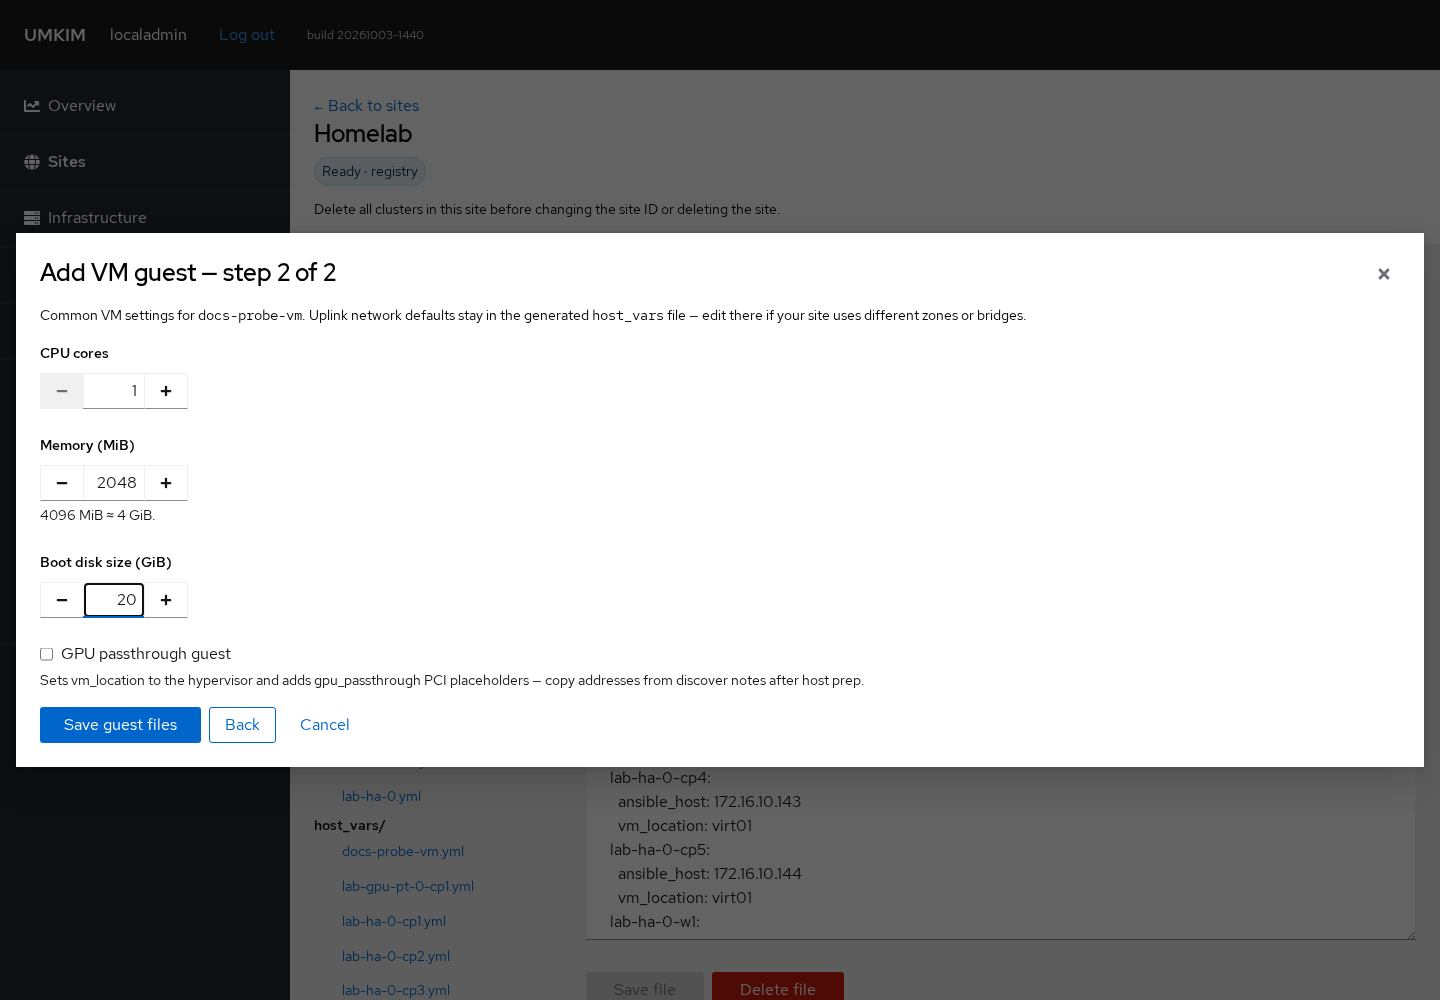
Save guest files writes guests.yml and host_vars/{name}.yml. The host_vars file includes a top-level ansible_host line when a static IP was entered (create_vm requires that line), os: rocky-10, provisioning_provider: libvirt, and configure_firewalld: false. The generated host_vars file uses MAC 52:54:00:00:00:01 unless you edit it. Change that address when another guest already uses it, then Save file.
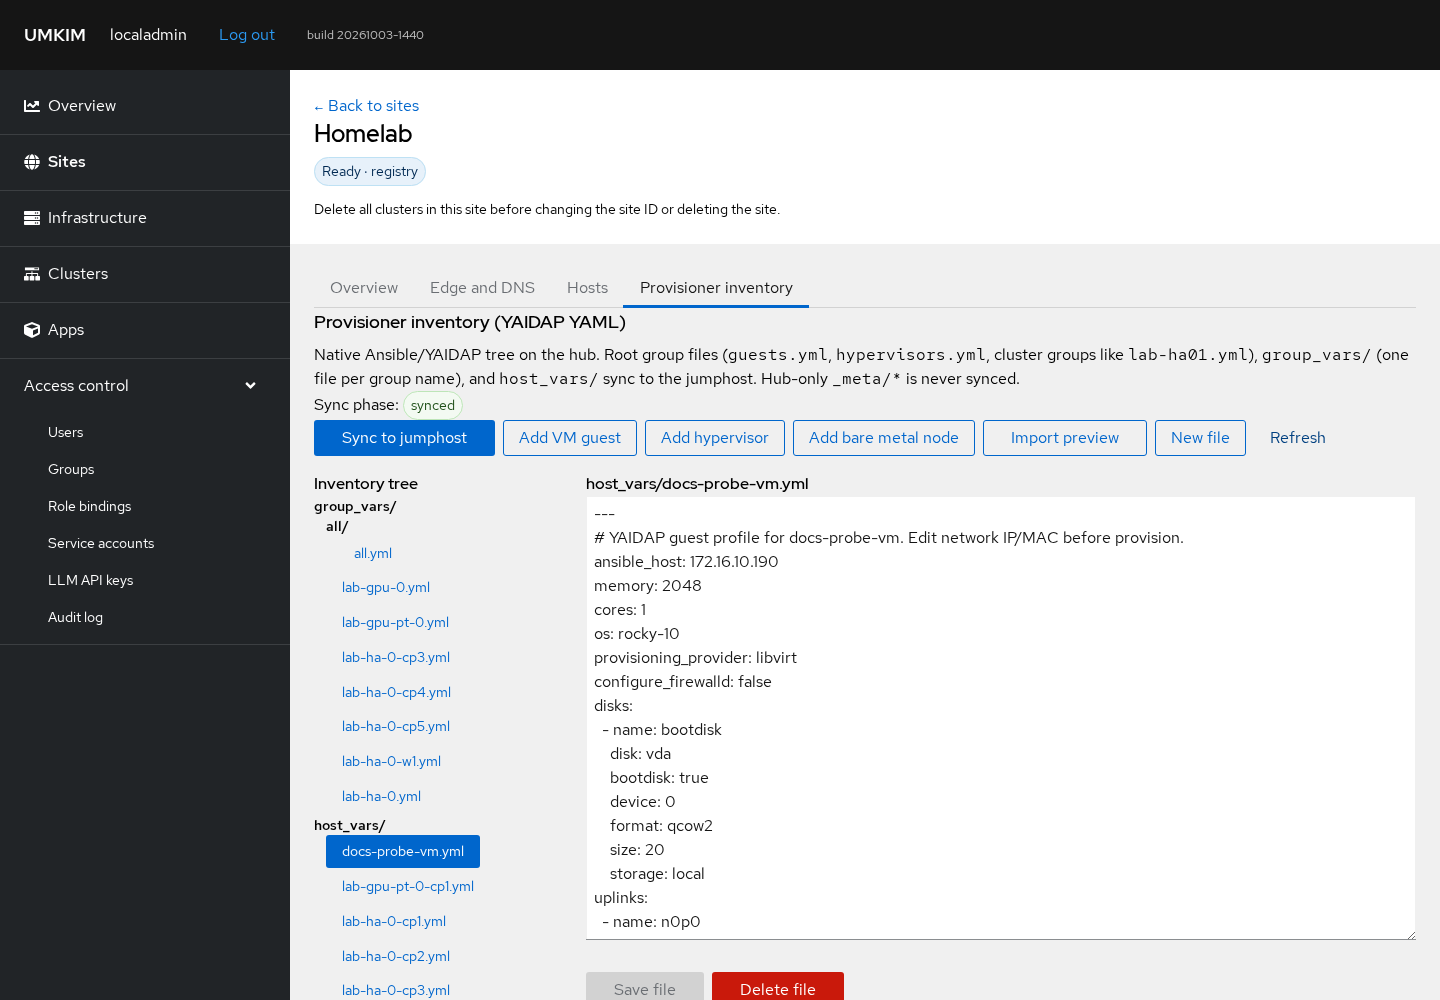
Sync to jumphost and wait until Sync phase is synced.
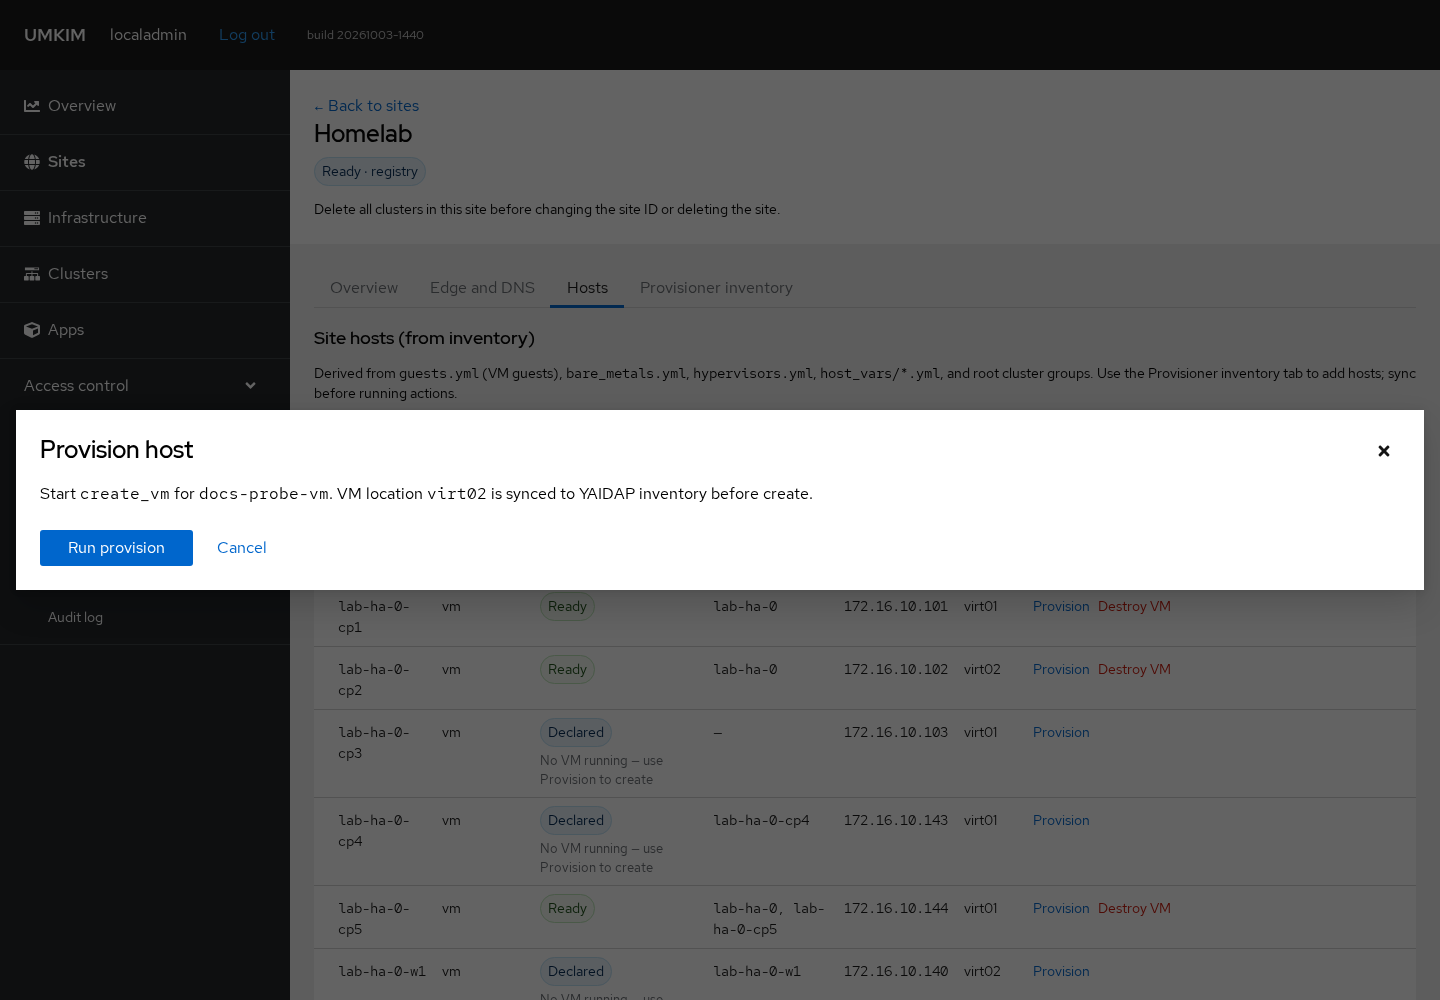
On the Hosts tab, choose Provision, then Run provision. That starts YAIDAP create_vm. A new guest does not need the confirm checkbox. Phase goes Declared, Provisioning, Ready. The libvirt domain is on the hypervisor named by vm_location.
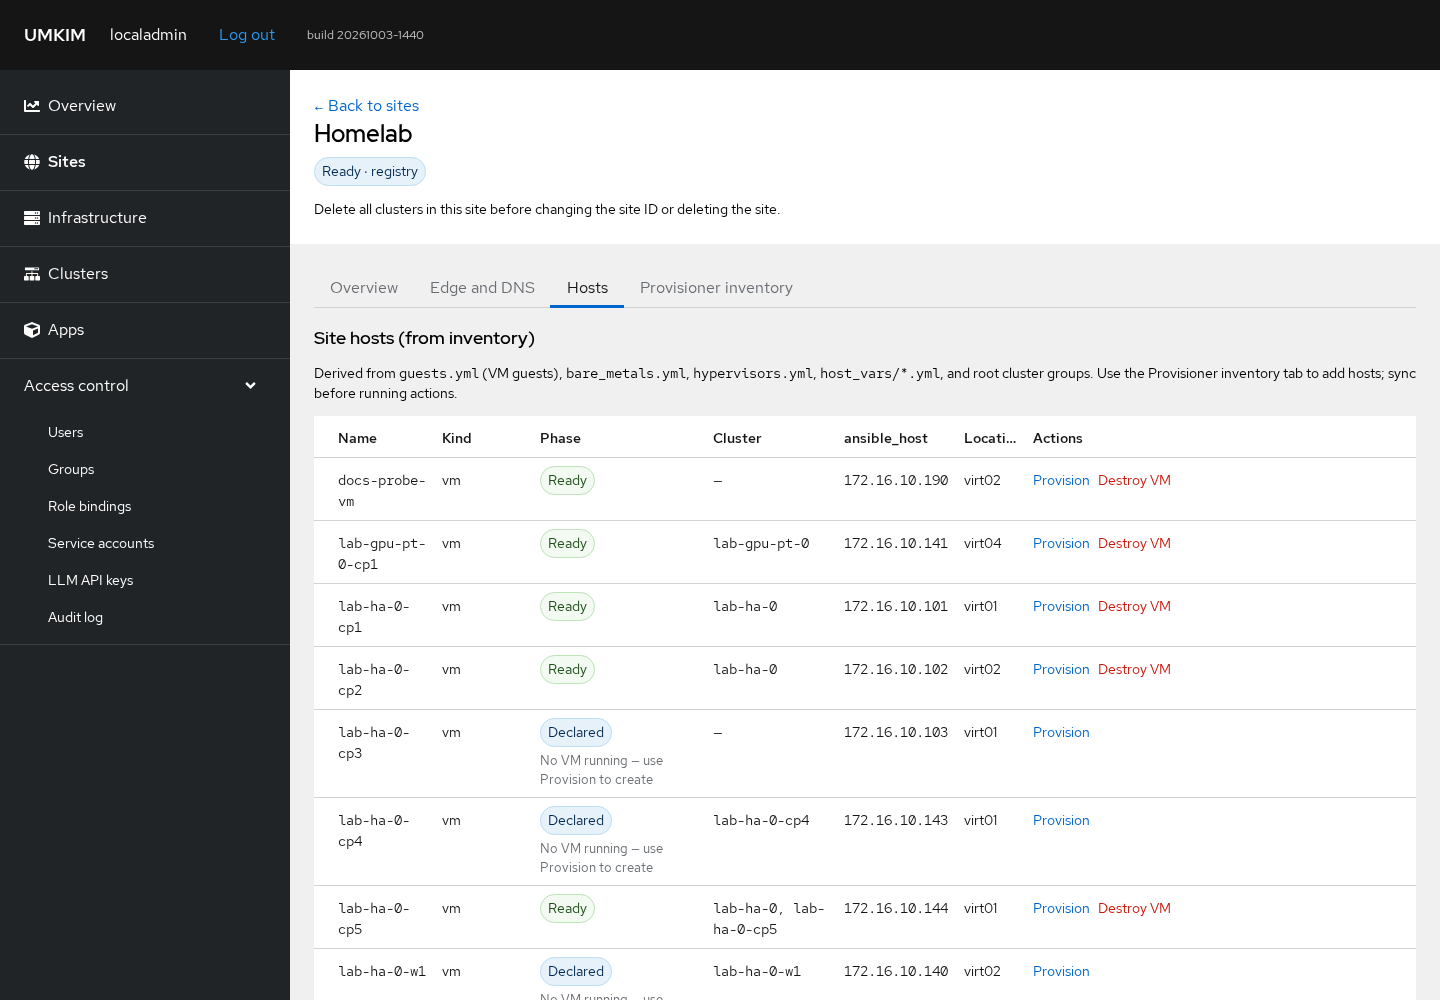
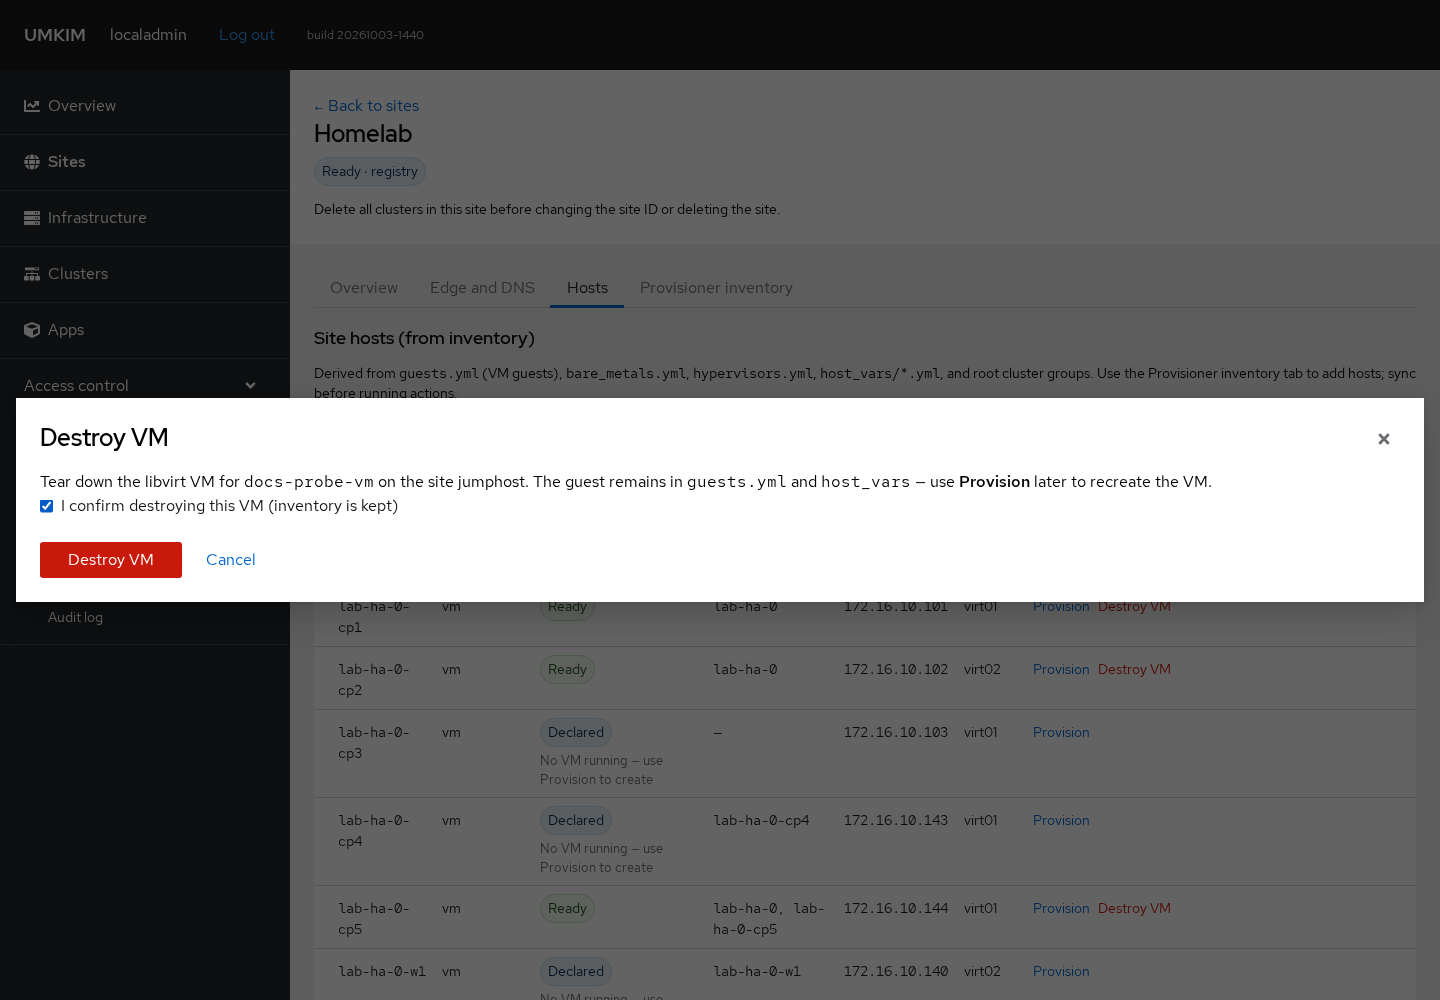
Destroy VM removes the libvirt domain and keeps the guest in guests.yml and host_vars. Confirm the checkbox before the destroy button.
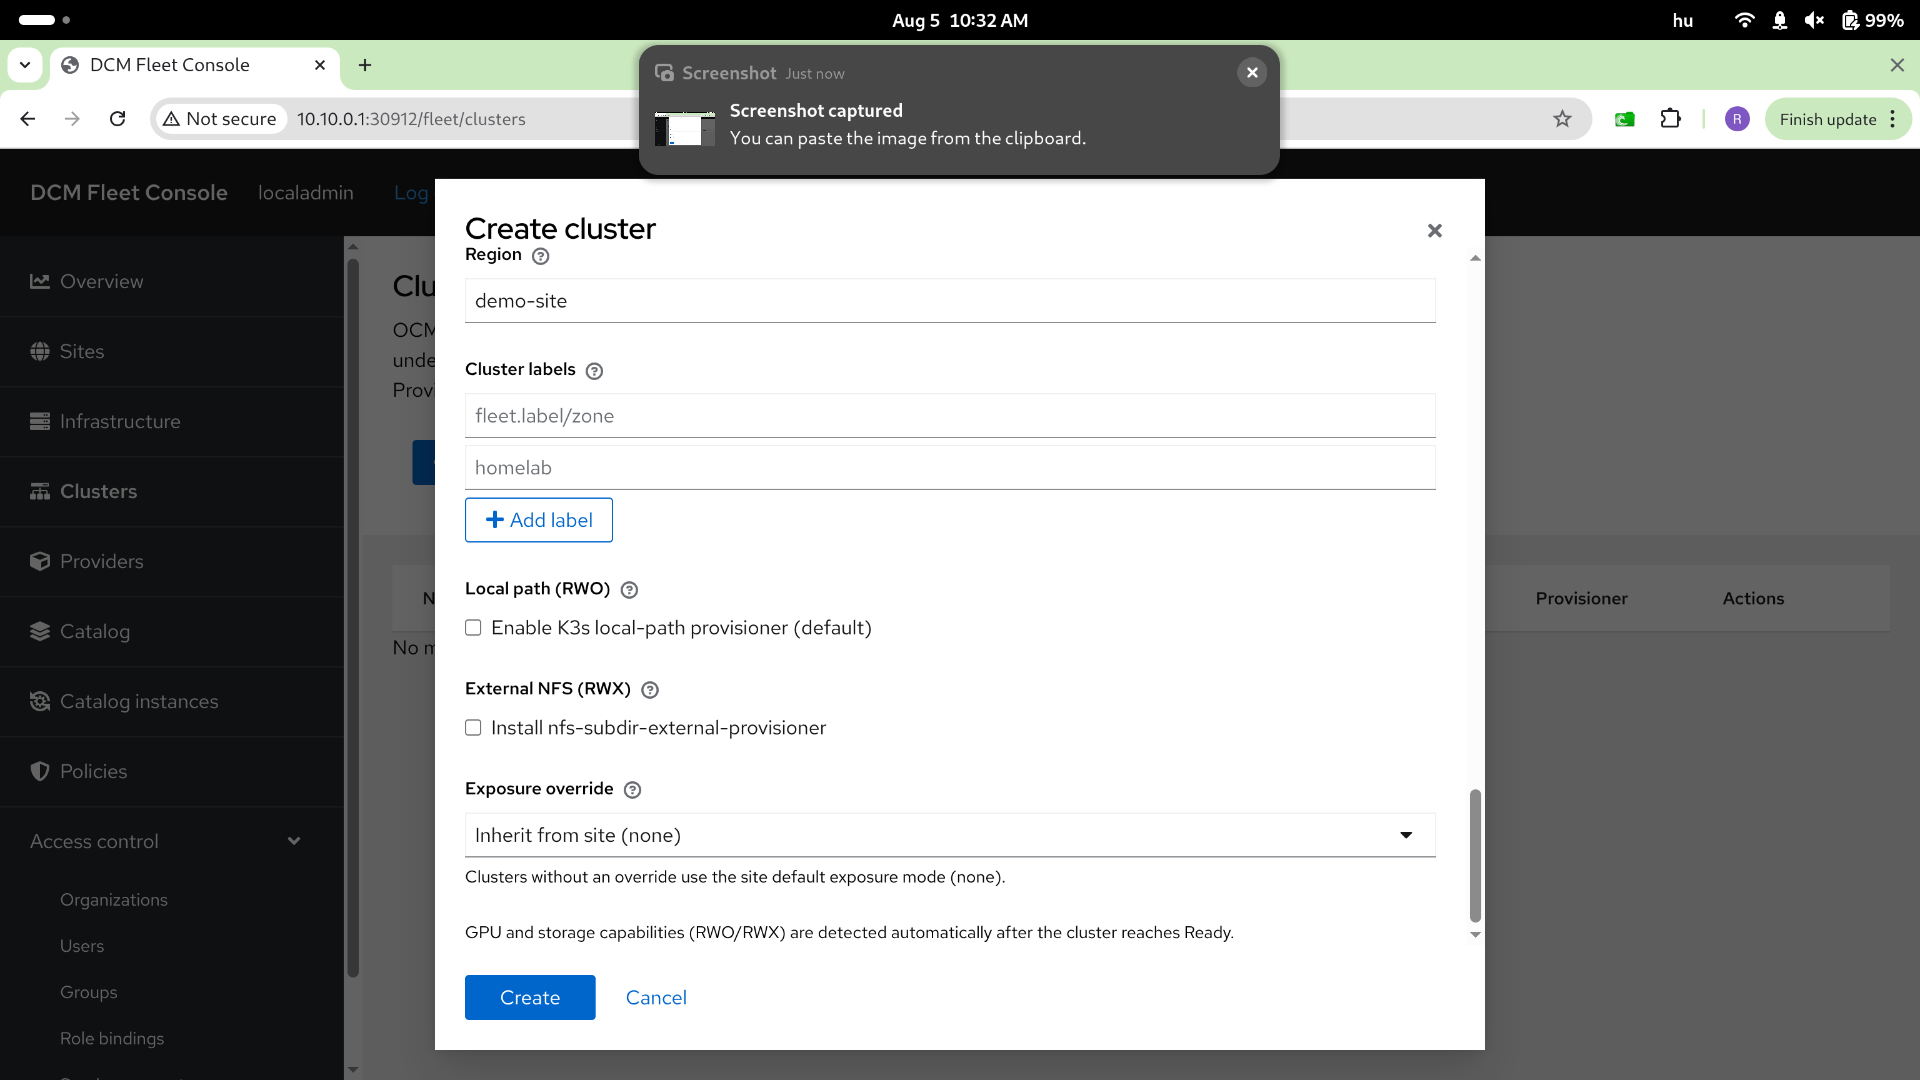
2. Create a cluster
Section titled “2. Create a cluster”After the site exists, create a cluster.
Current prerequisites for a join host:
- Rocky Linux 10
- 4 CPU cores and 8G memory (virtual or physical)
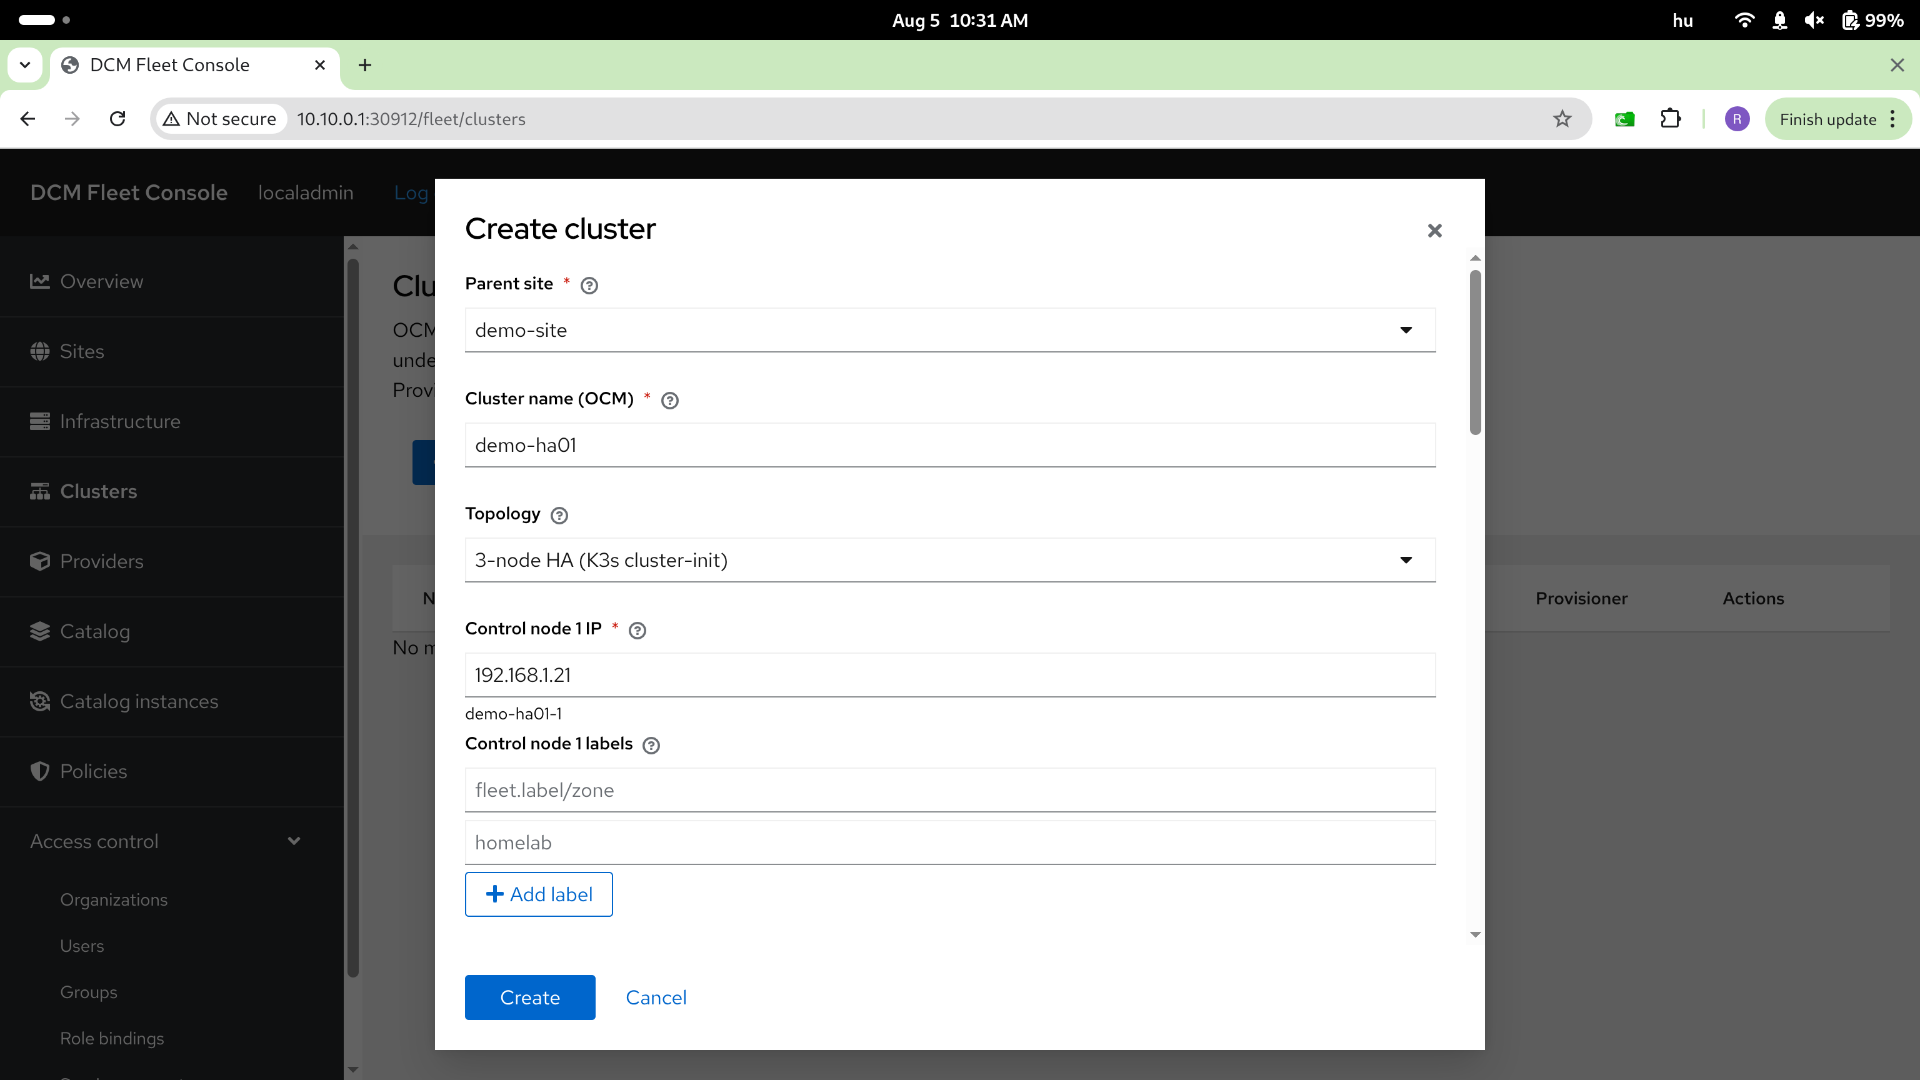
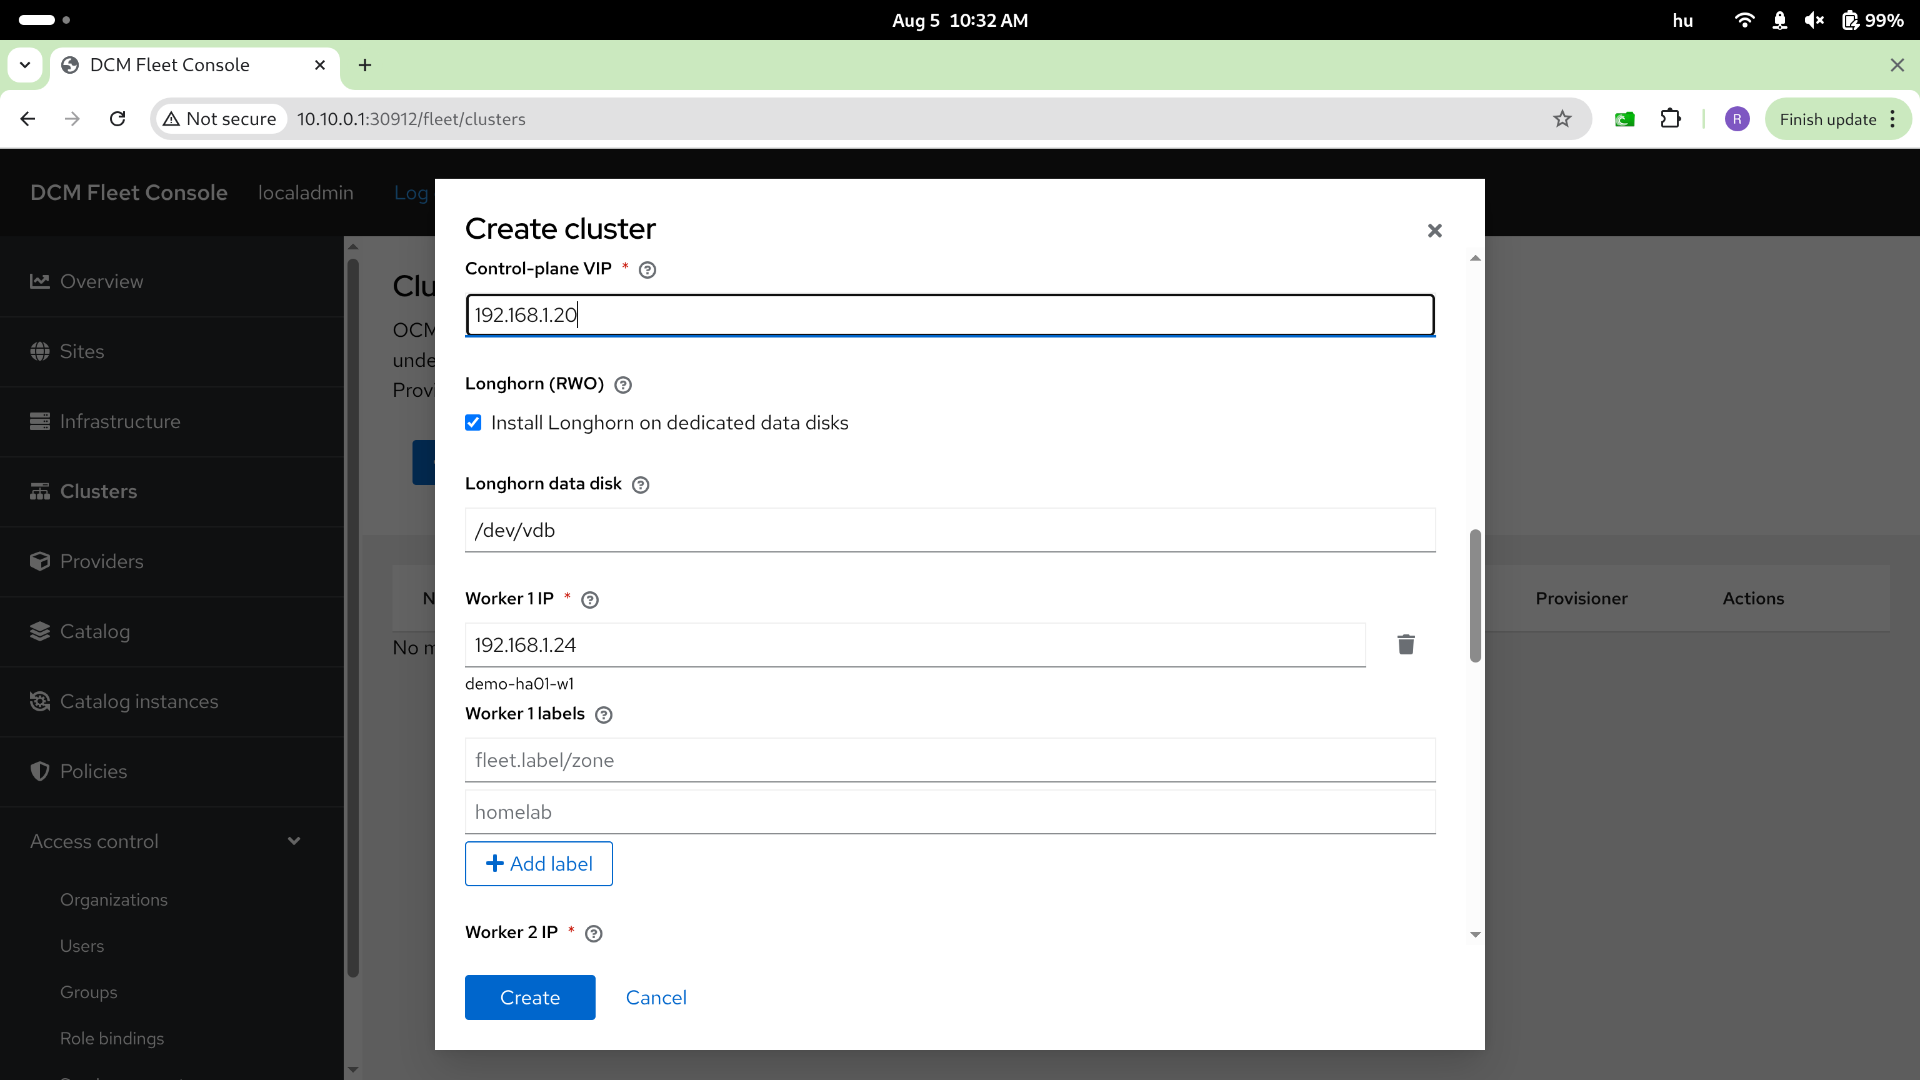
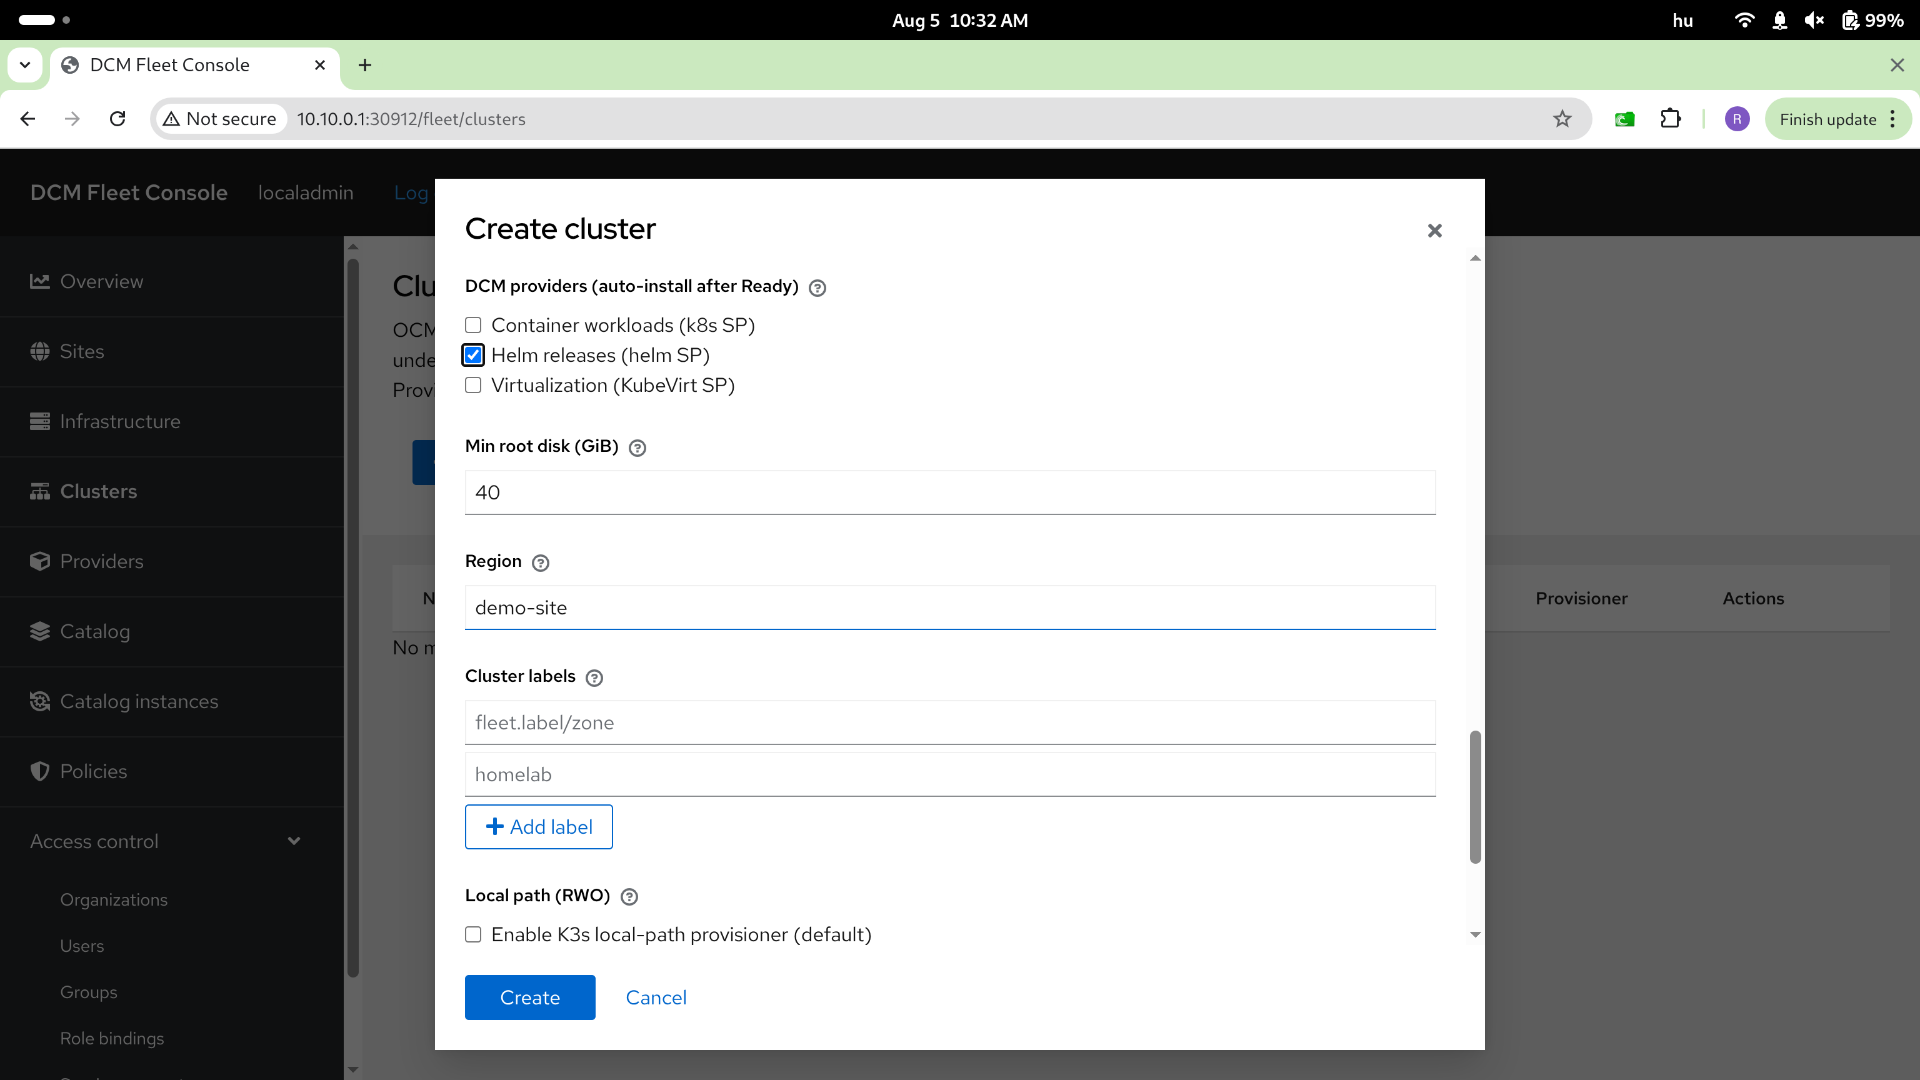
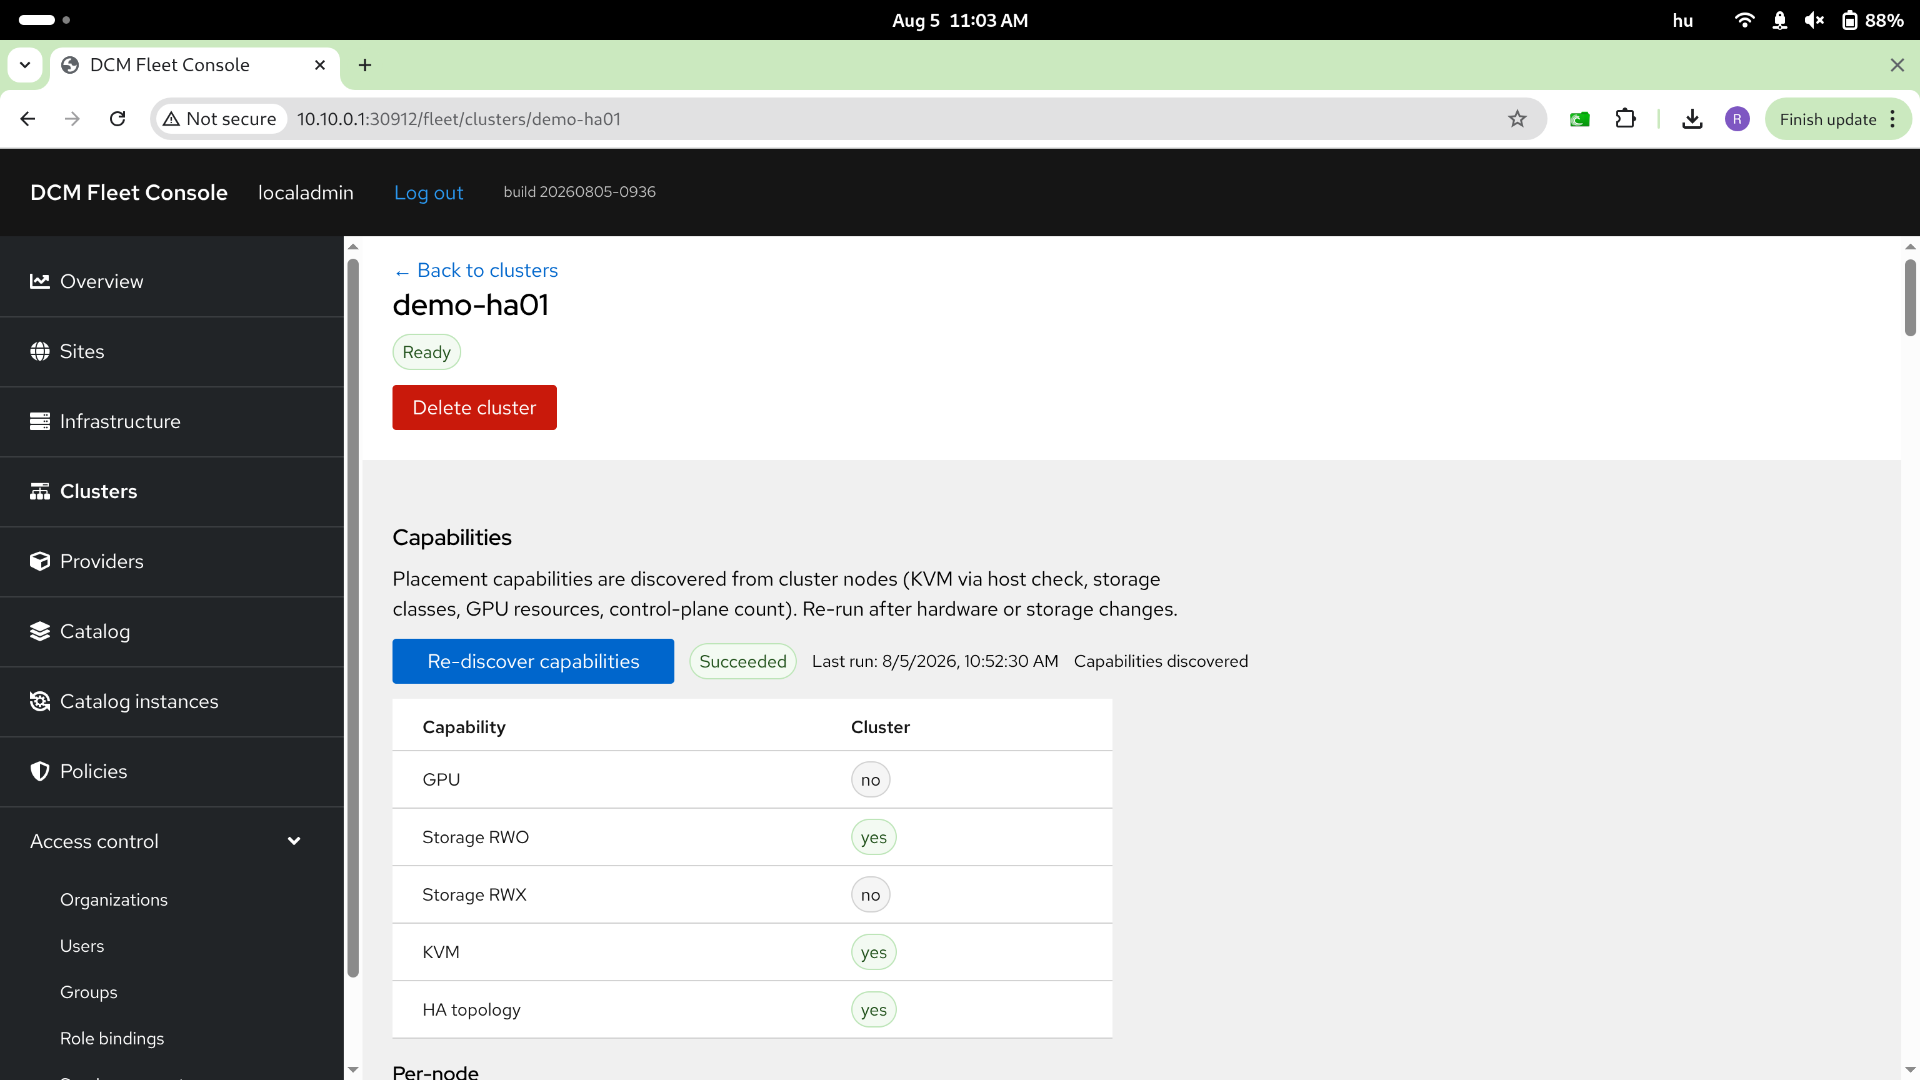
The cluster can be single-node or multi-node (3 control planes, optionally with additional workers). UMKIM uses K3s for the workload Kubernetes cluster.
| Topology | Default storage | Notes |
|---|---|---|
| Single node | local-path enabled by default |
Simpler lab nodes |
| Multi-node | local-path enabled by default; Longhorn is optional and off |
3-node HA also needs a VIP |
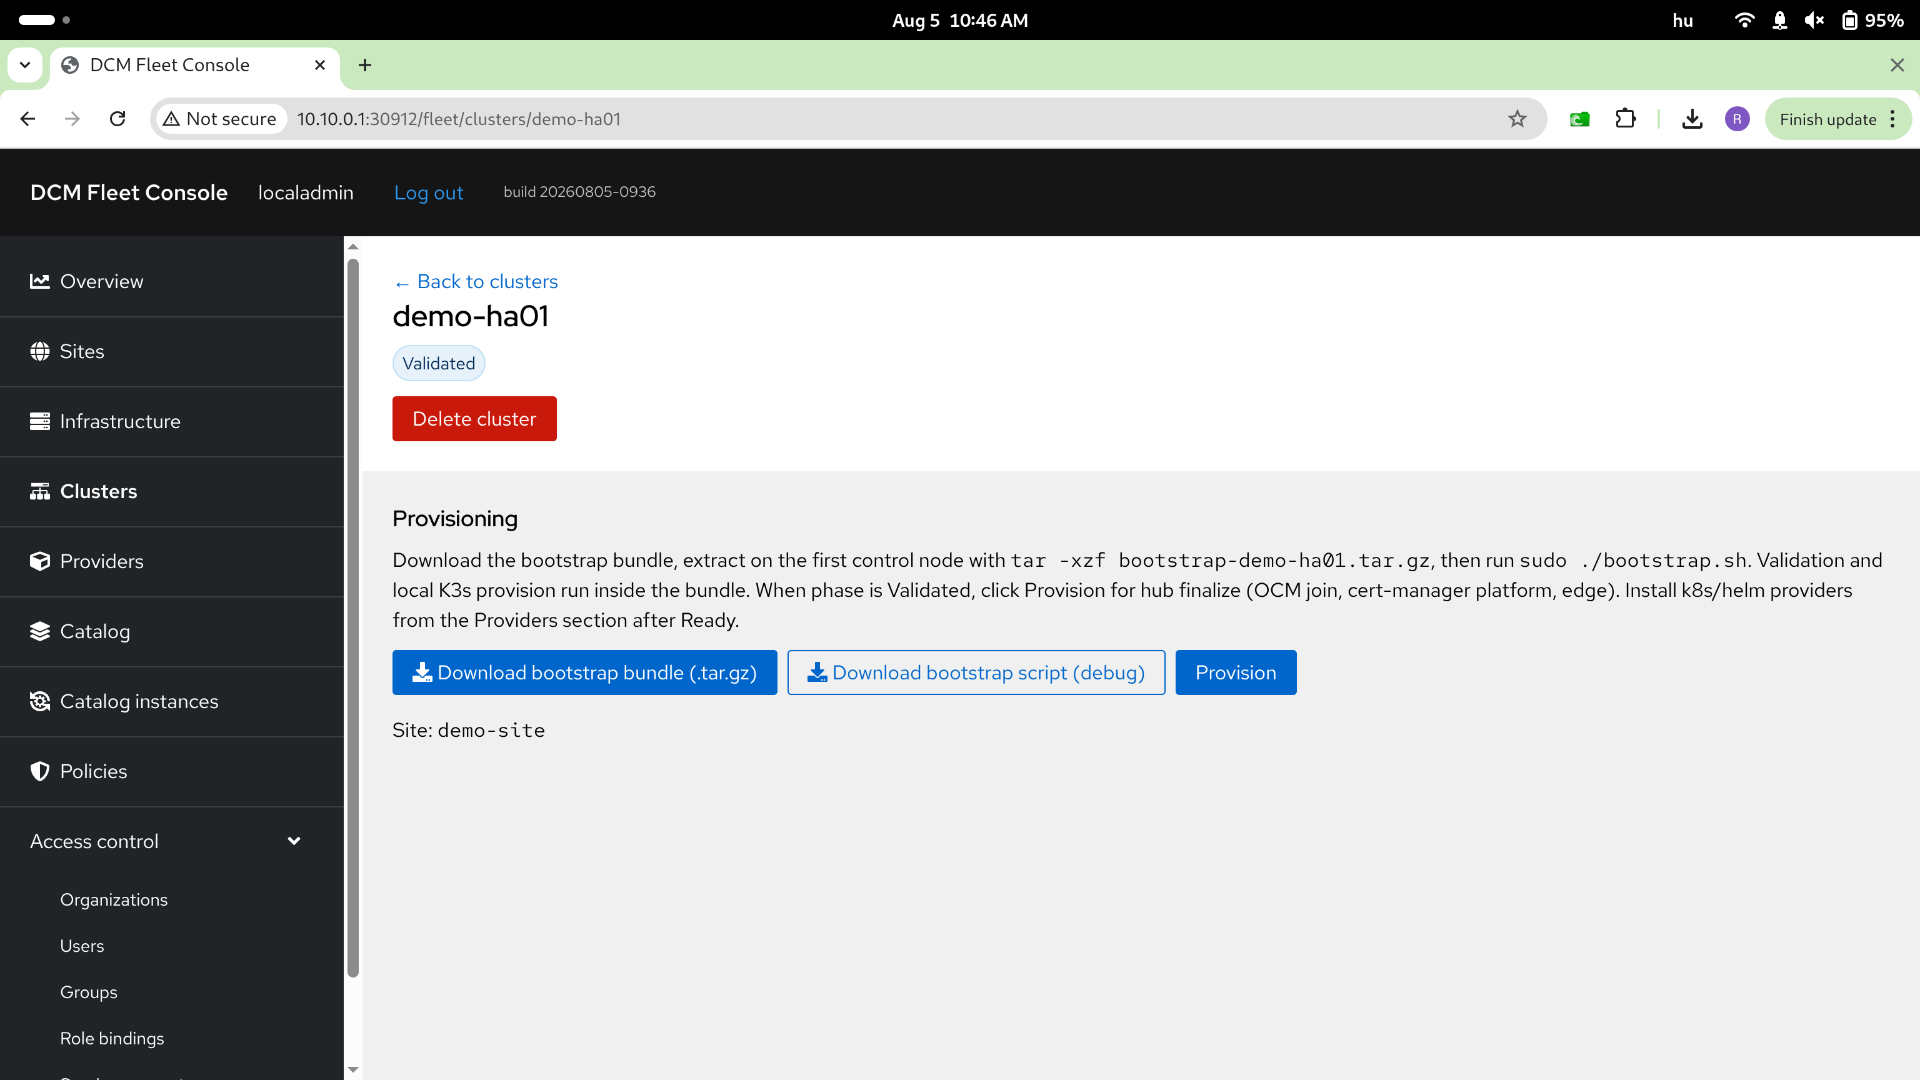
3. Download the bootstrap script
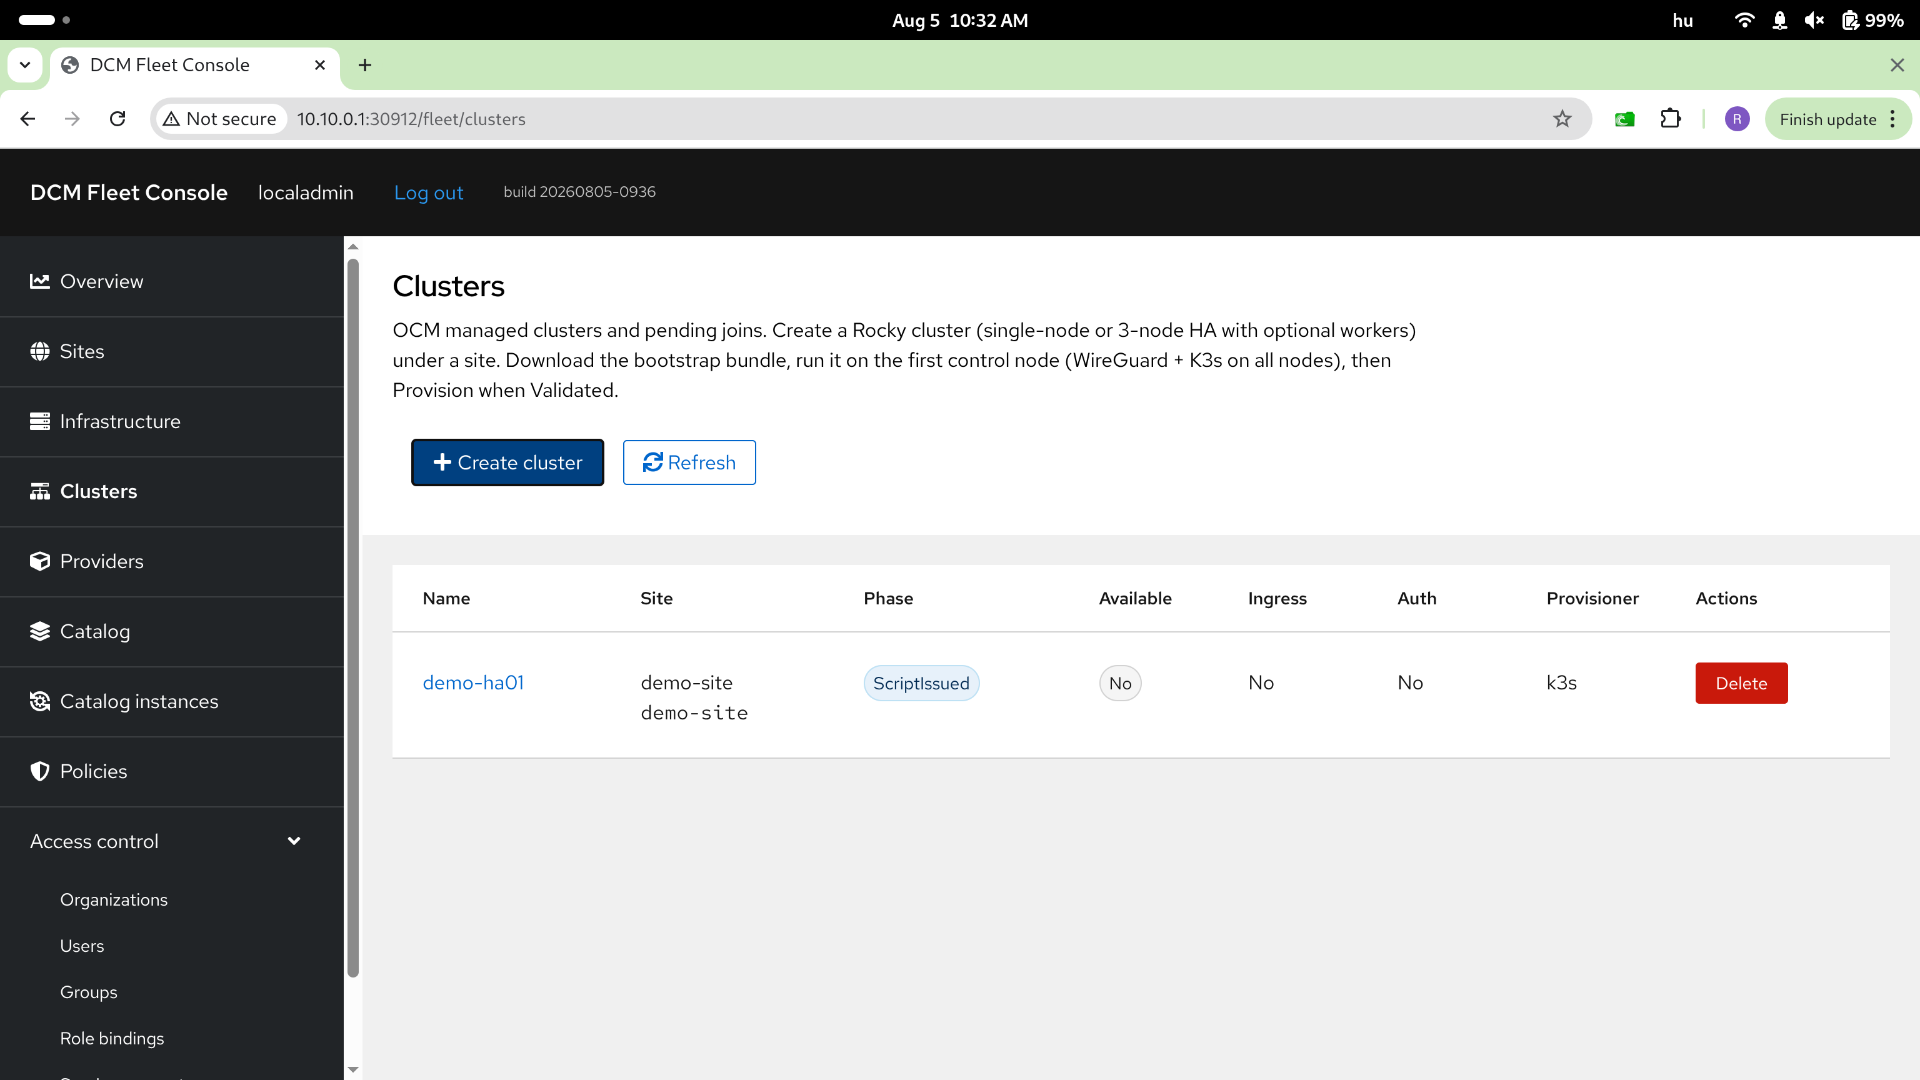
Section titled “3. Download the bootstrap script”When the cluster object exists, open it from the Clusters page and download the bootstrap script.
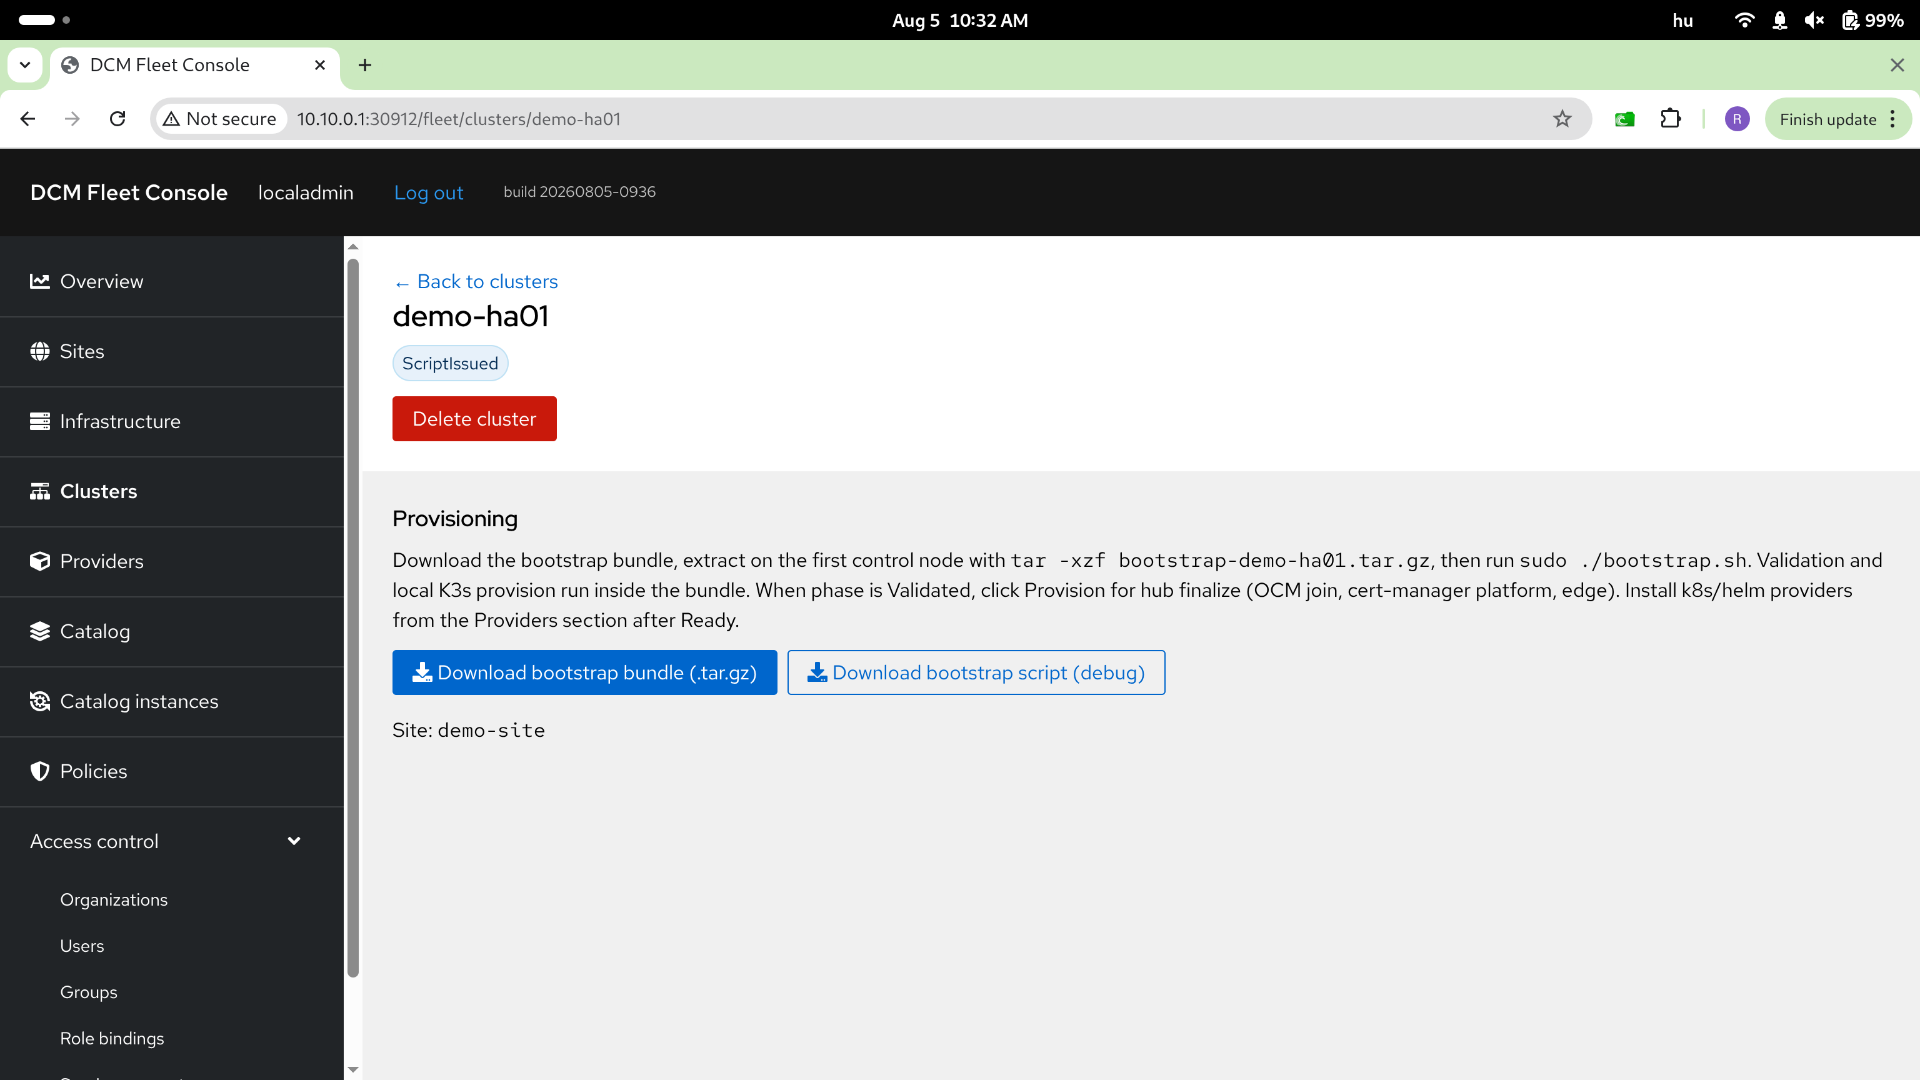
4. Run bootstrap on the node
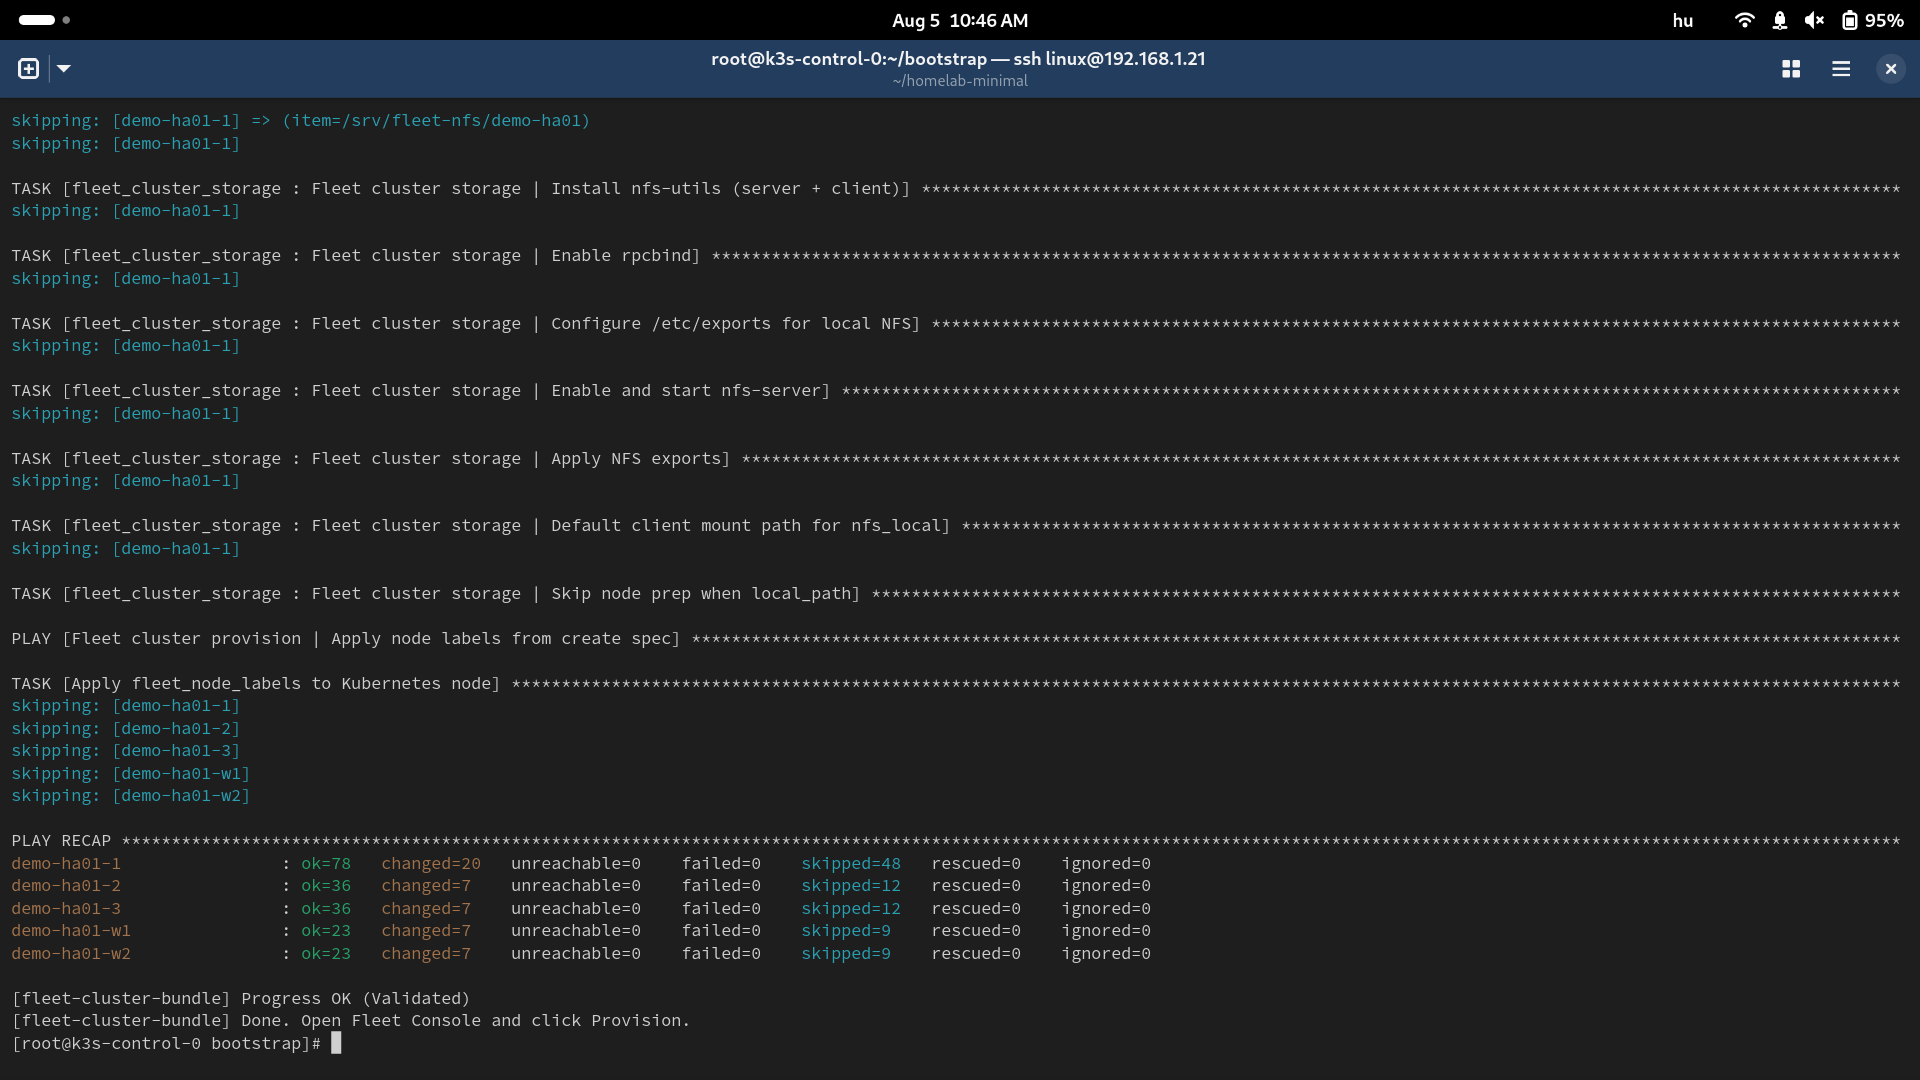
Section titled “4. Run bootstrap on the node”Copy the script to the bootstrap machine and run bootstrap.sh. Treat the bundle as sensitive enrollment material.
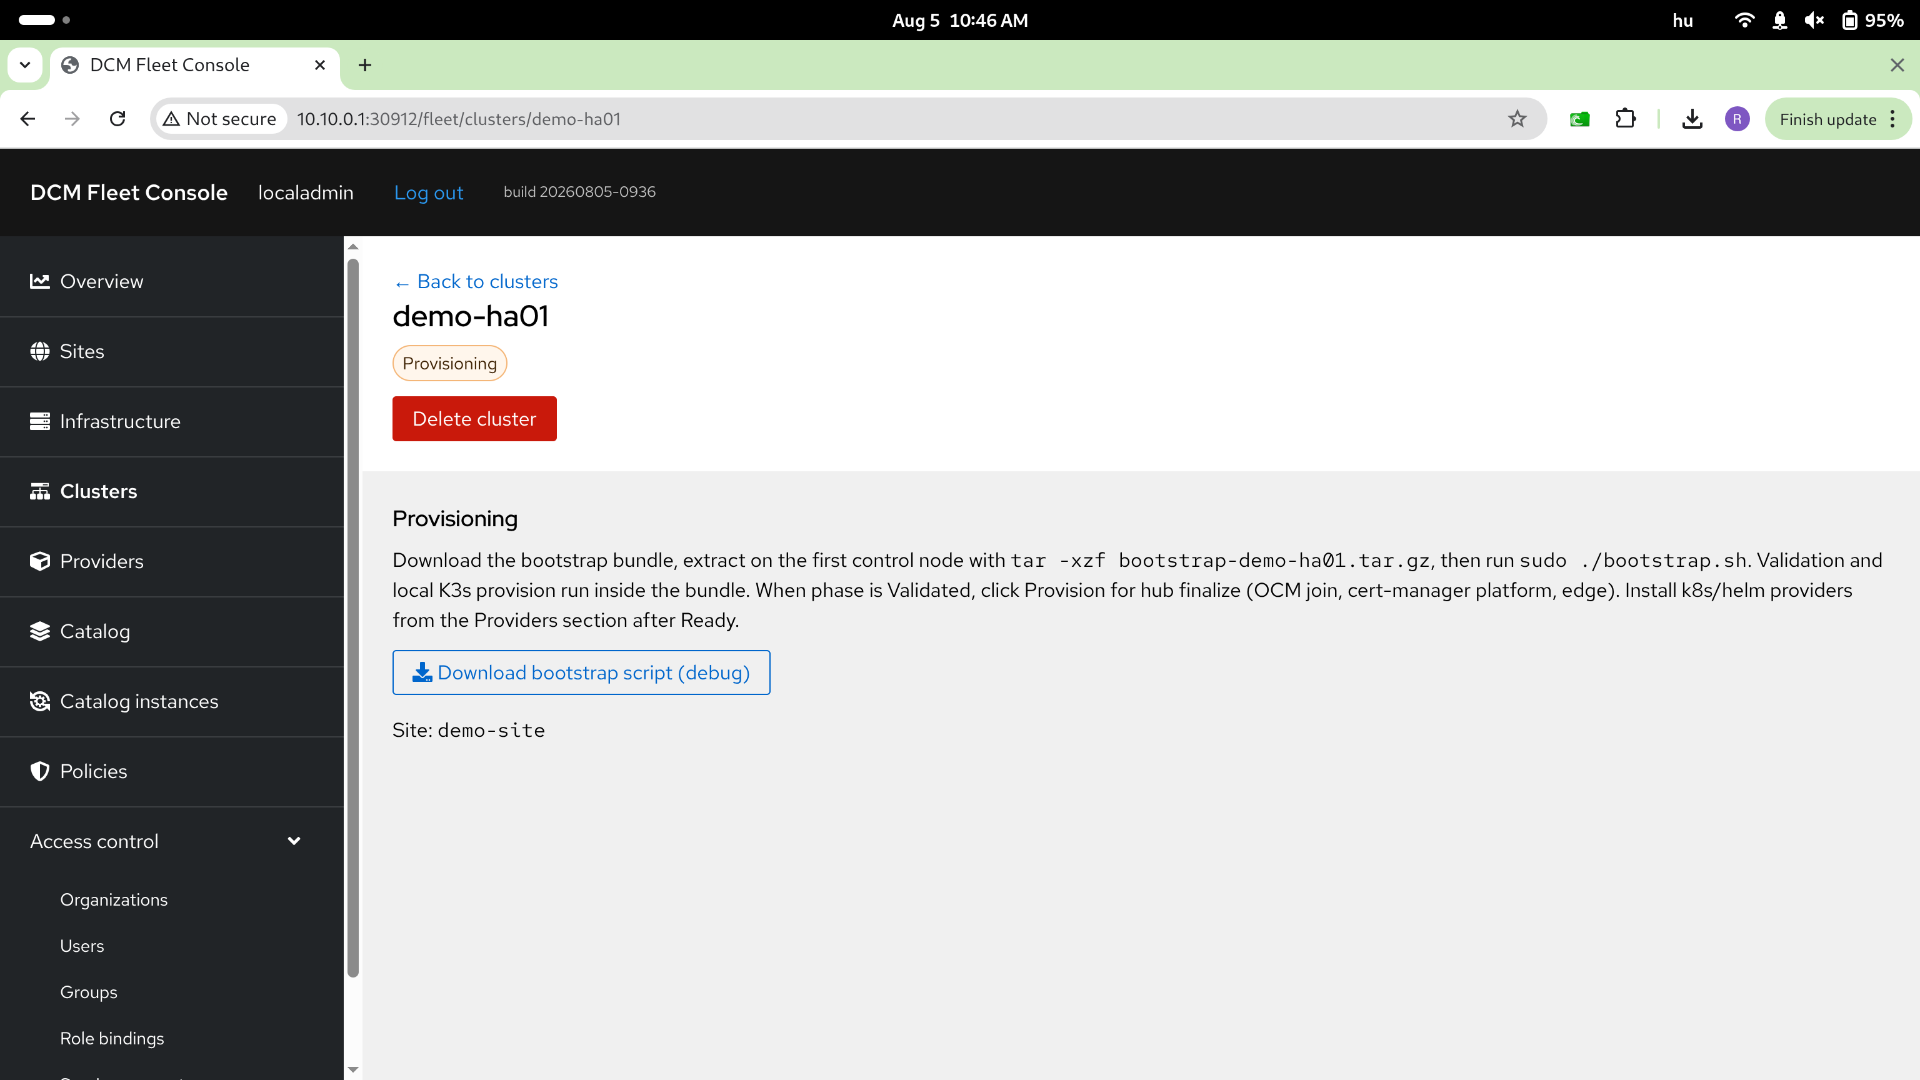
5. Provision the cluster
Section titled “5. Provision the cluster”After bootstrap, click Provision. Provisioning adds the cluster to OCM and configures resources. The cluster shows as Ready when provision finishes.
To inspect failures or progress, find the corresponding job/pod logs on the hub.
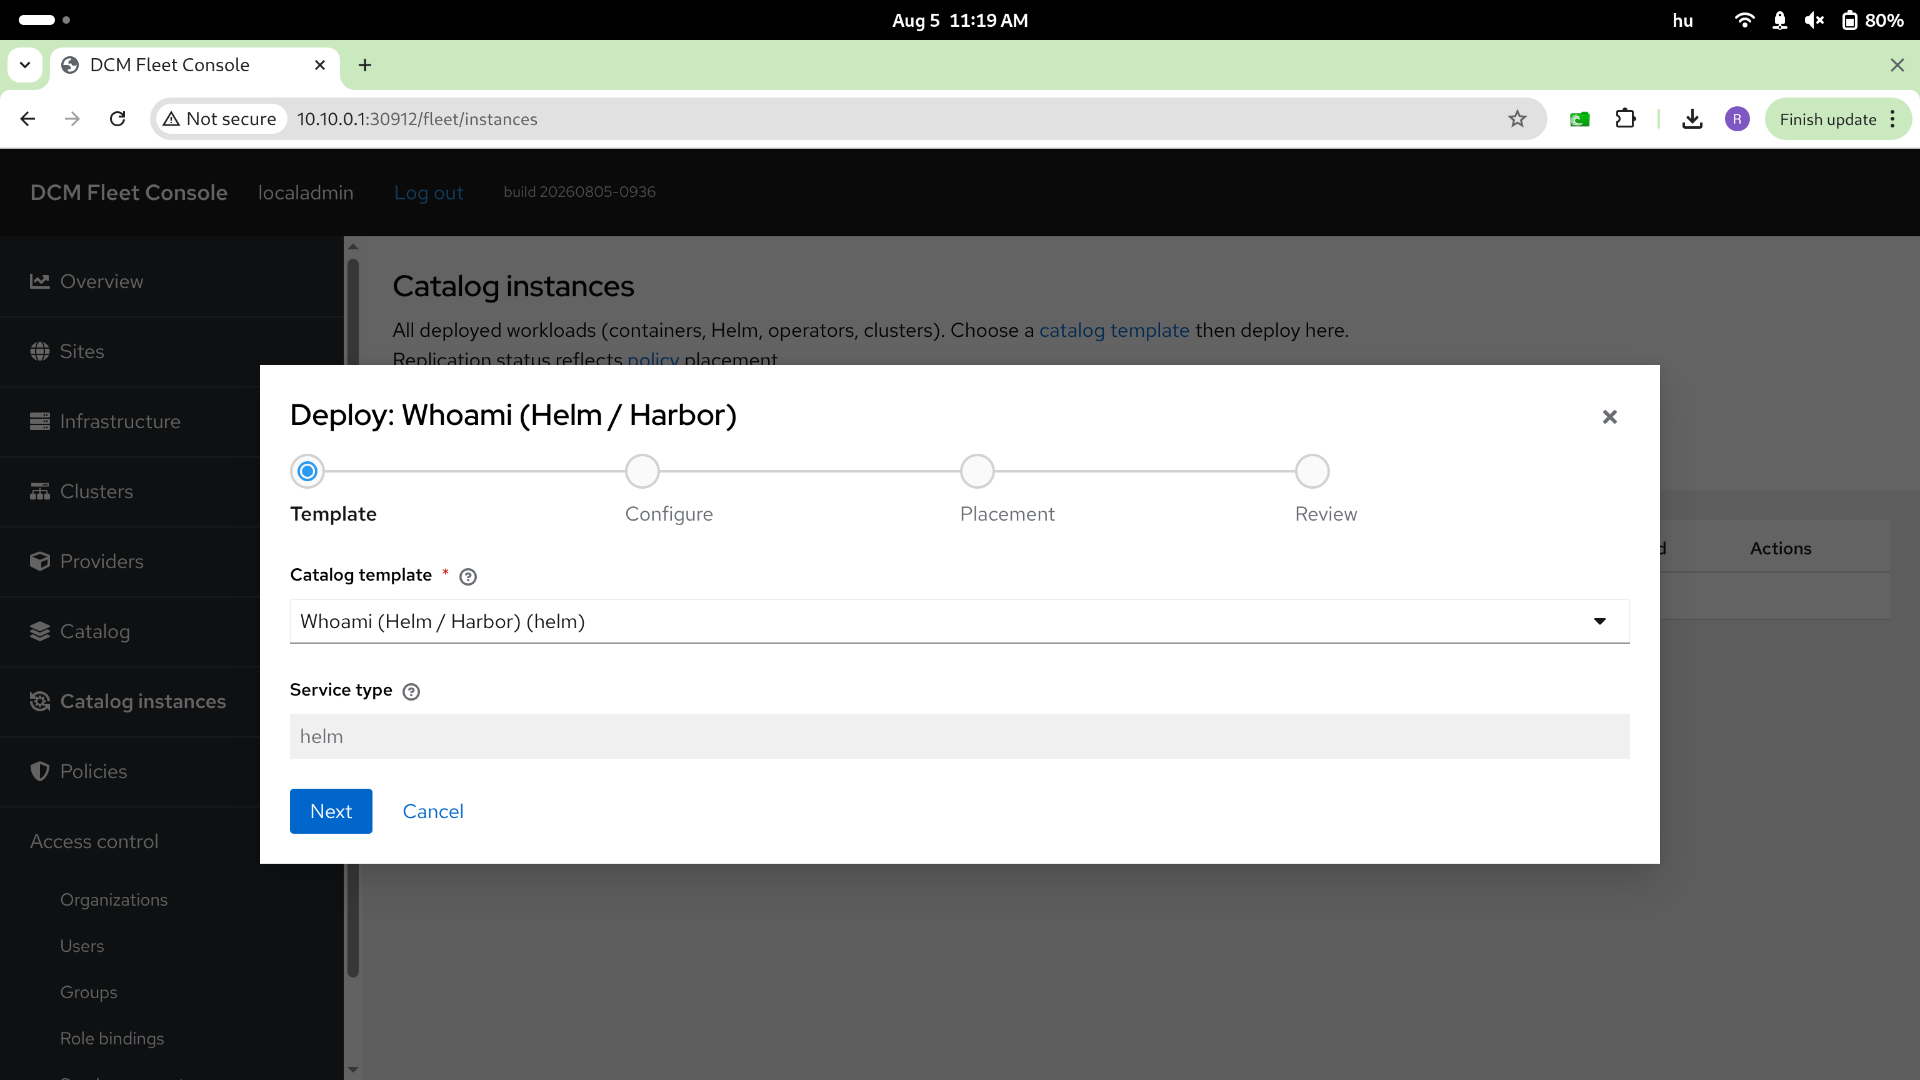
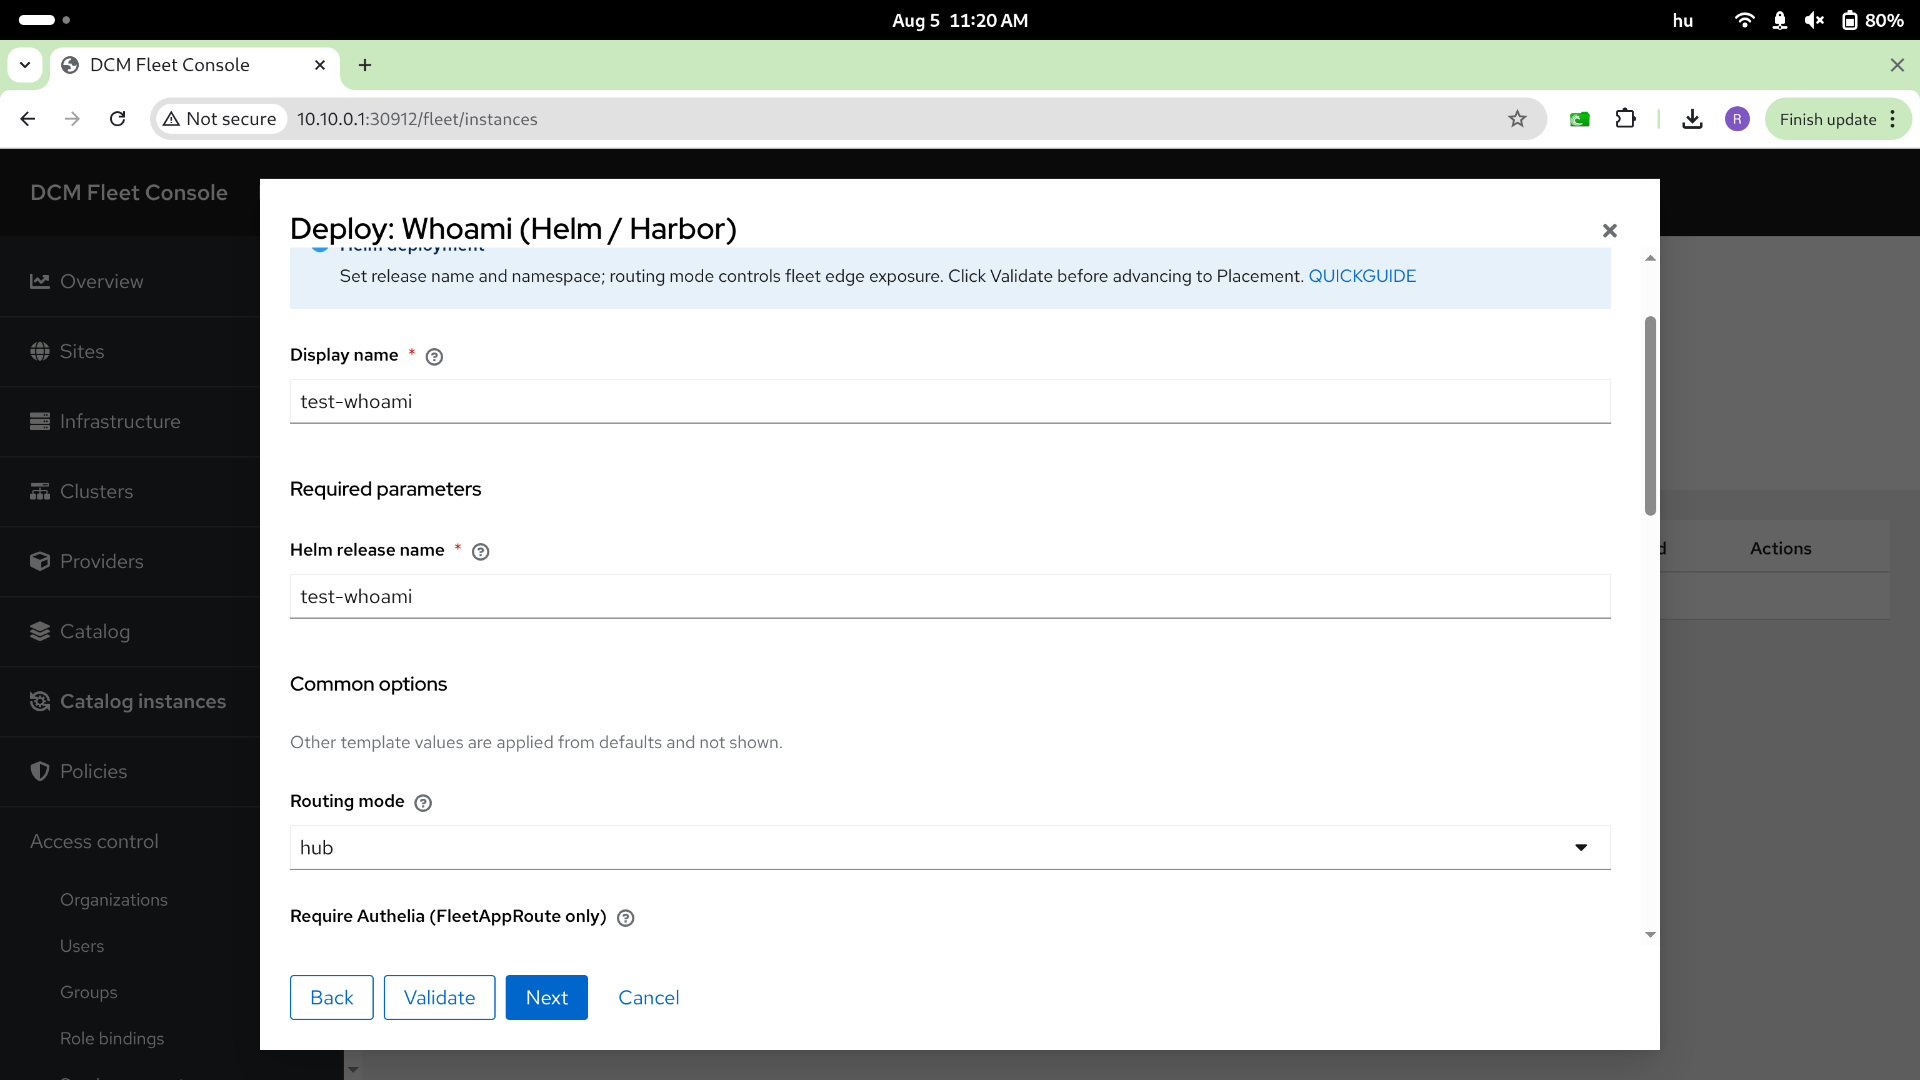
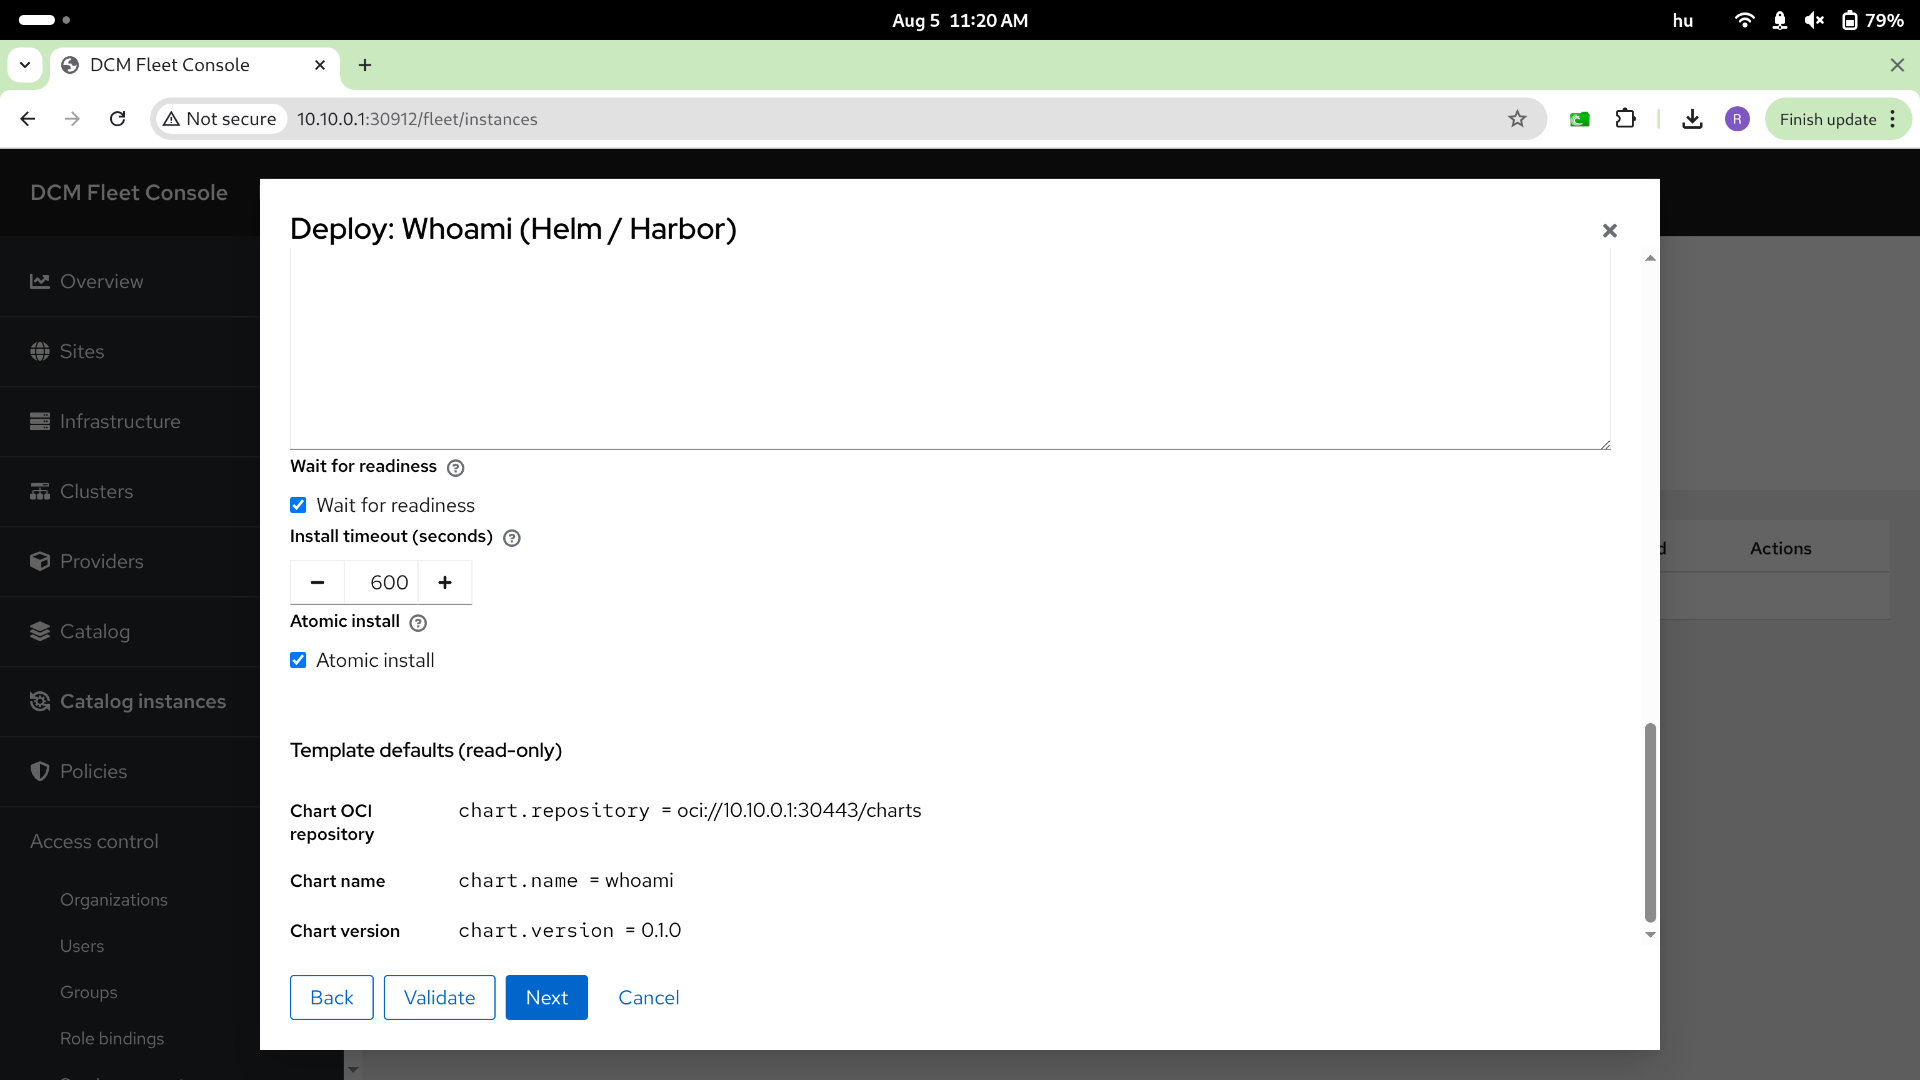
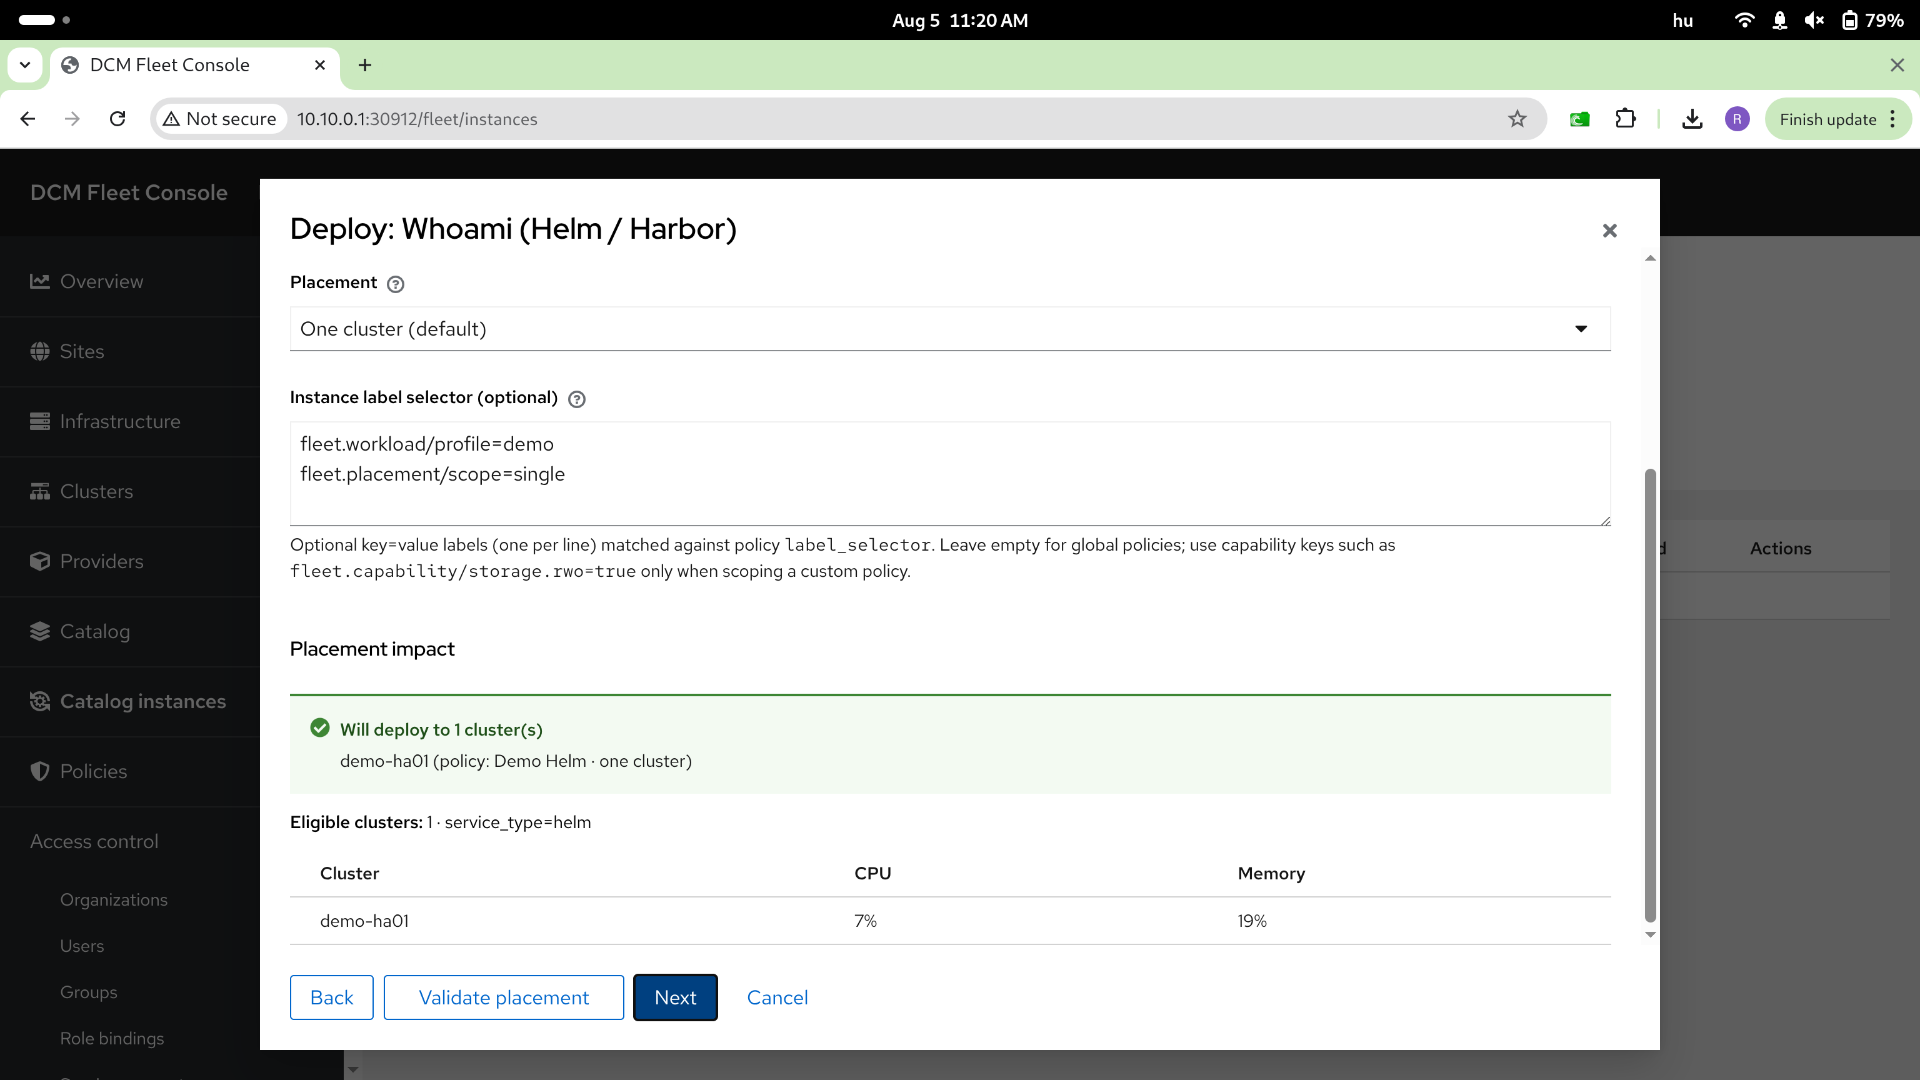
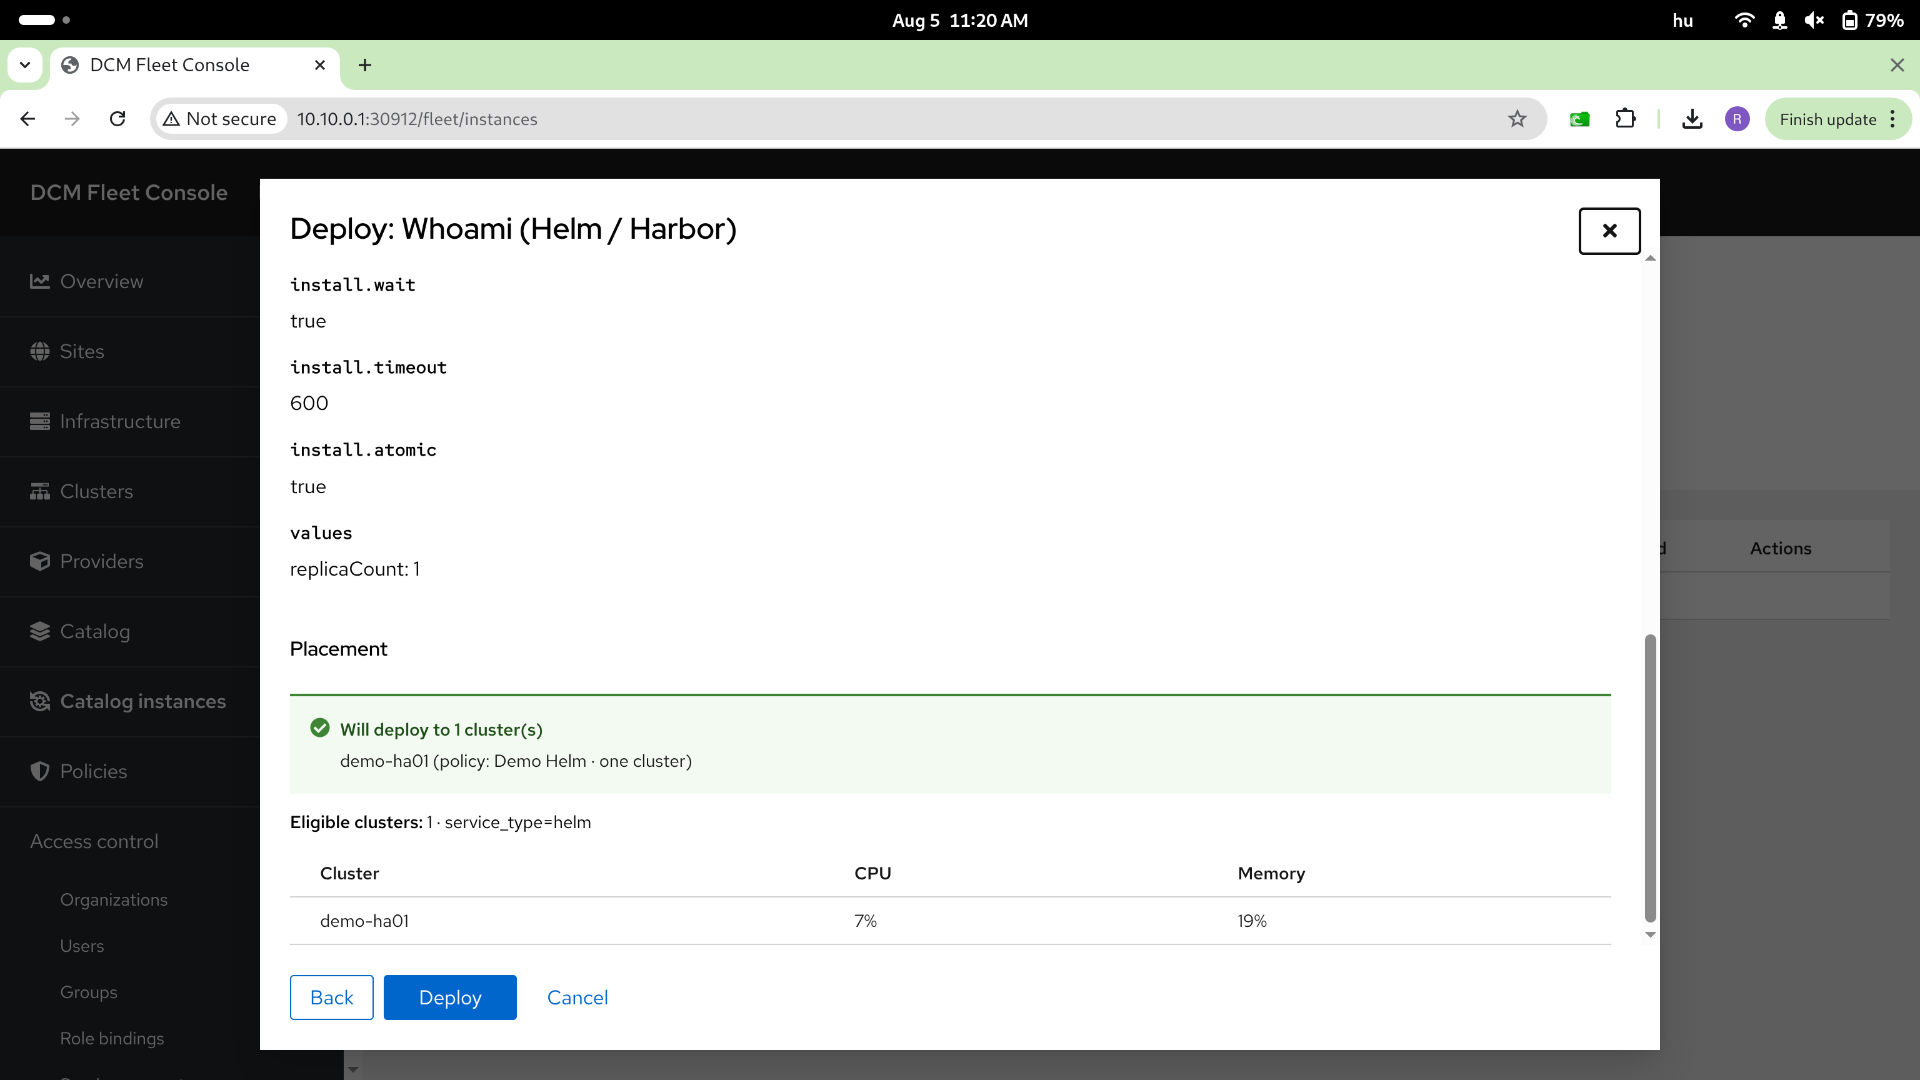
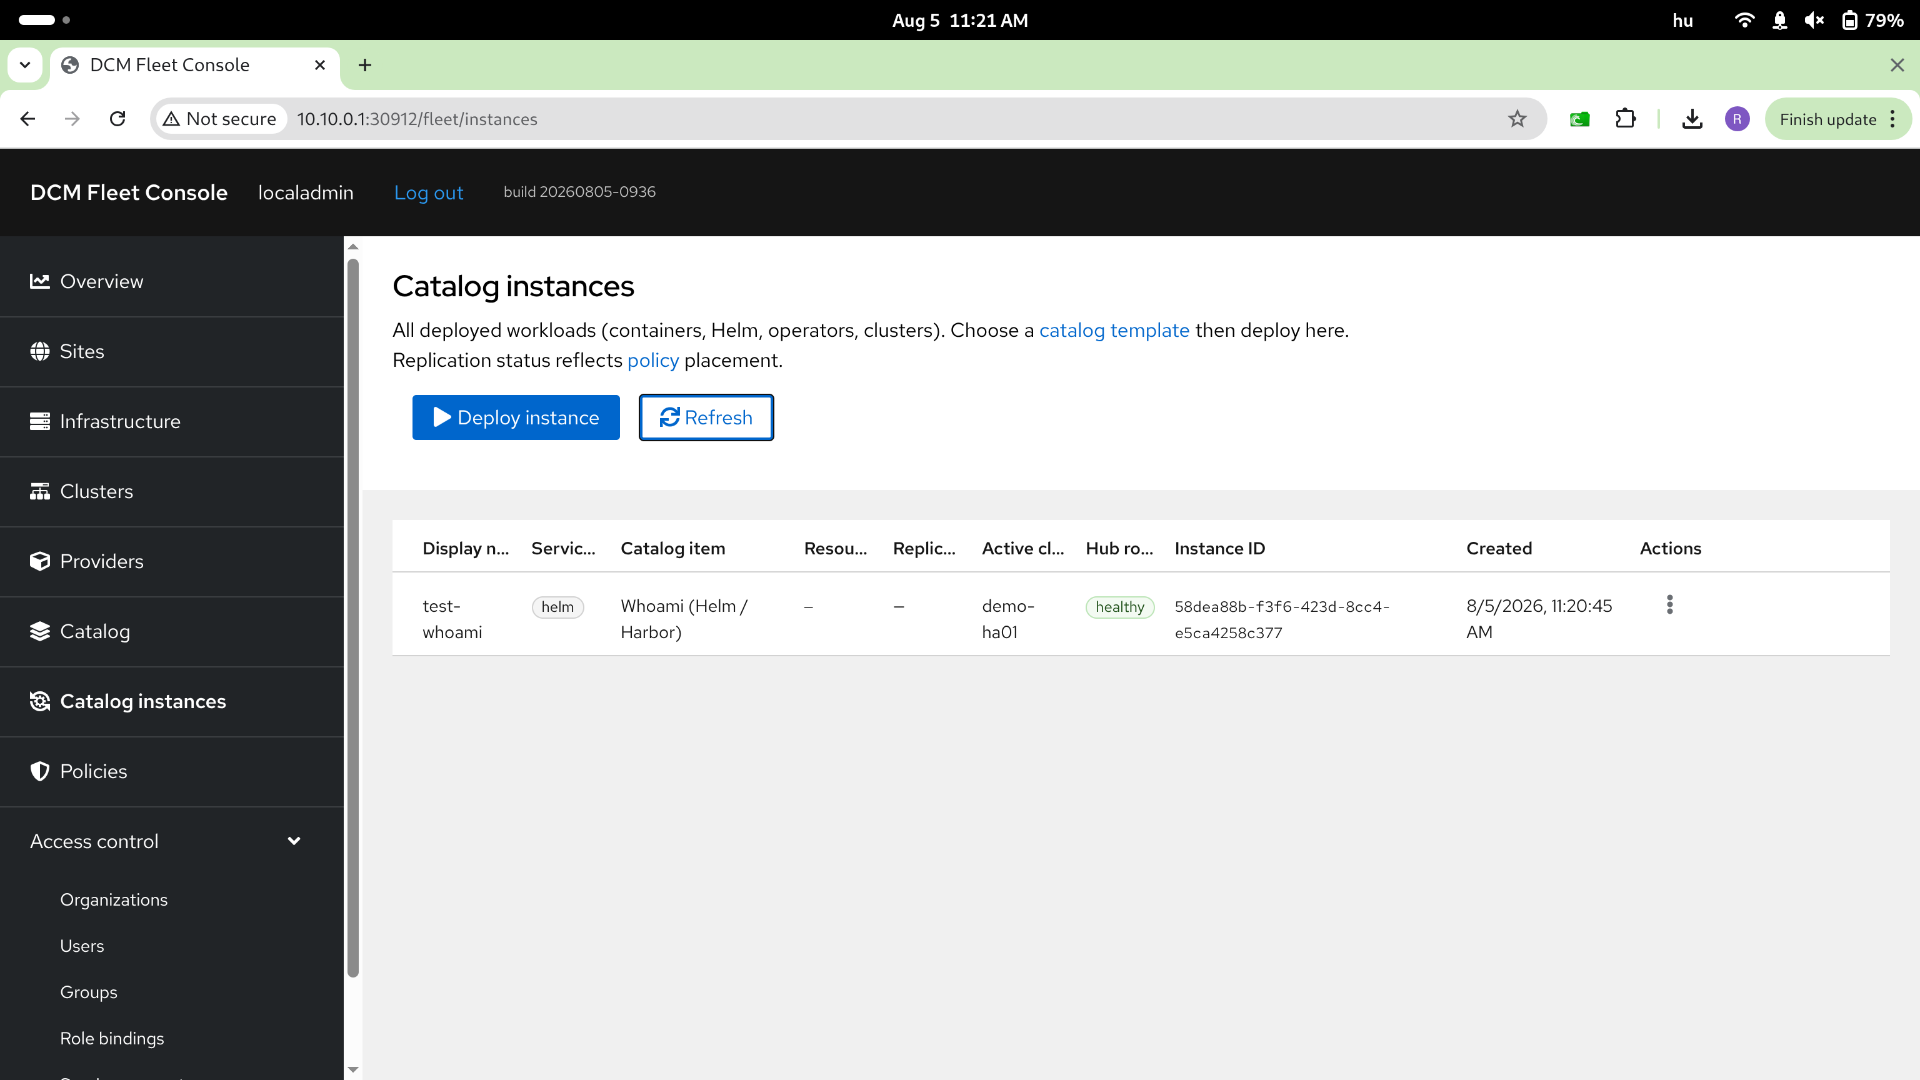
6. Deploy a test Helm chart (Apps, not Catalog)
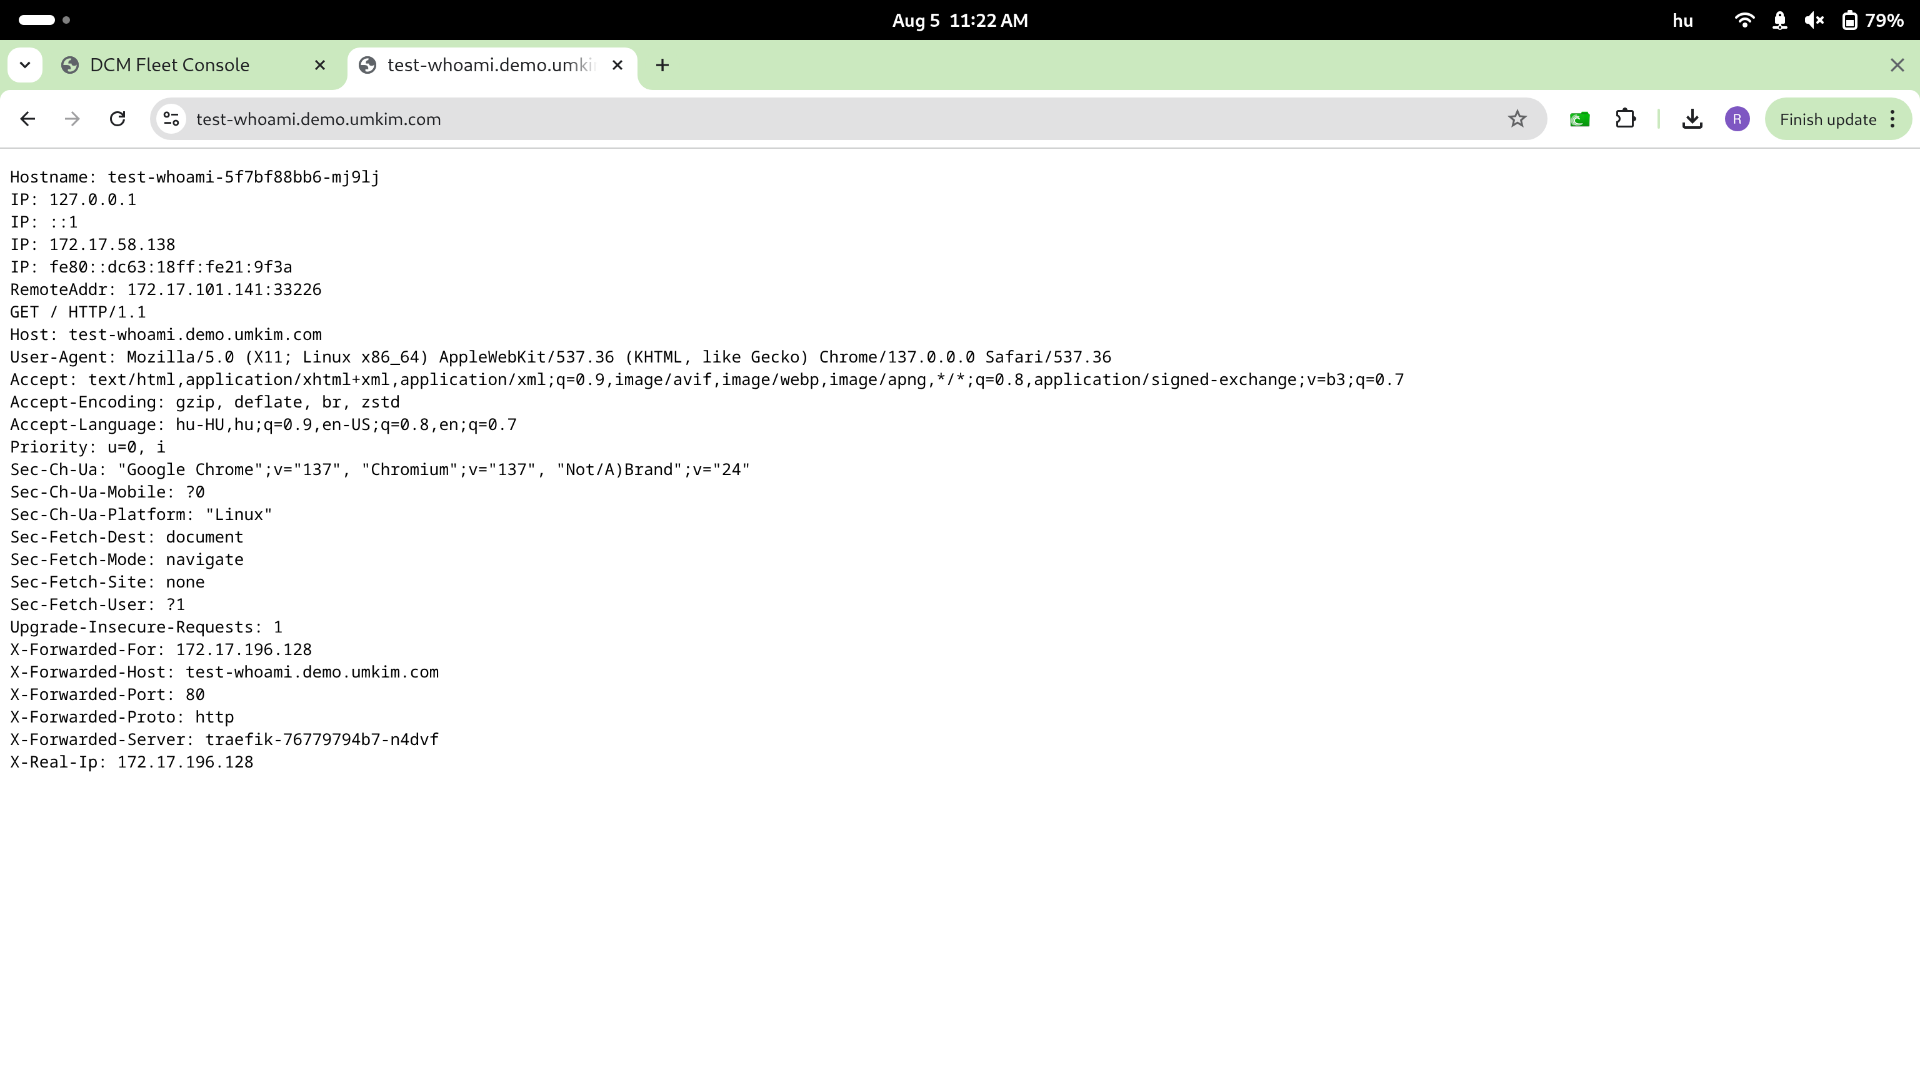
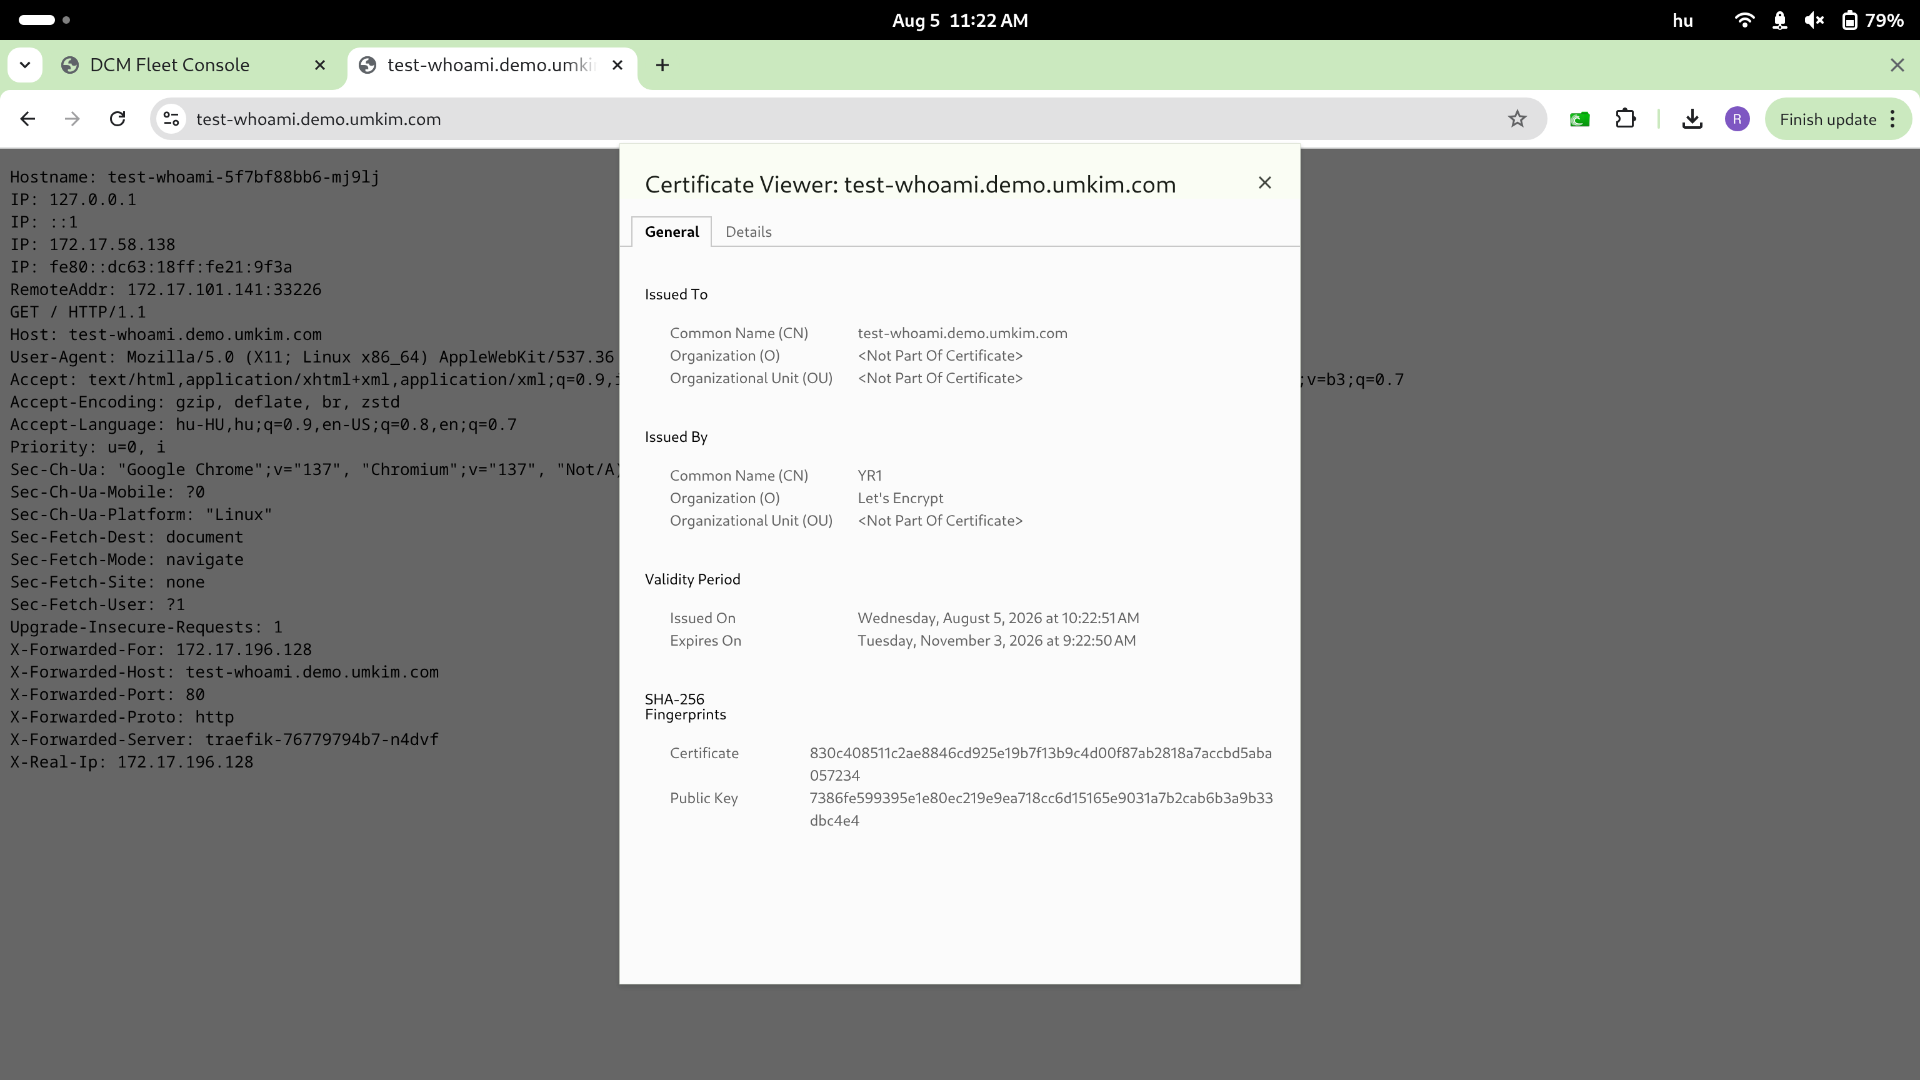
Section titled “6. Deploy a test Helm chart (Apps, not Catalog)”In v0.2, use Apps → Install chart and select the Ready cluster. The screenshots below show the older Catalog flow; the install and routing concepts are similar.
7. Authelia and LLDAP
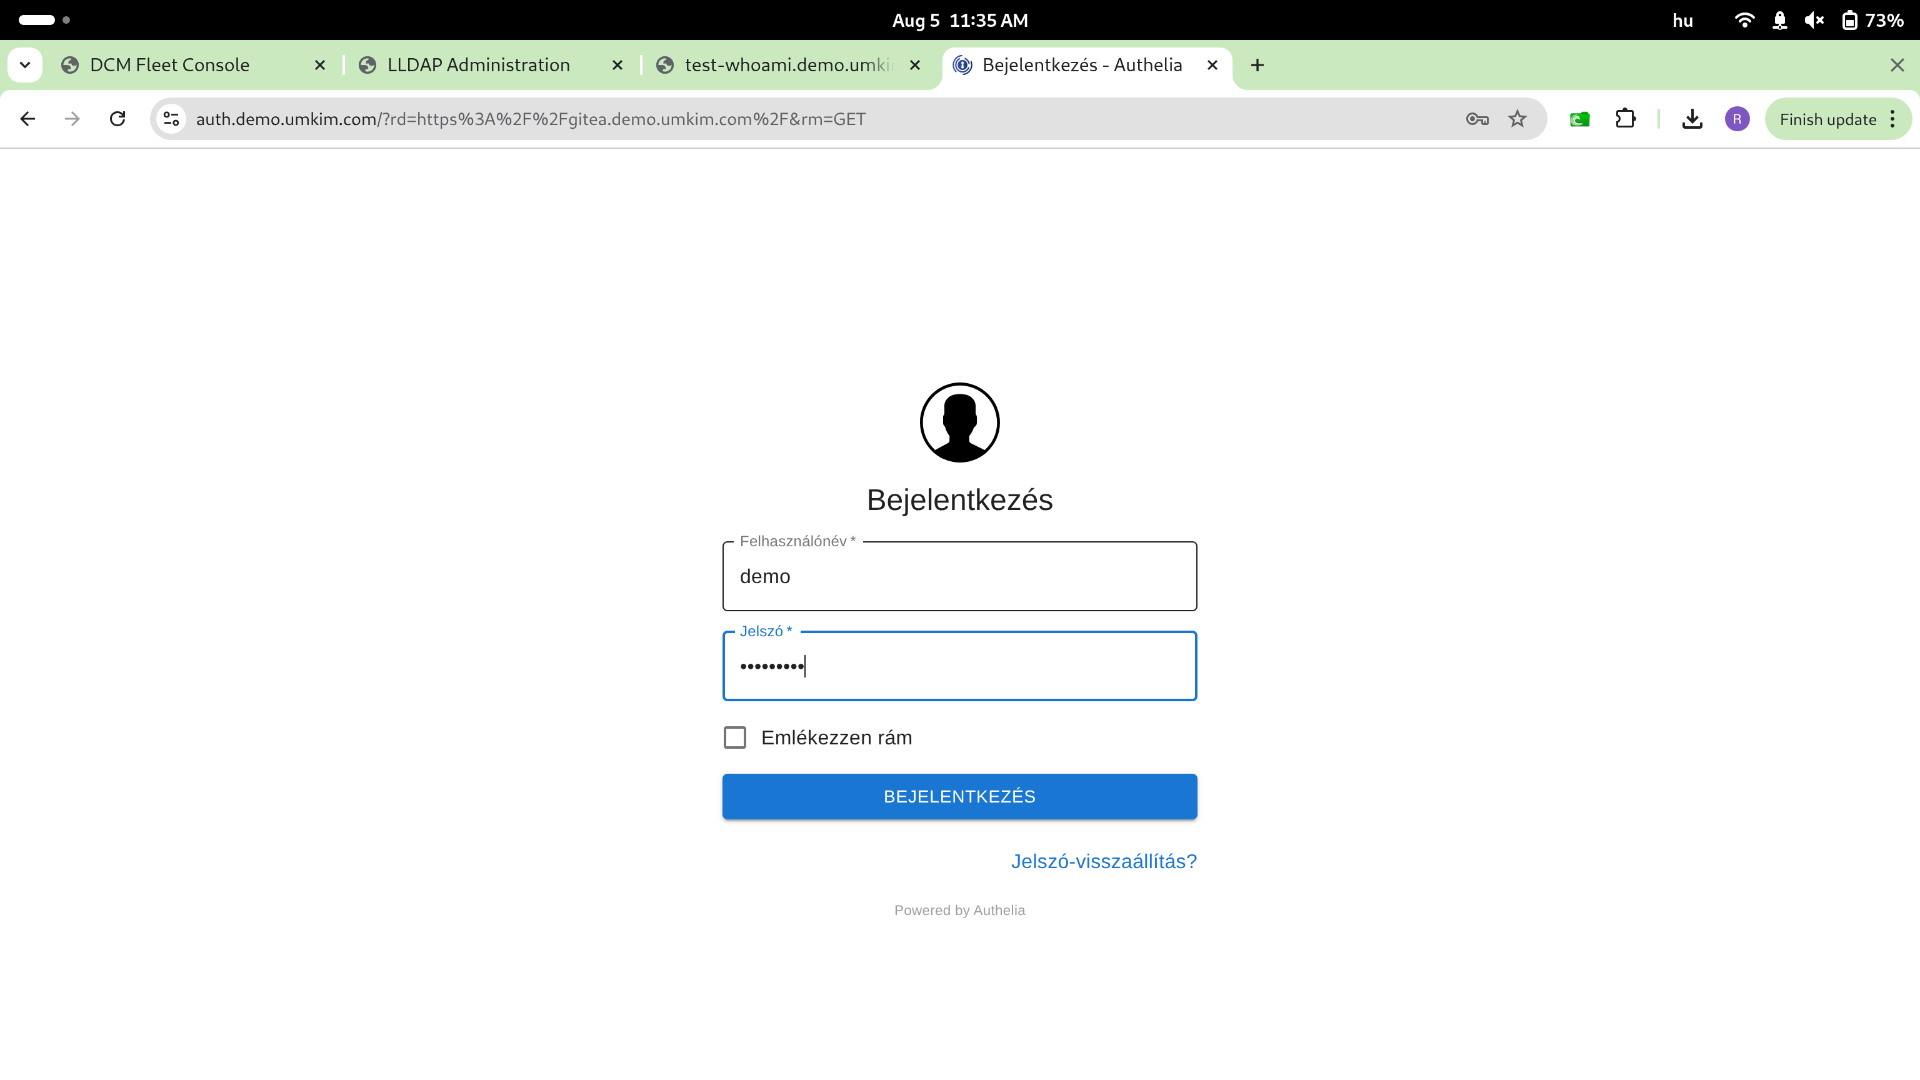
Section titled “7. Authelia and LLDAP”To restrict application exposure with Authelia, use the Infrastructure tab to enable Authelia middleware and expose LLDAP over WireGuard.
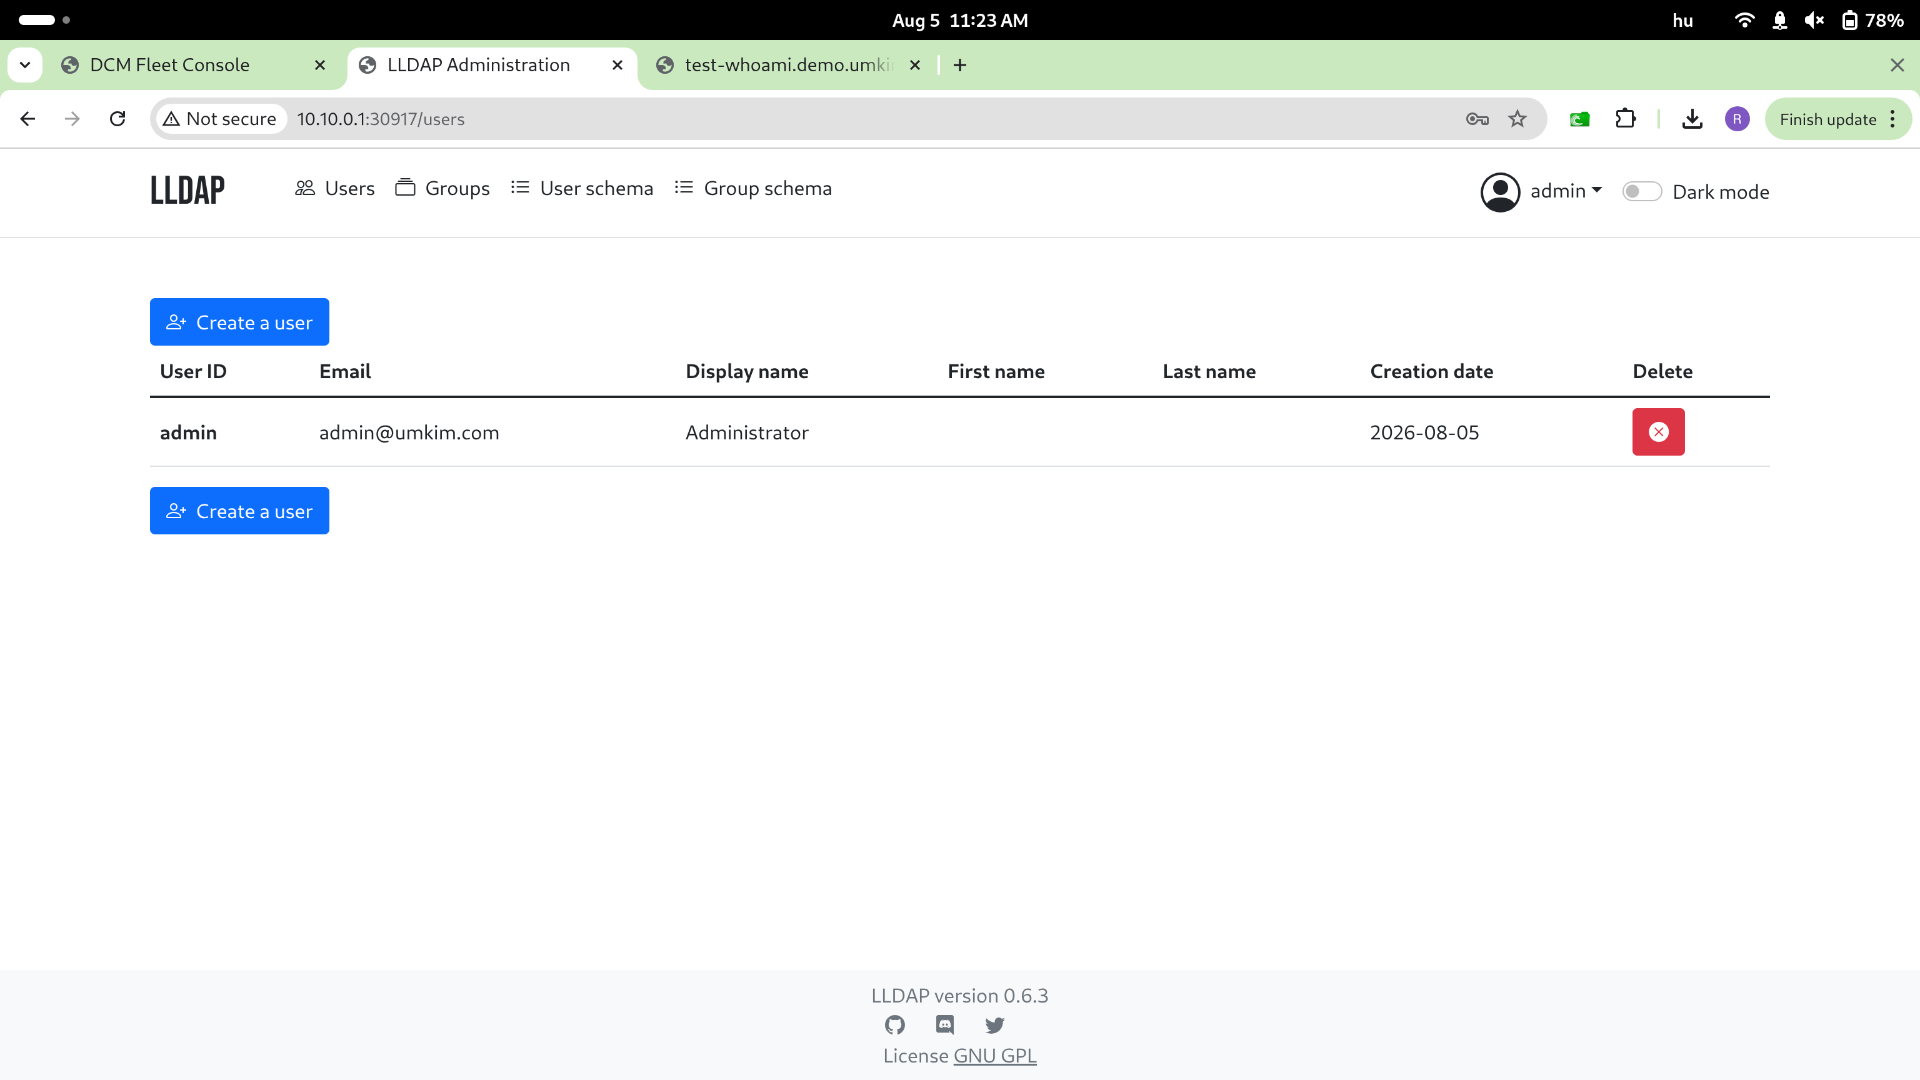
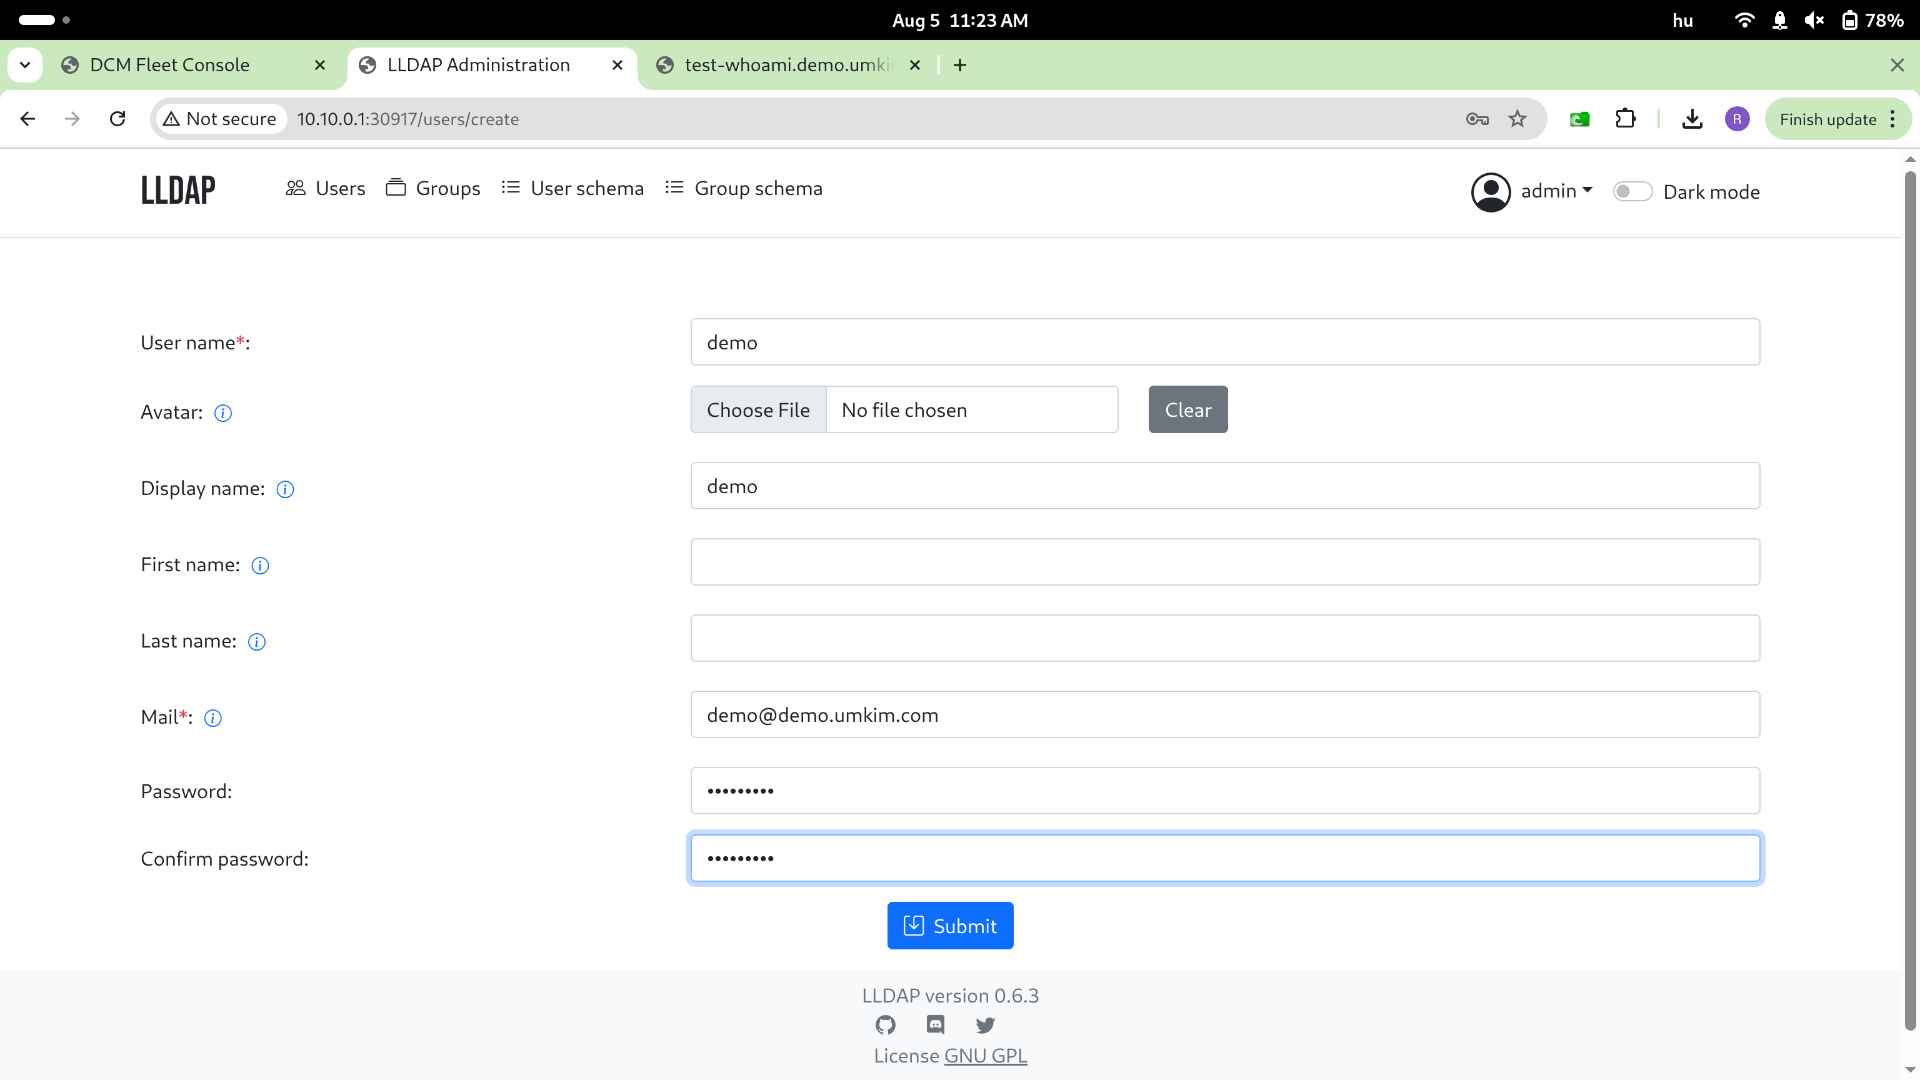
Create an LLDAP user (for example demo). LLDAP users can authenticate to Authelia and reach apps protected by Authelia. Authelia does not automatically create application-local users inside each app.
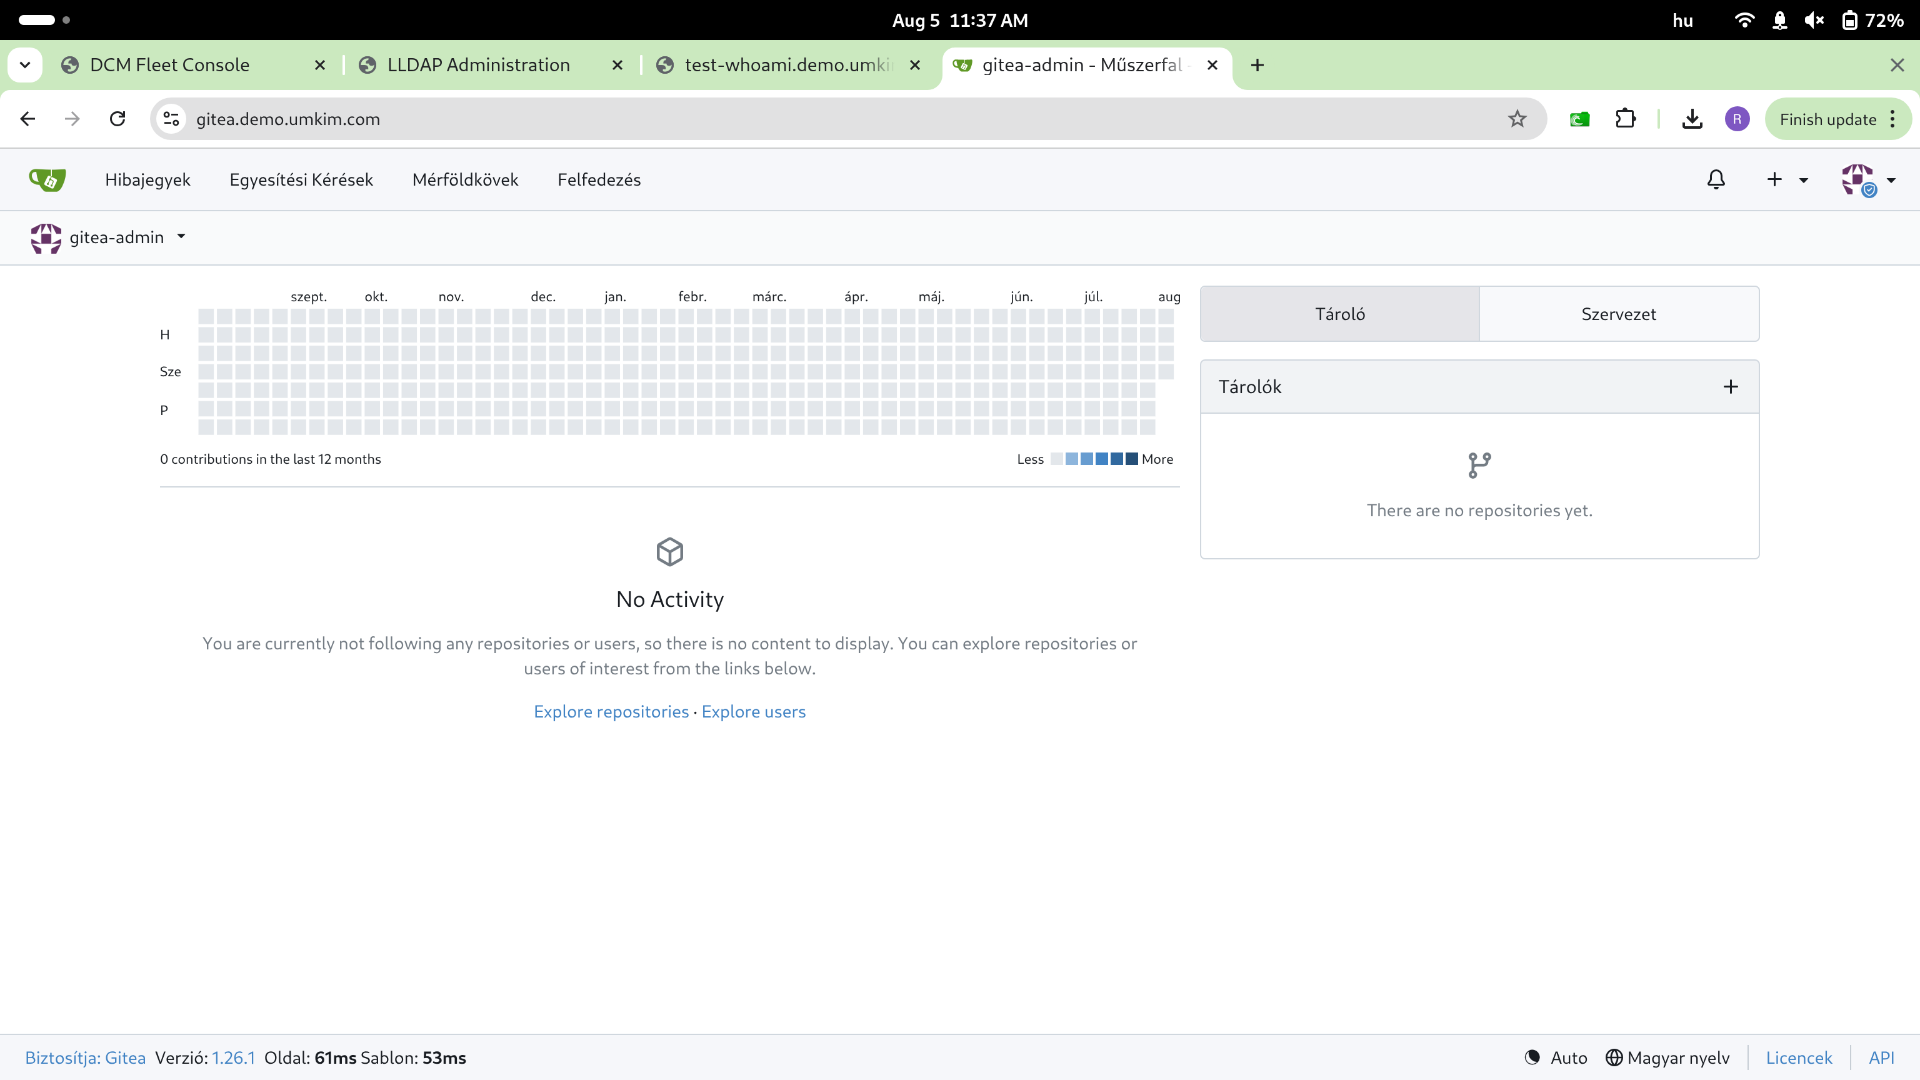
8. Deploy Gitea behind Authelia
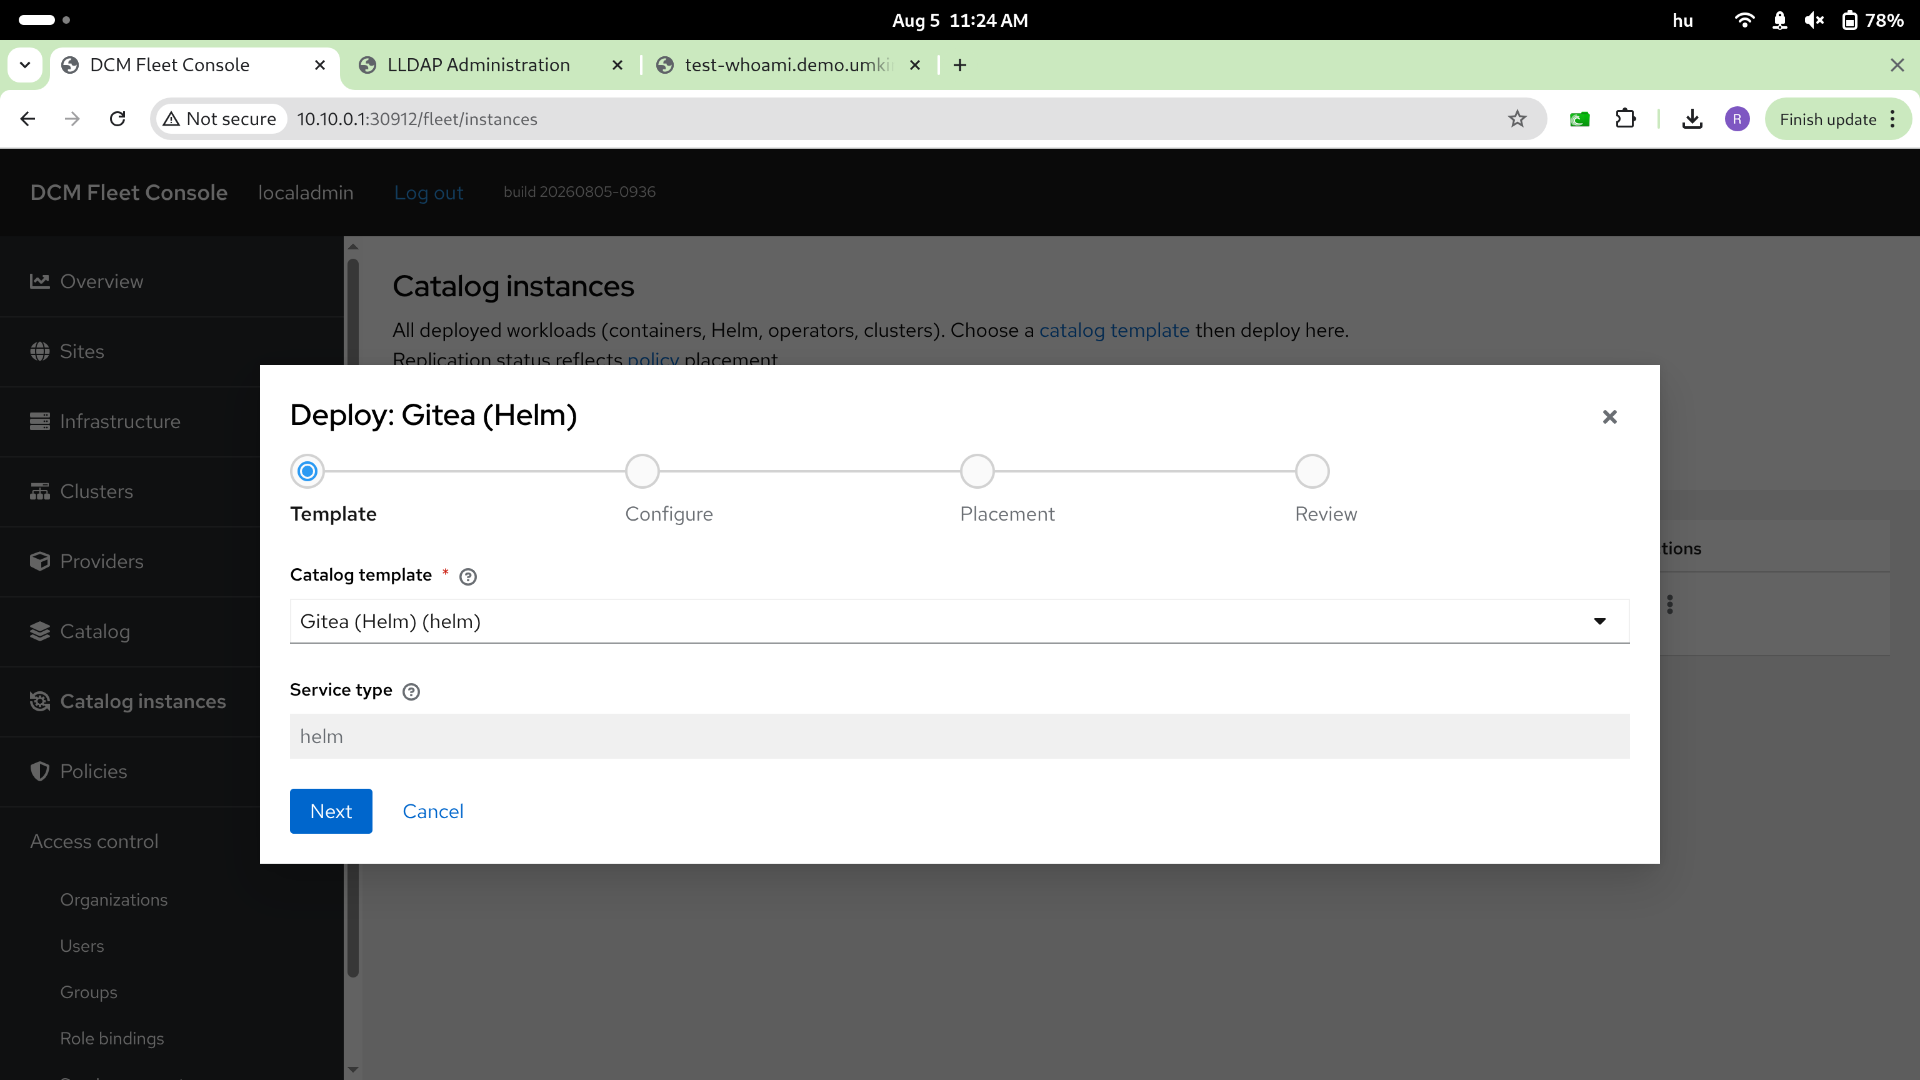
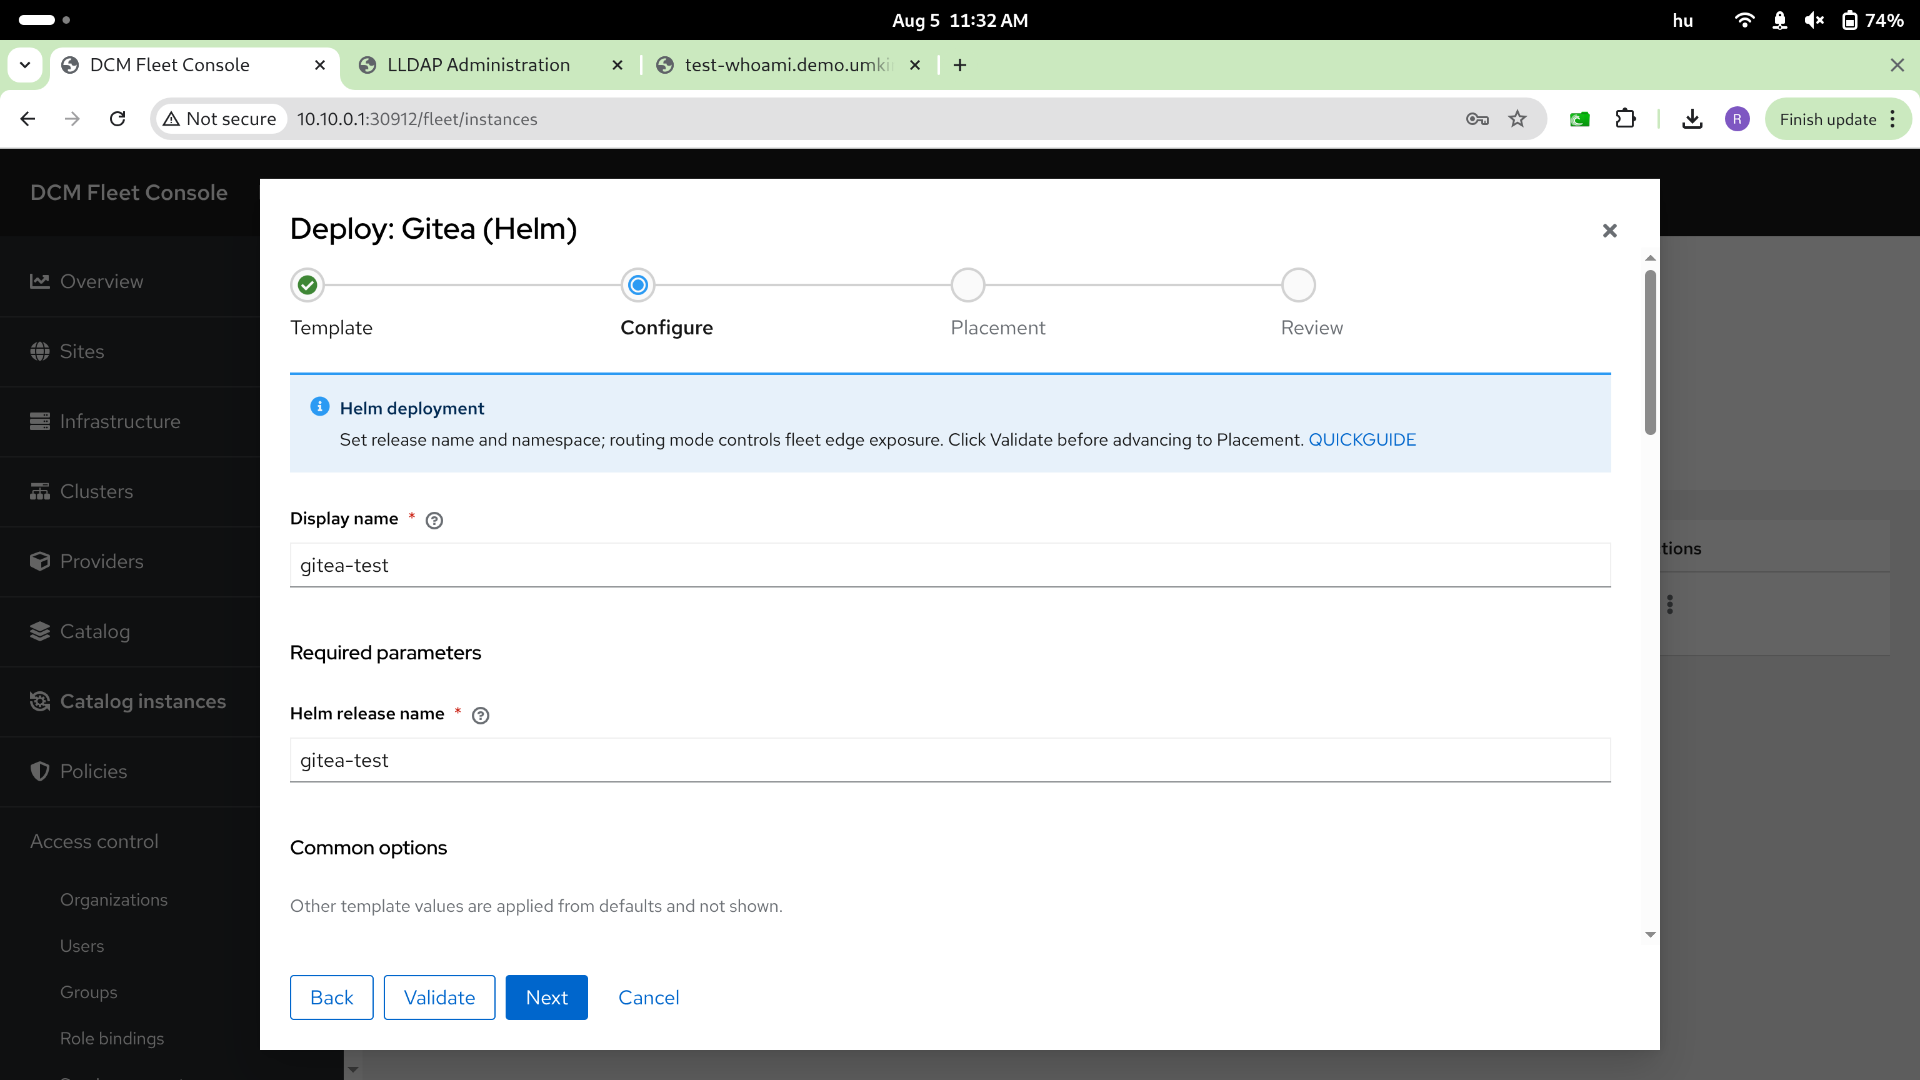
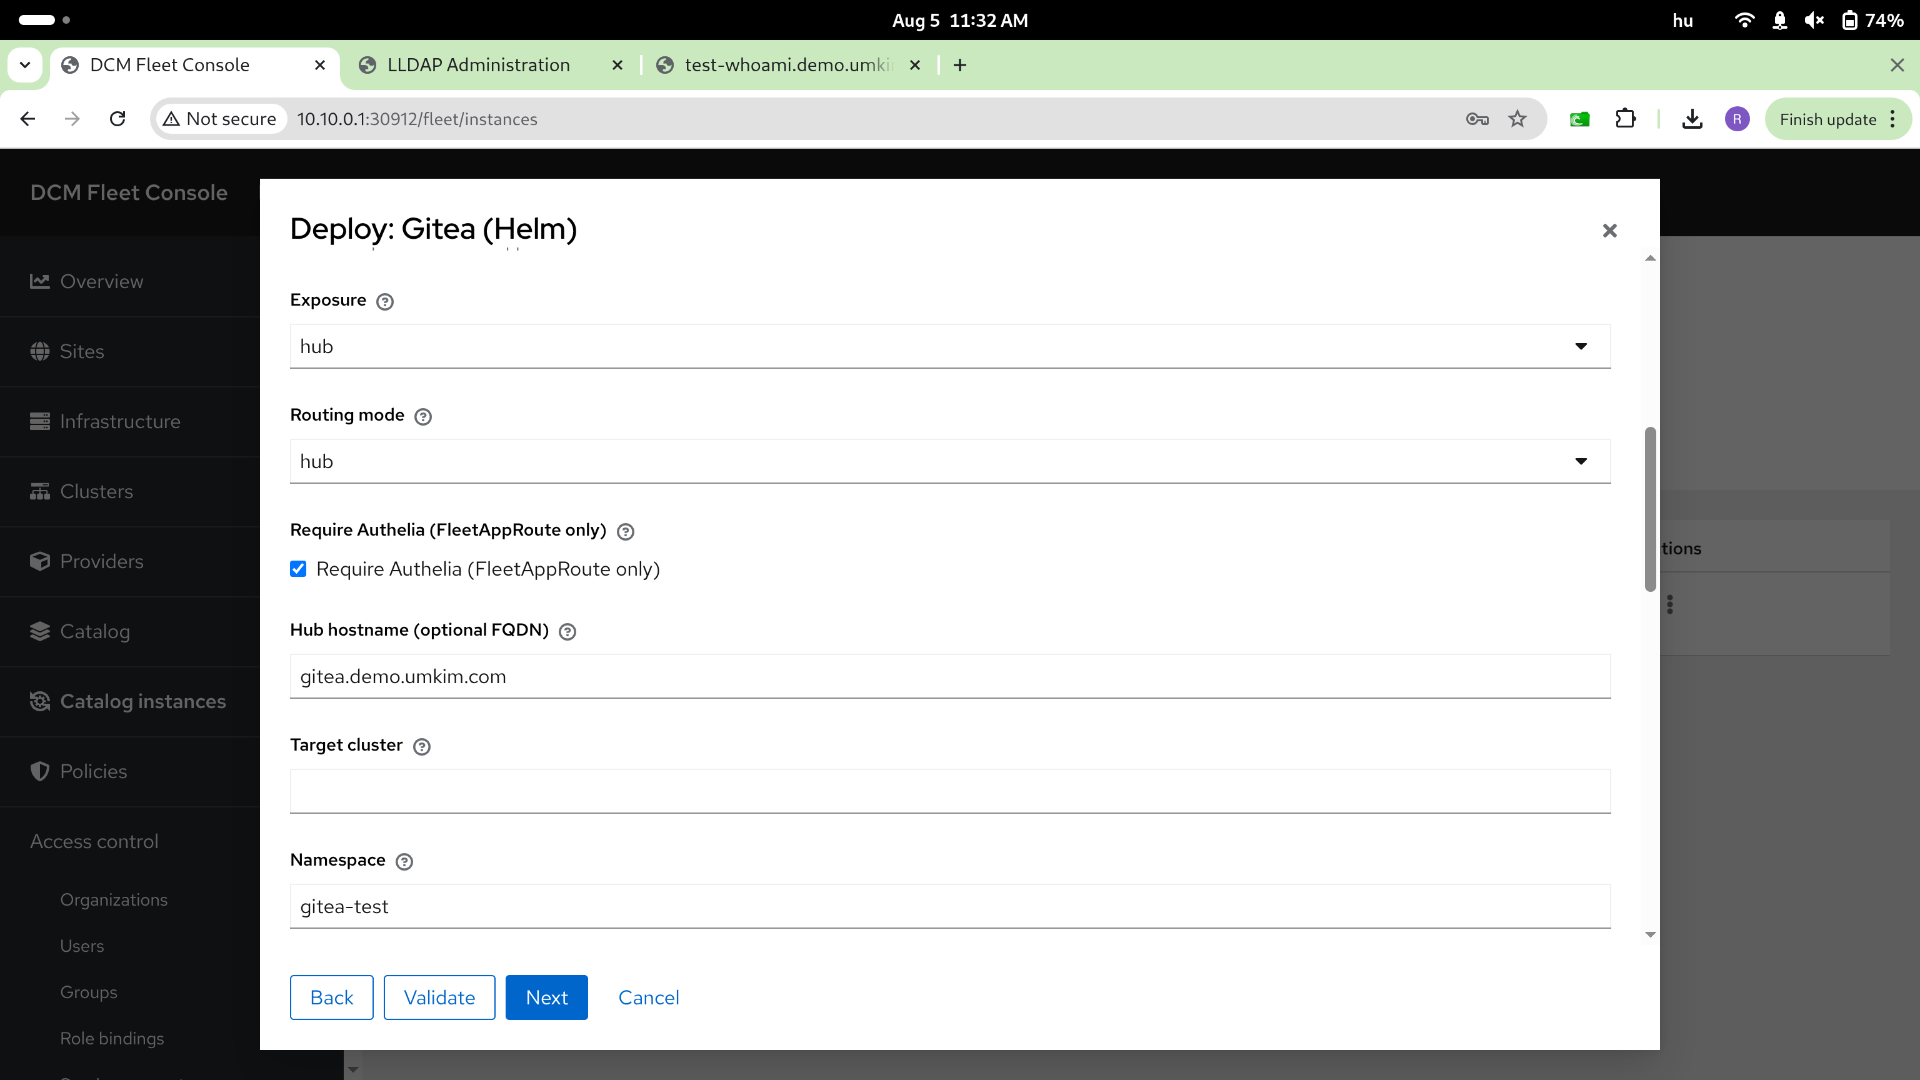
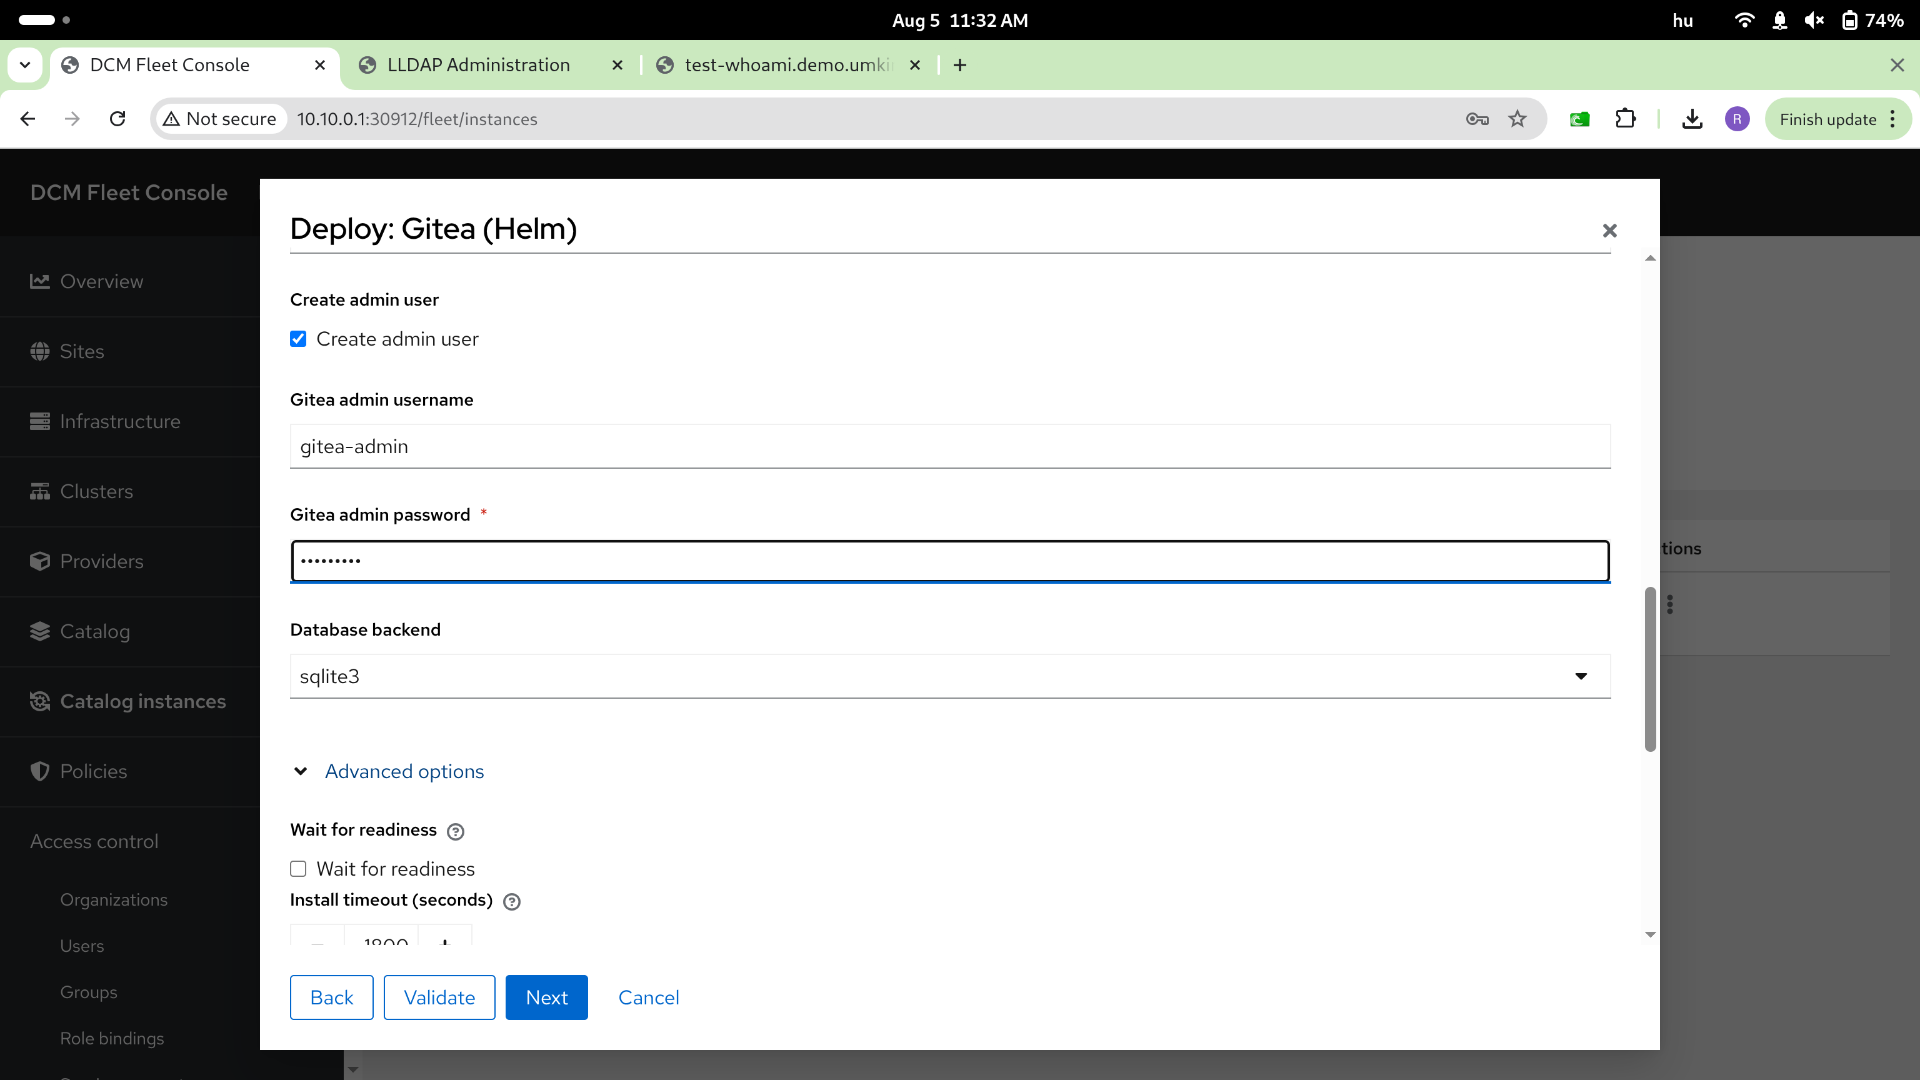
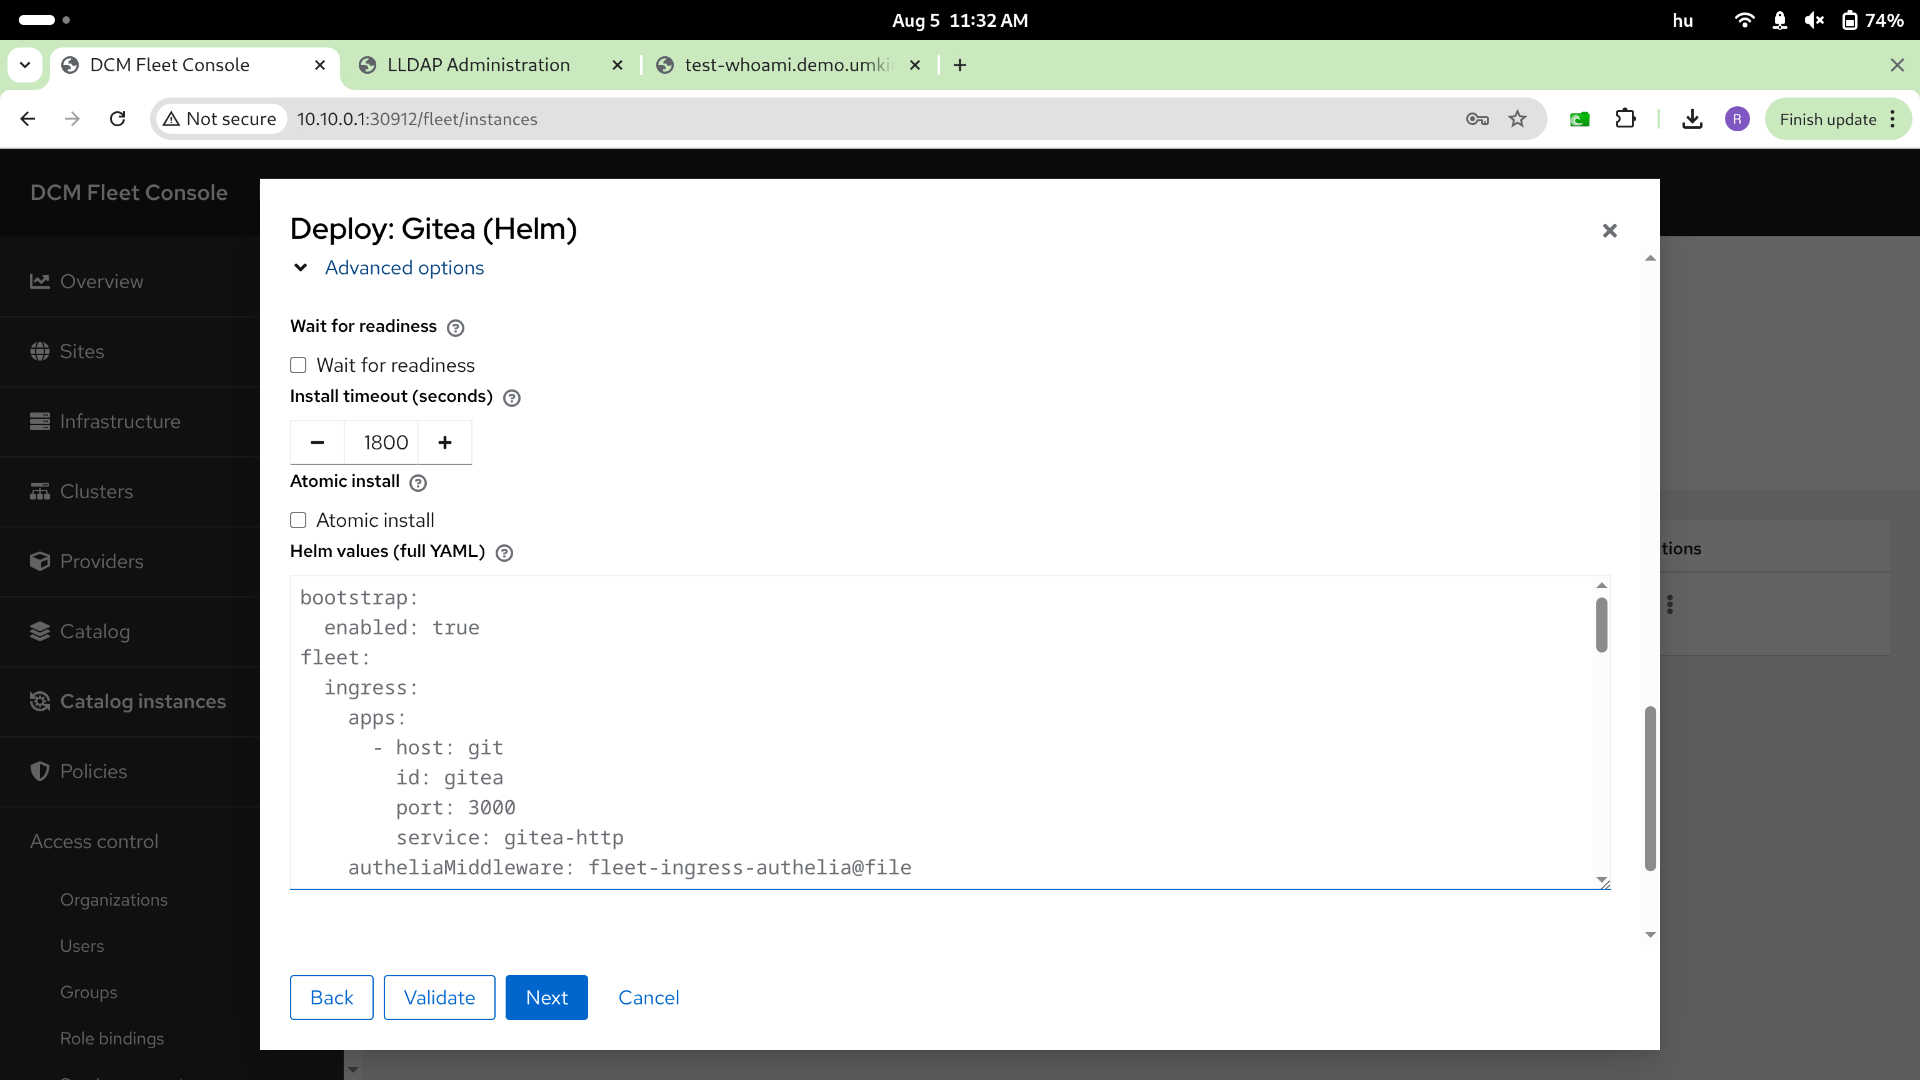
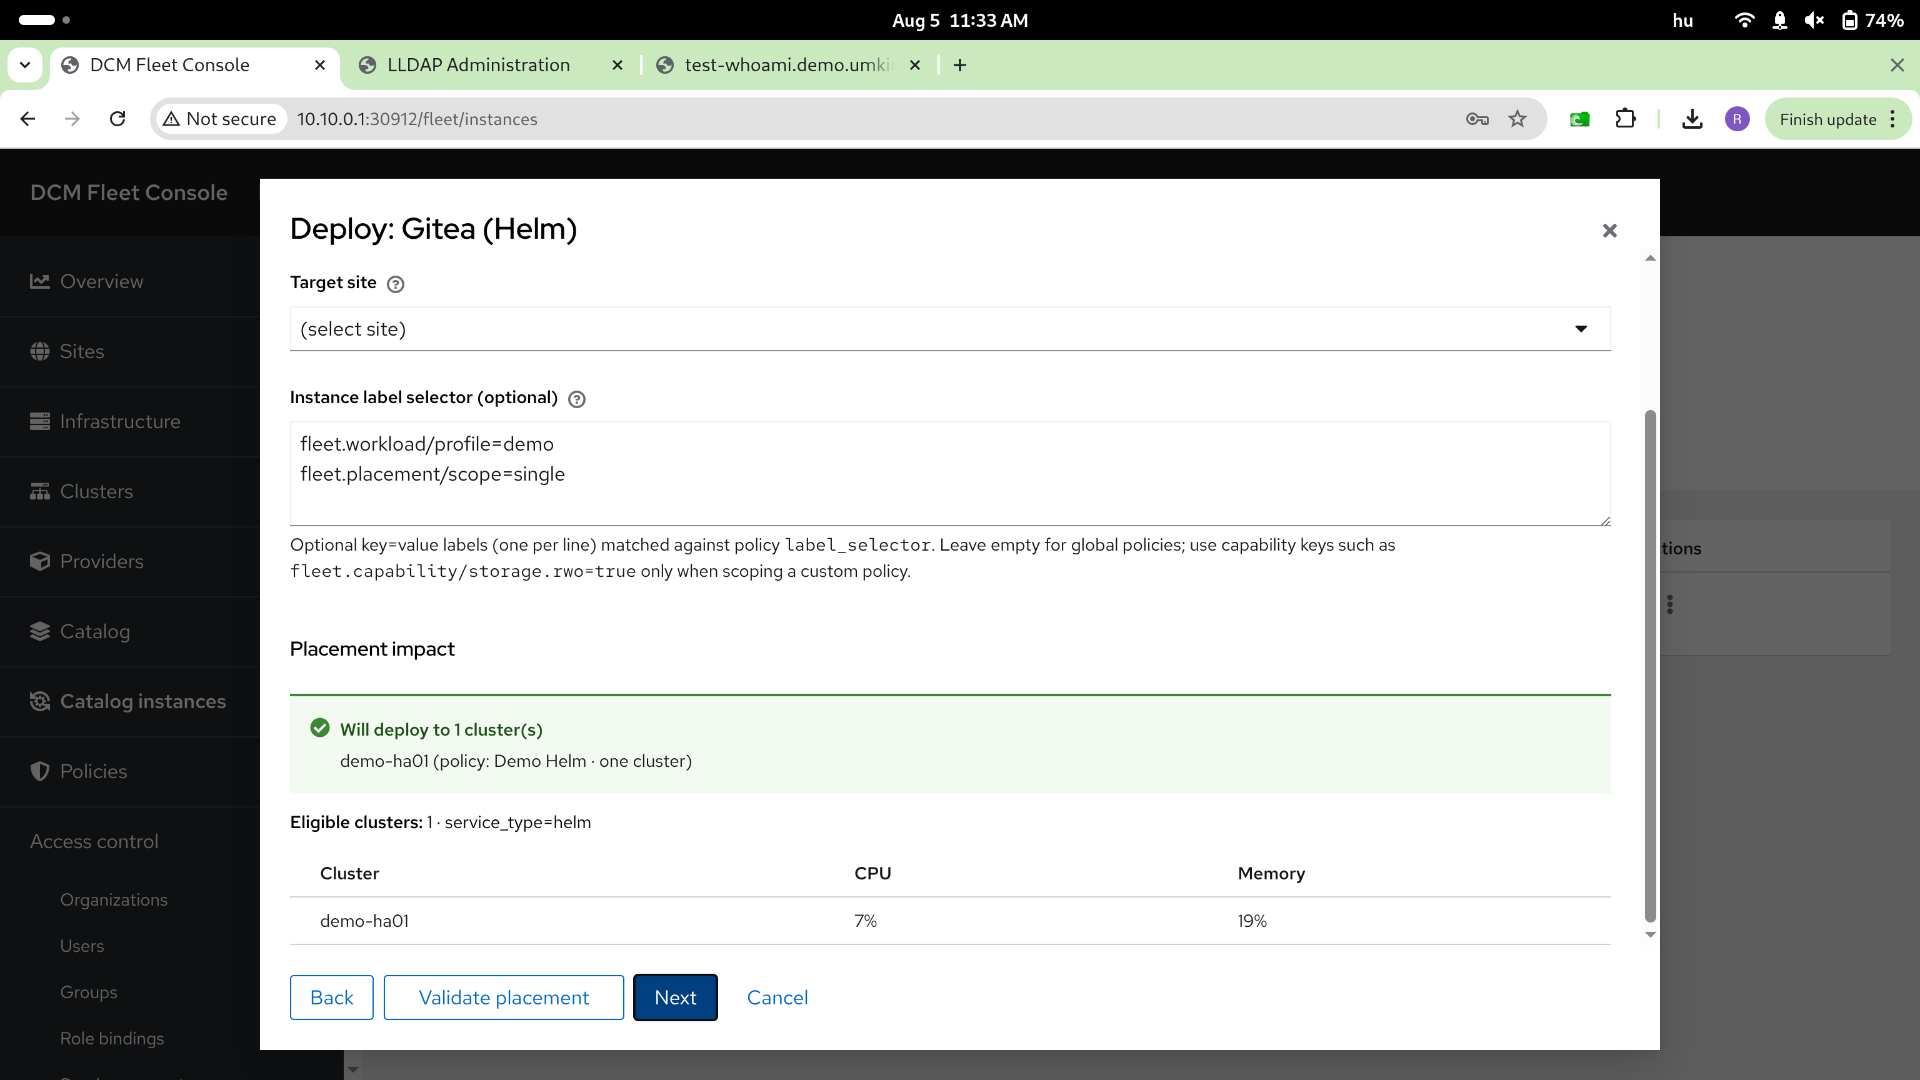
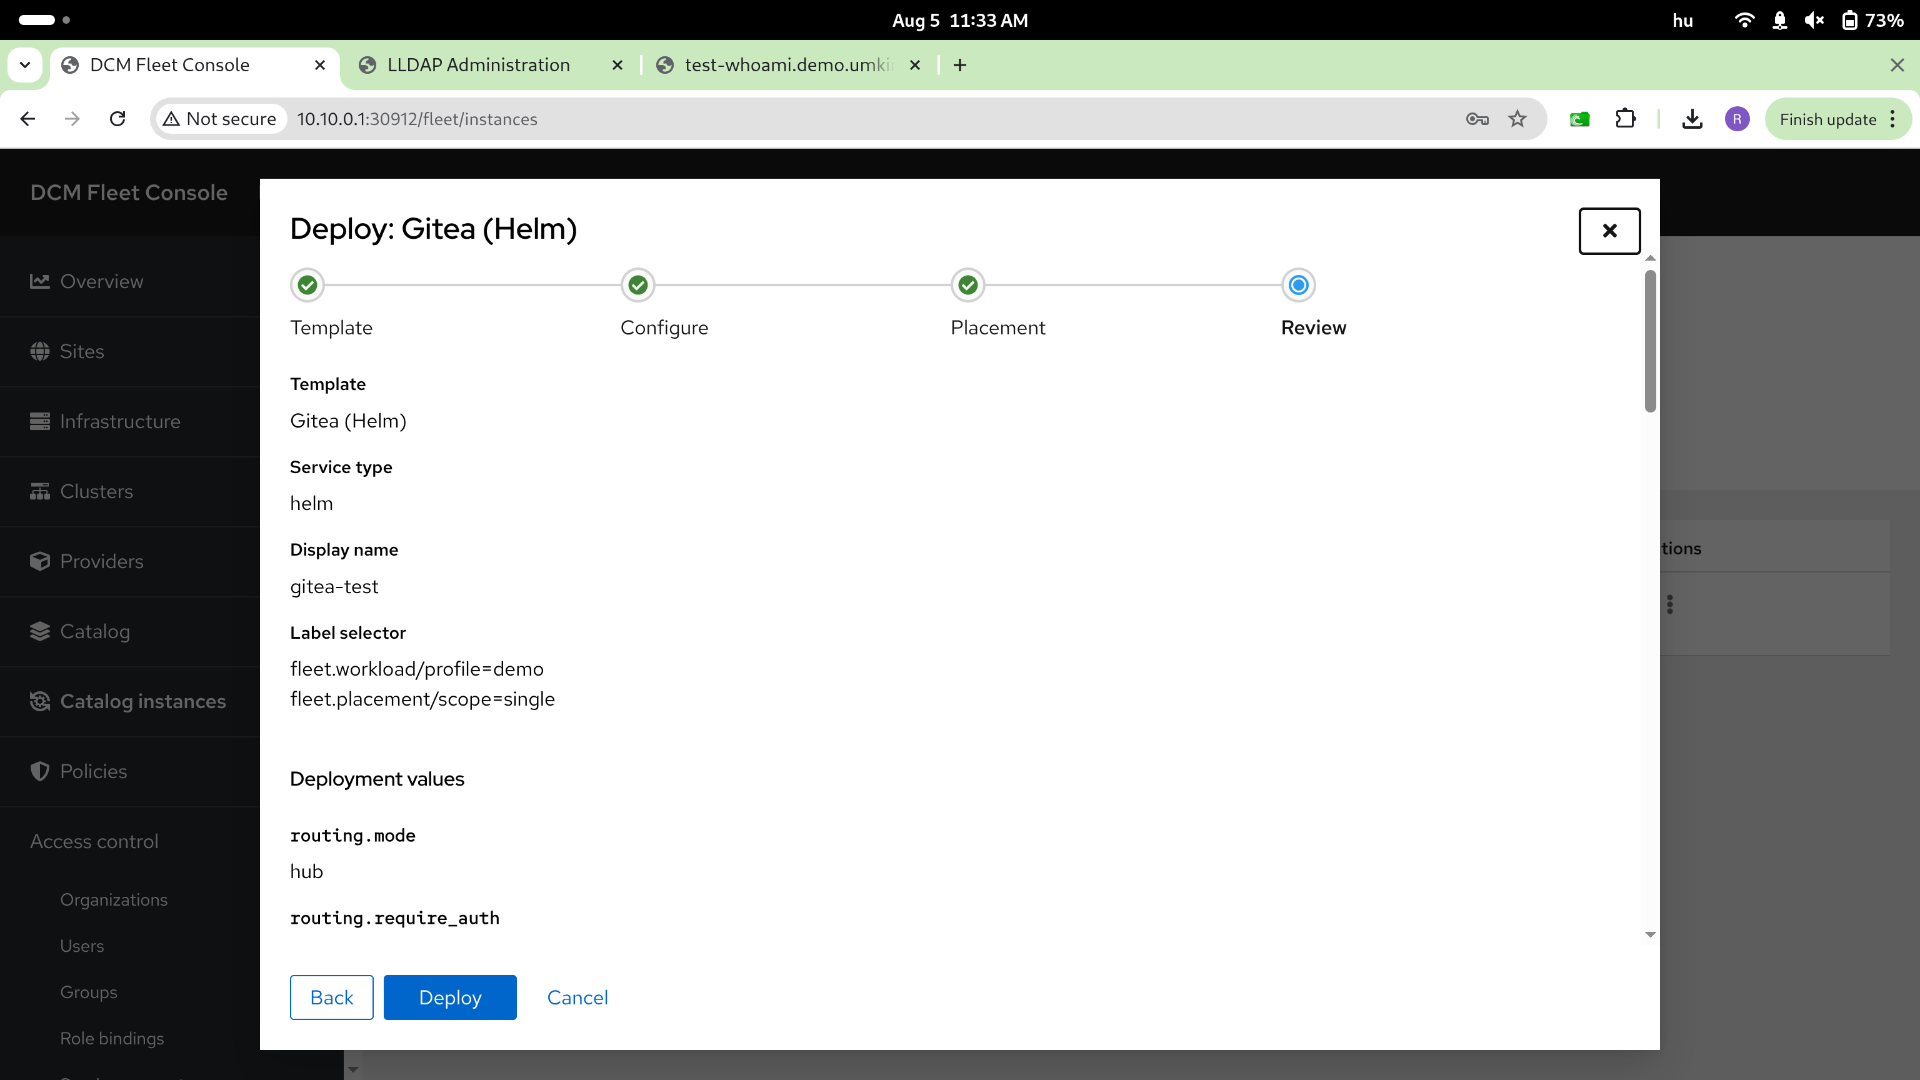
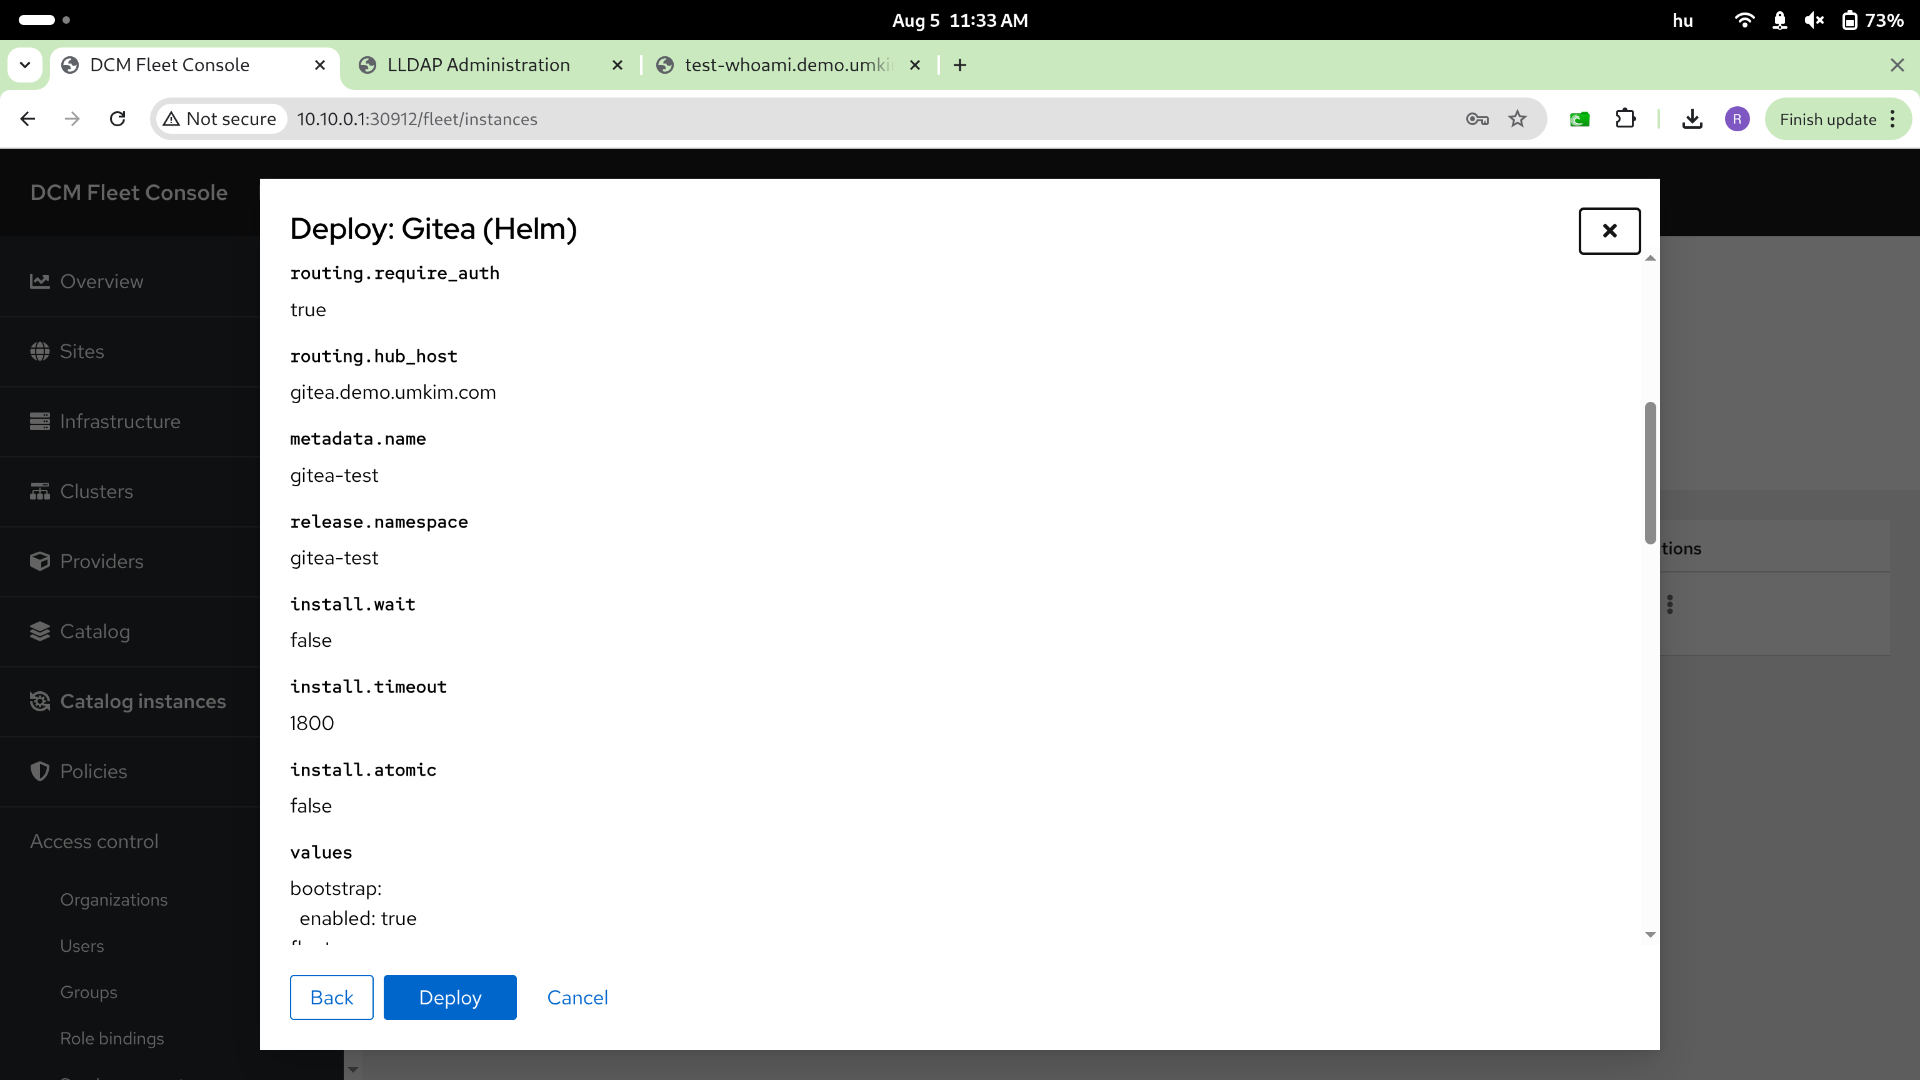
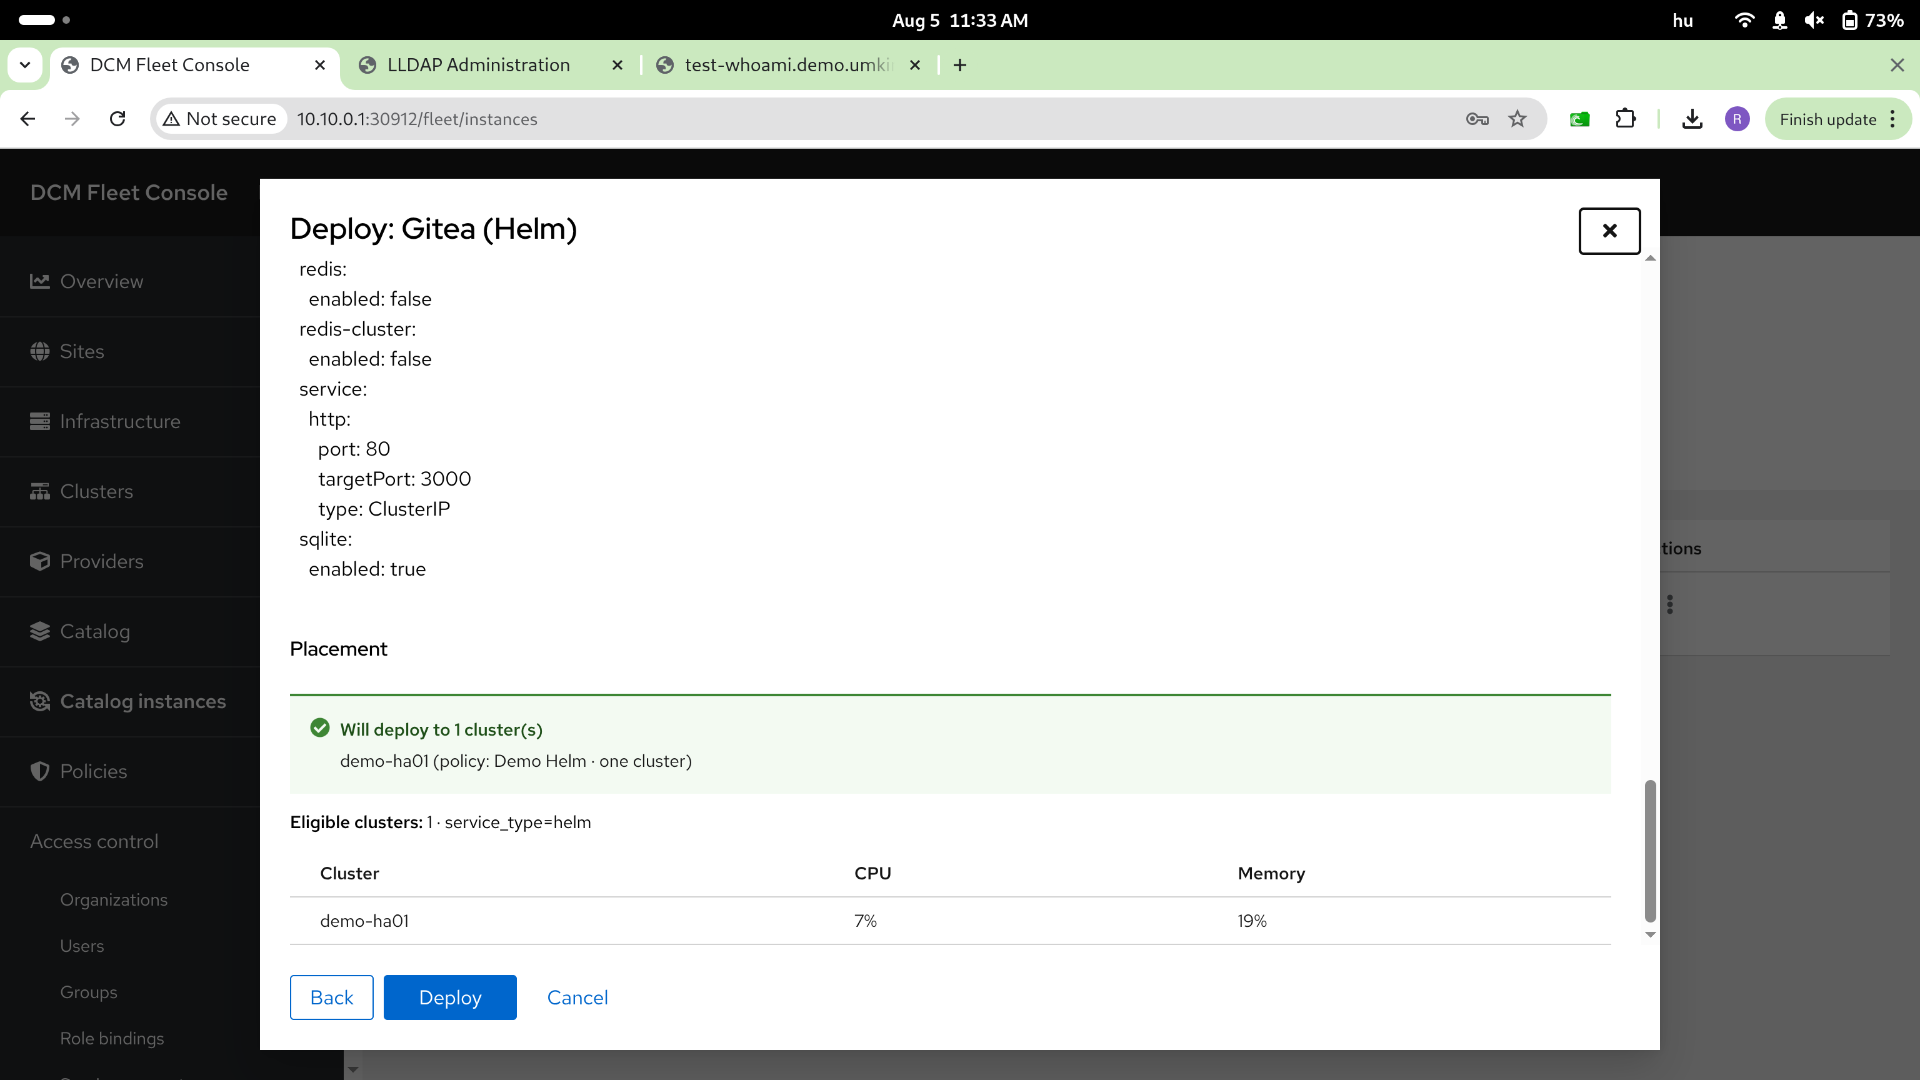
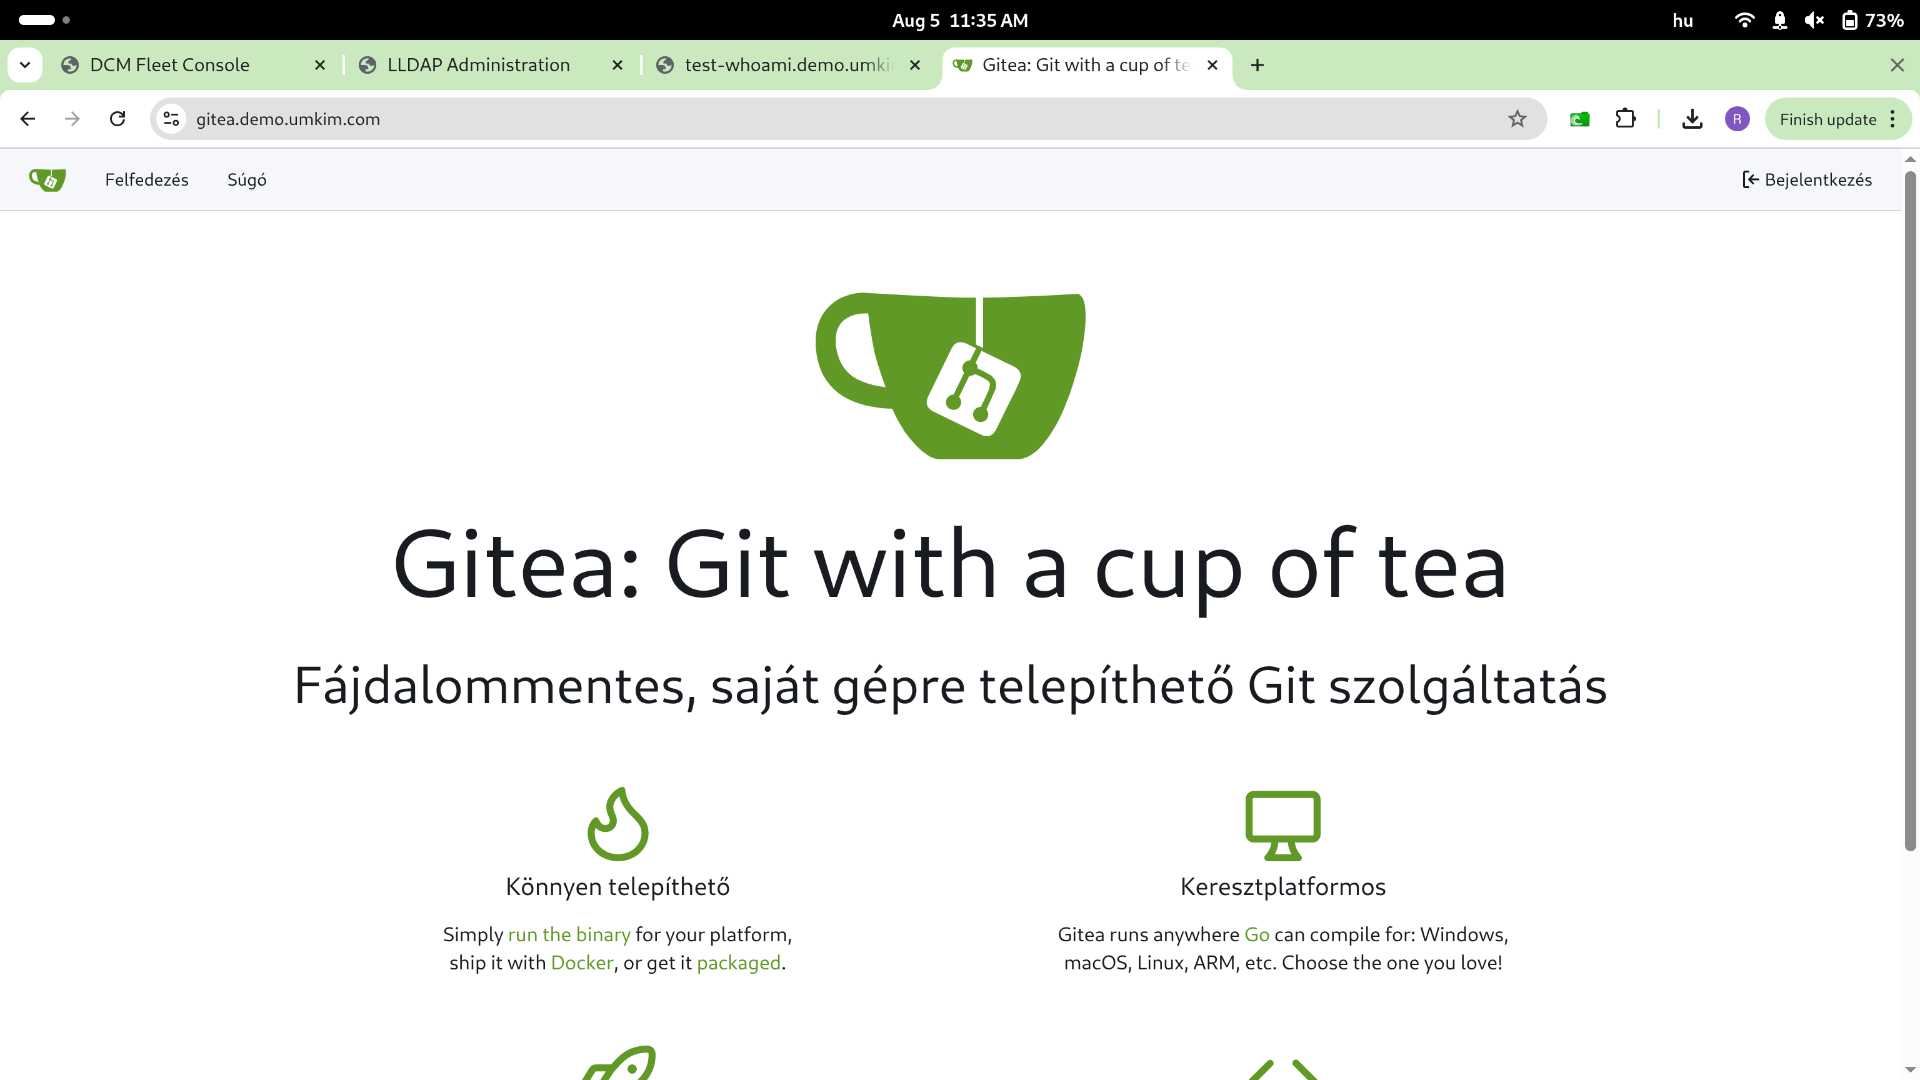
Section titled “8. Deploy Gitea behind Authelia”Deploy Gitea with Authelia in front via FleetApp. If you leave hub hostname empty, the display name is used as the subdomain under the configured application wildcard. For Gitea you can set the admin user and password used by the chart.
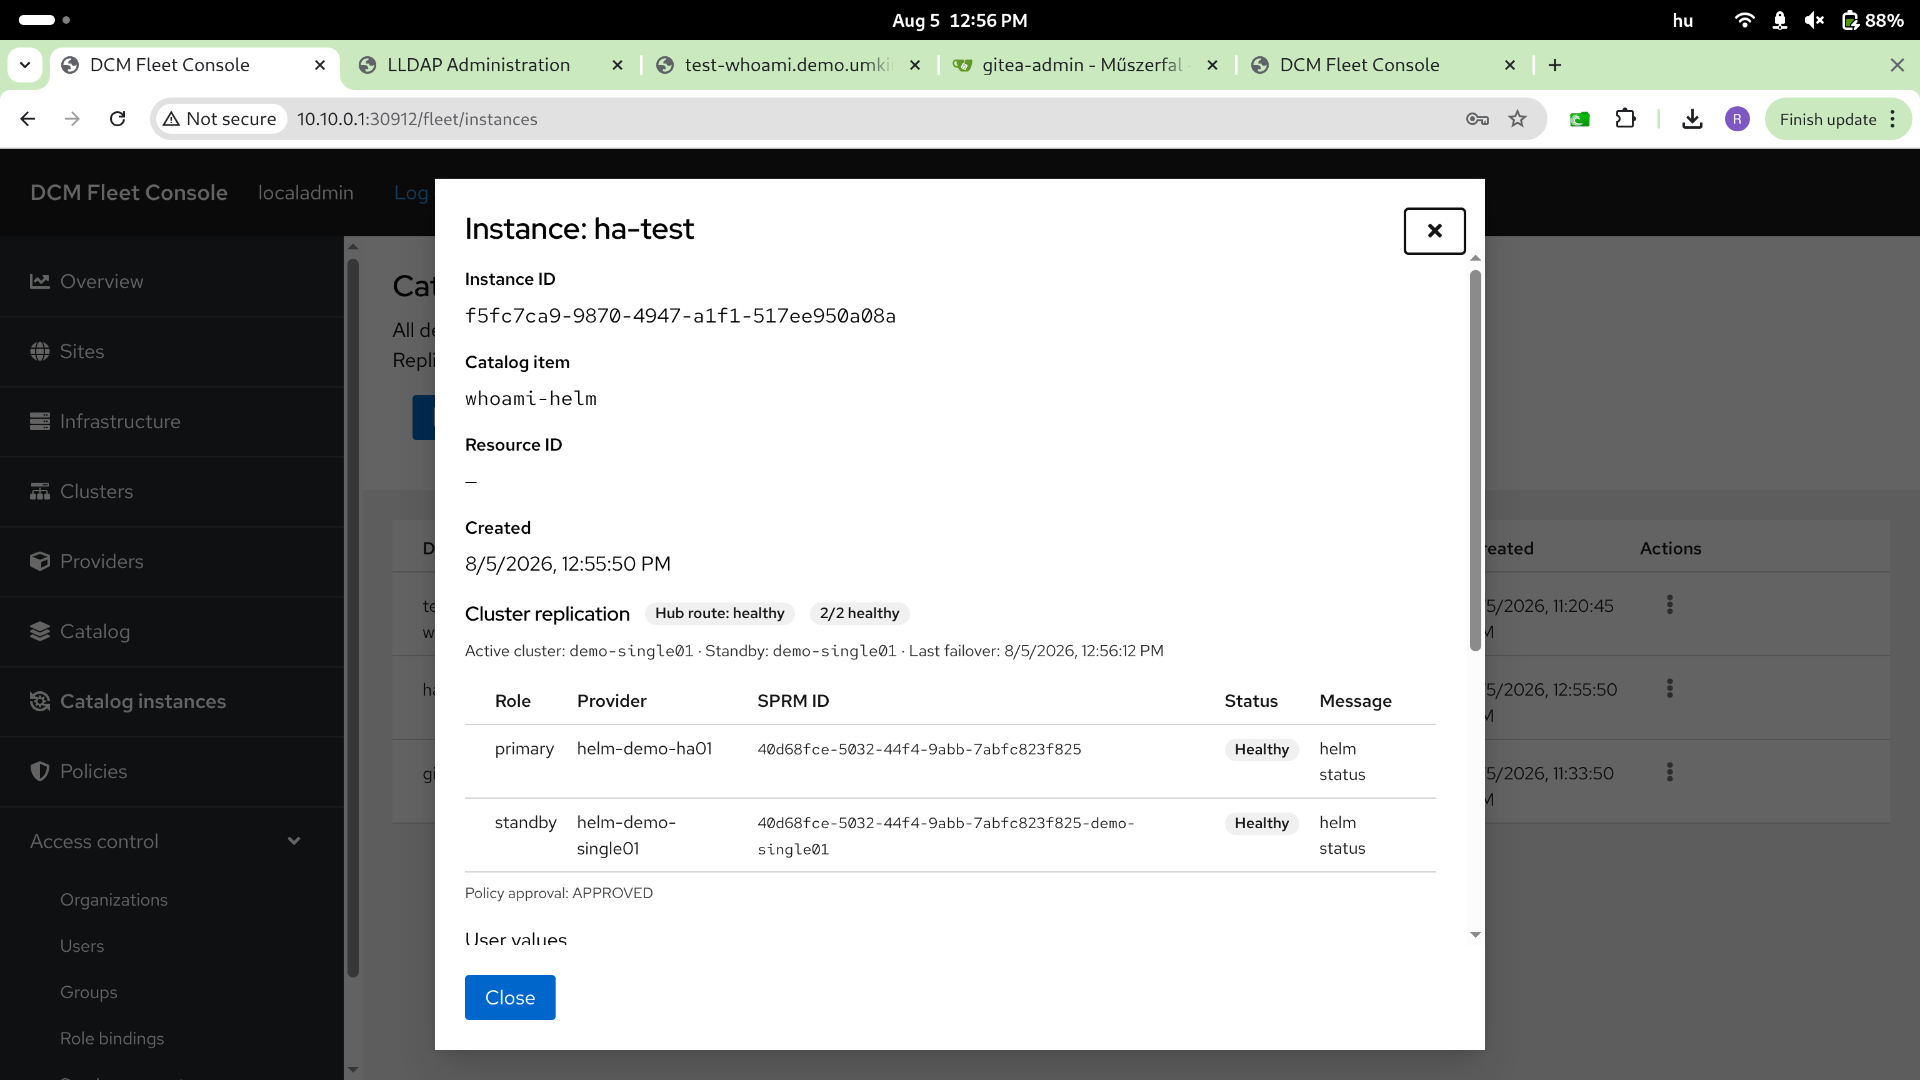
9. High availability across clusters (optional, limited)
Section titled “9. High availability across clusters (optional, limited)”v0.2 disclaimer: multi-cluster hub routing is experimental active–backup behavior, not active–active load sharing. Failover is optional and limited; validate failure detection, DNS, TLS, and data consistency in your environment before relying on it.
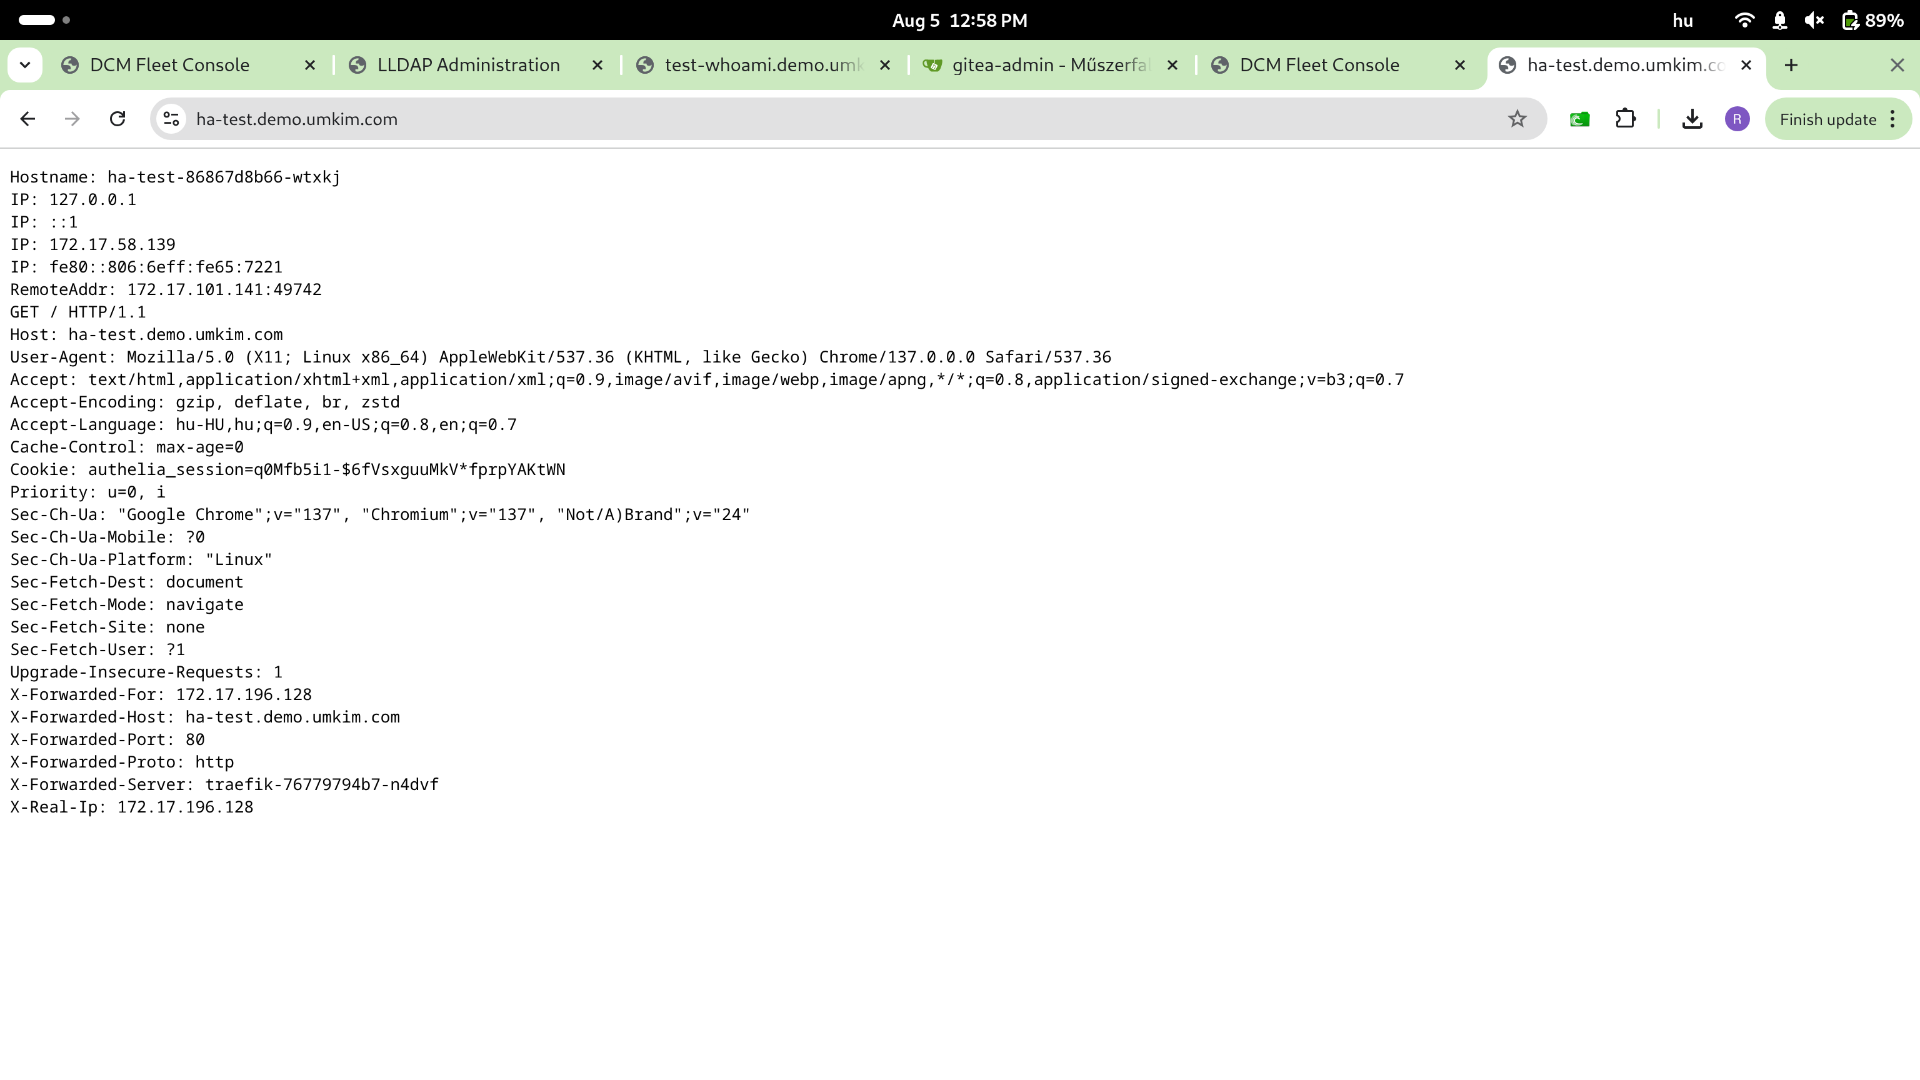
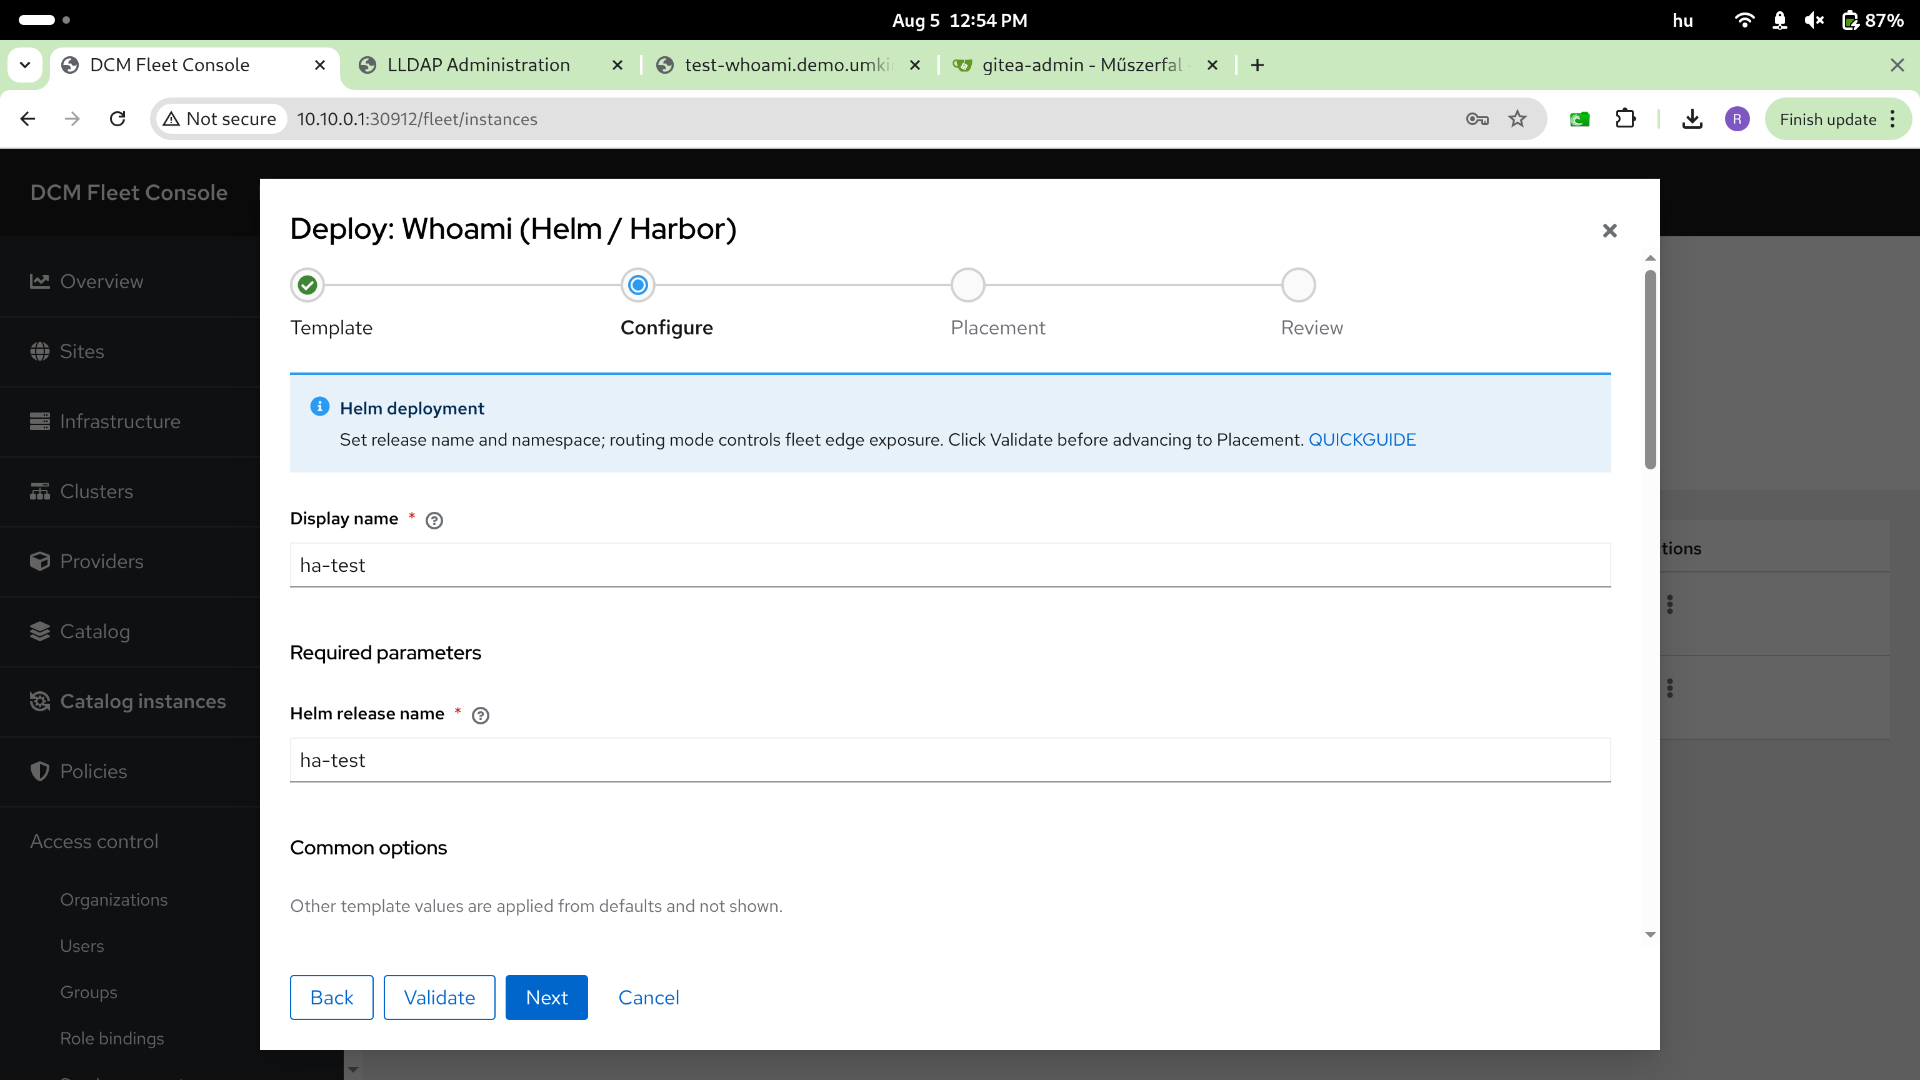
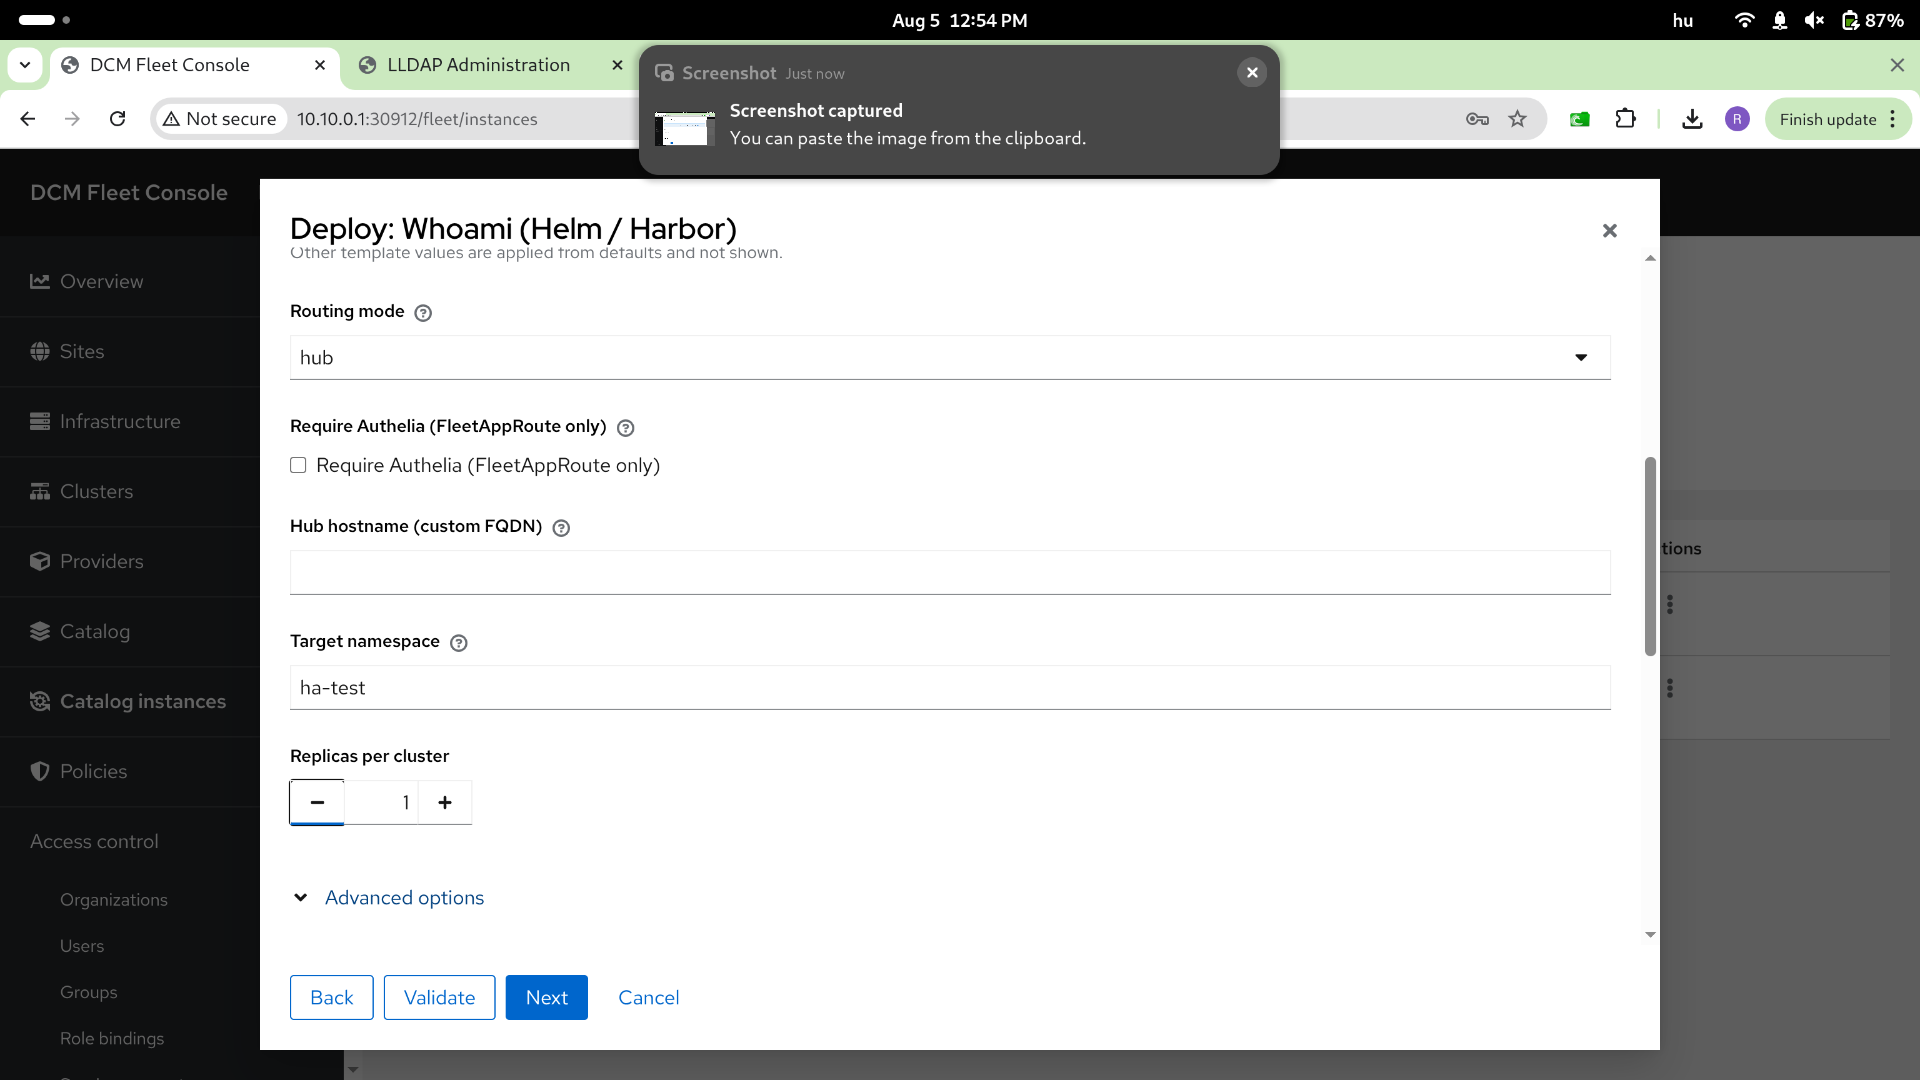
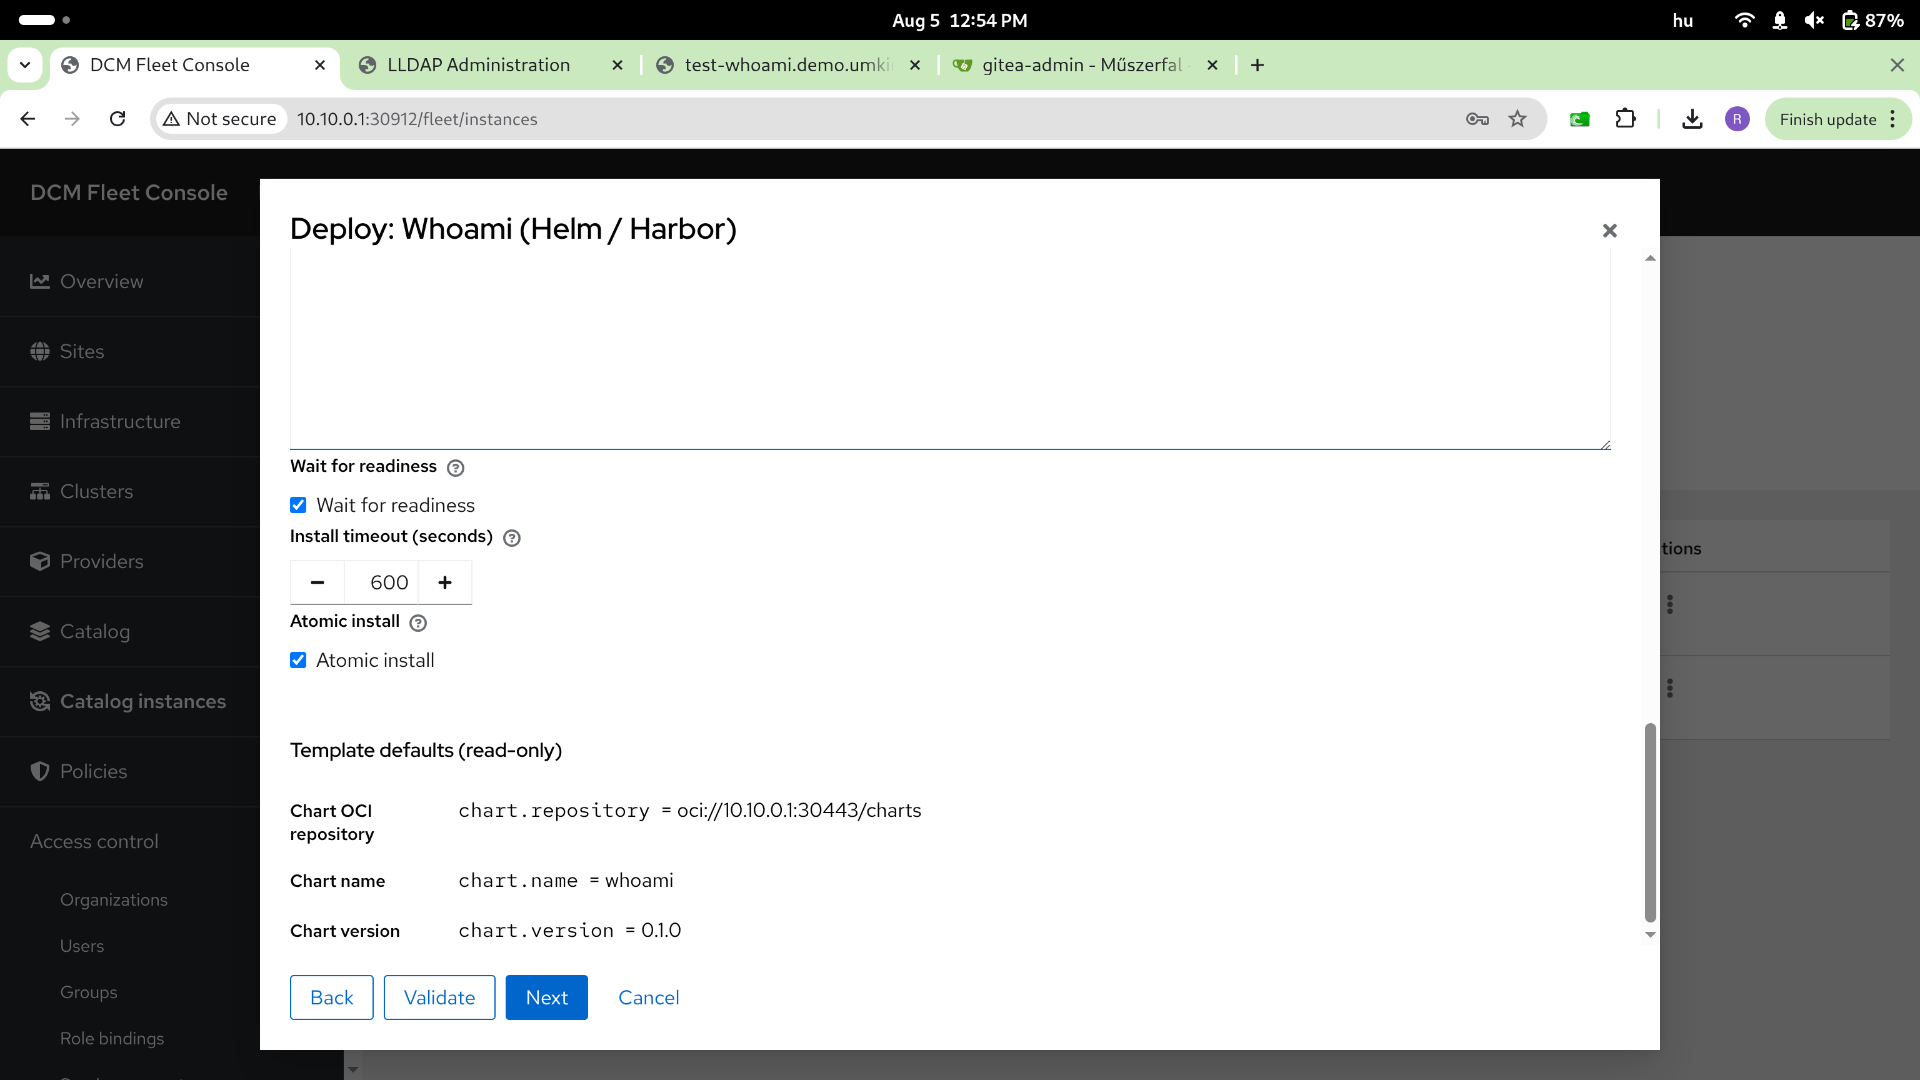
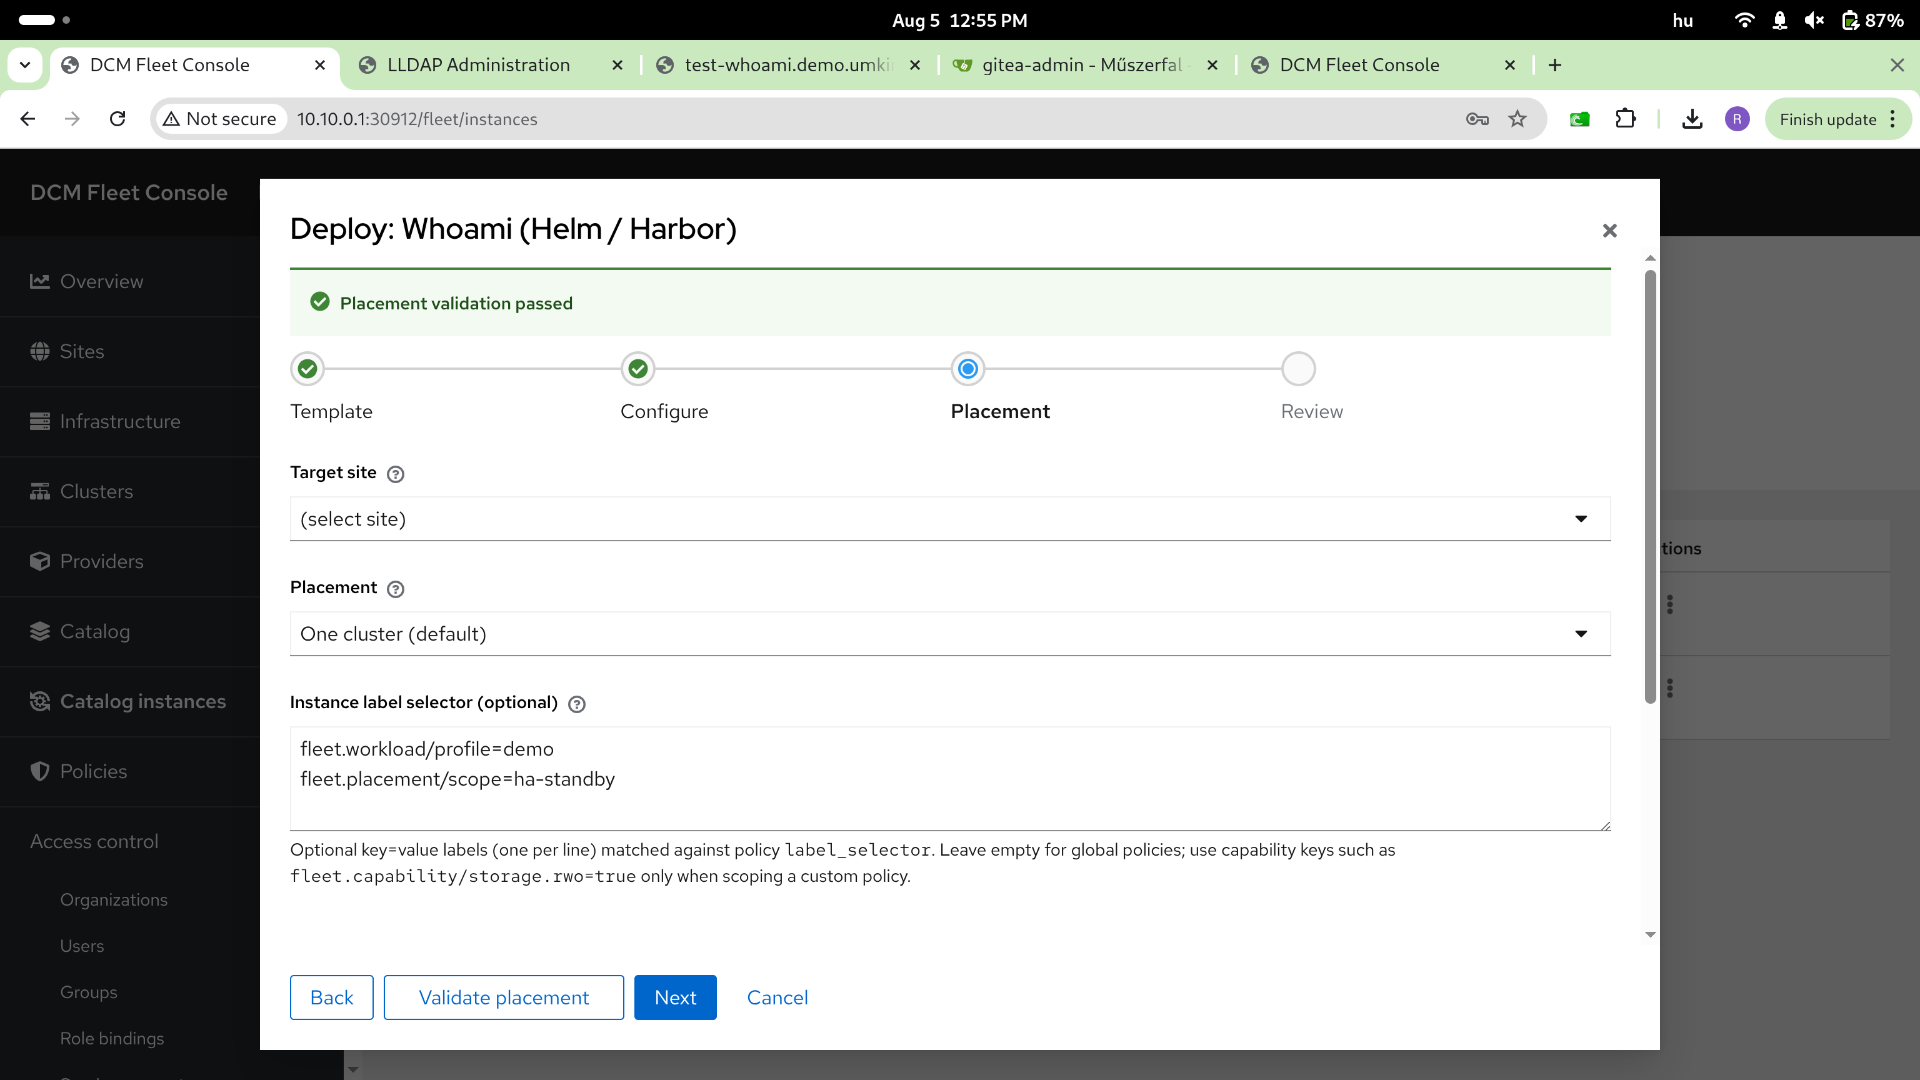
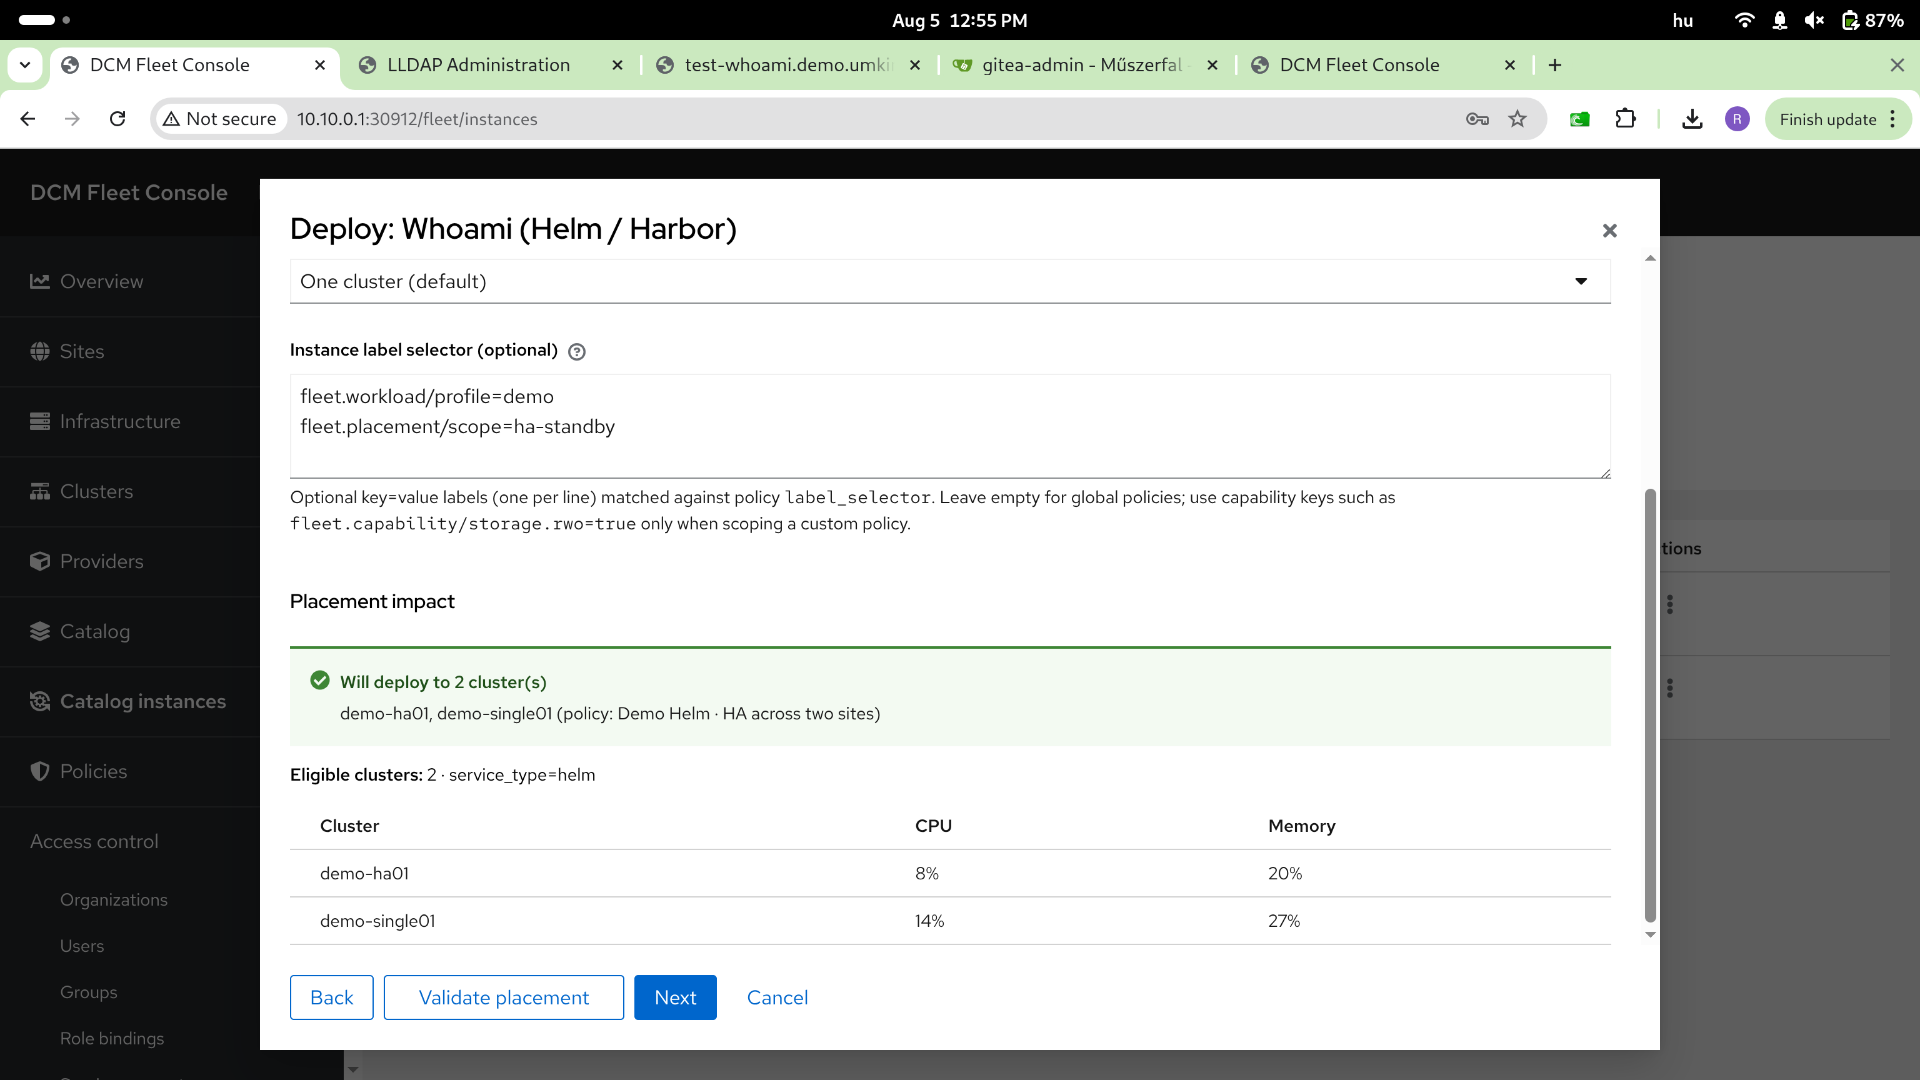
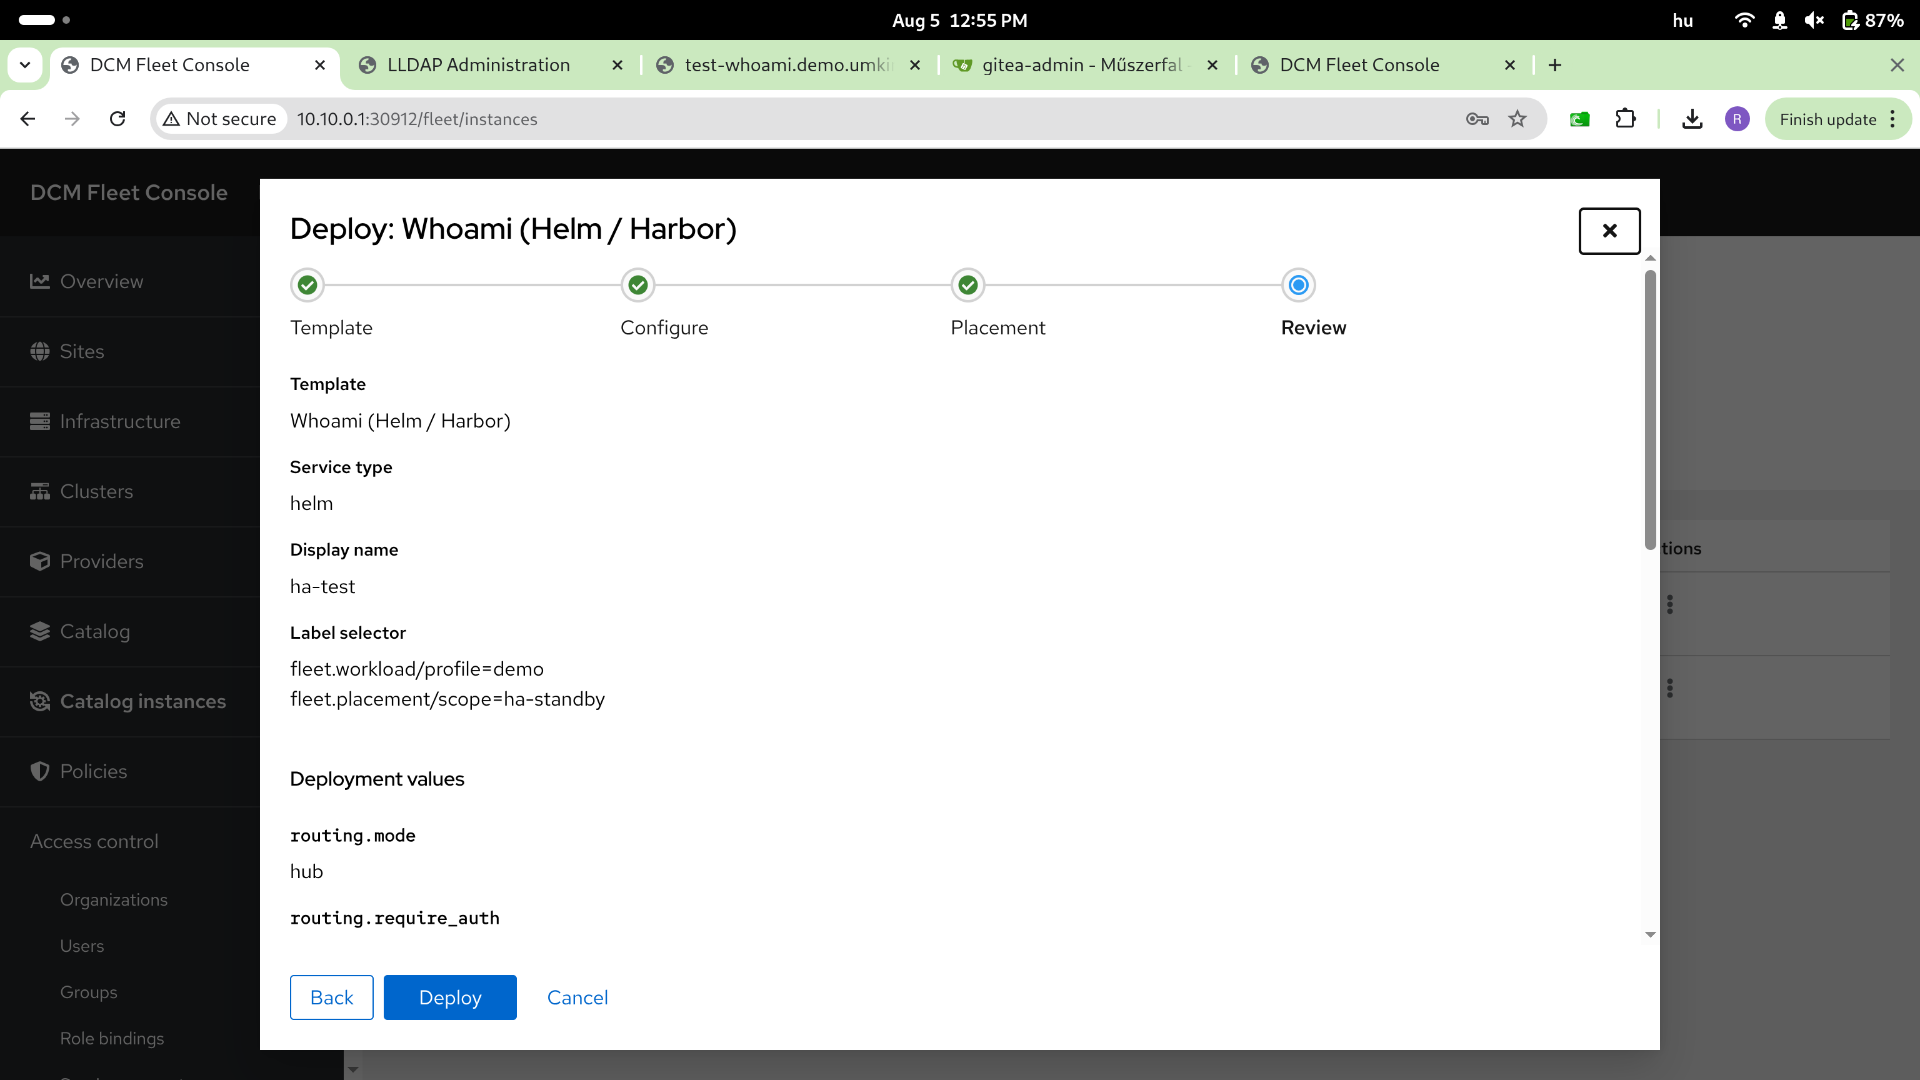
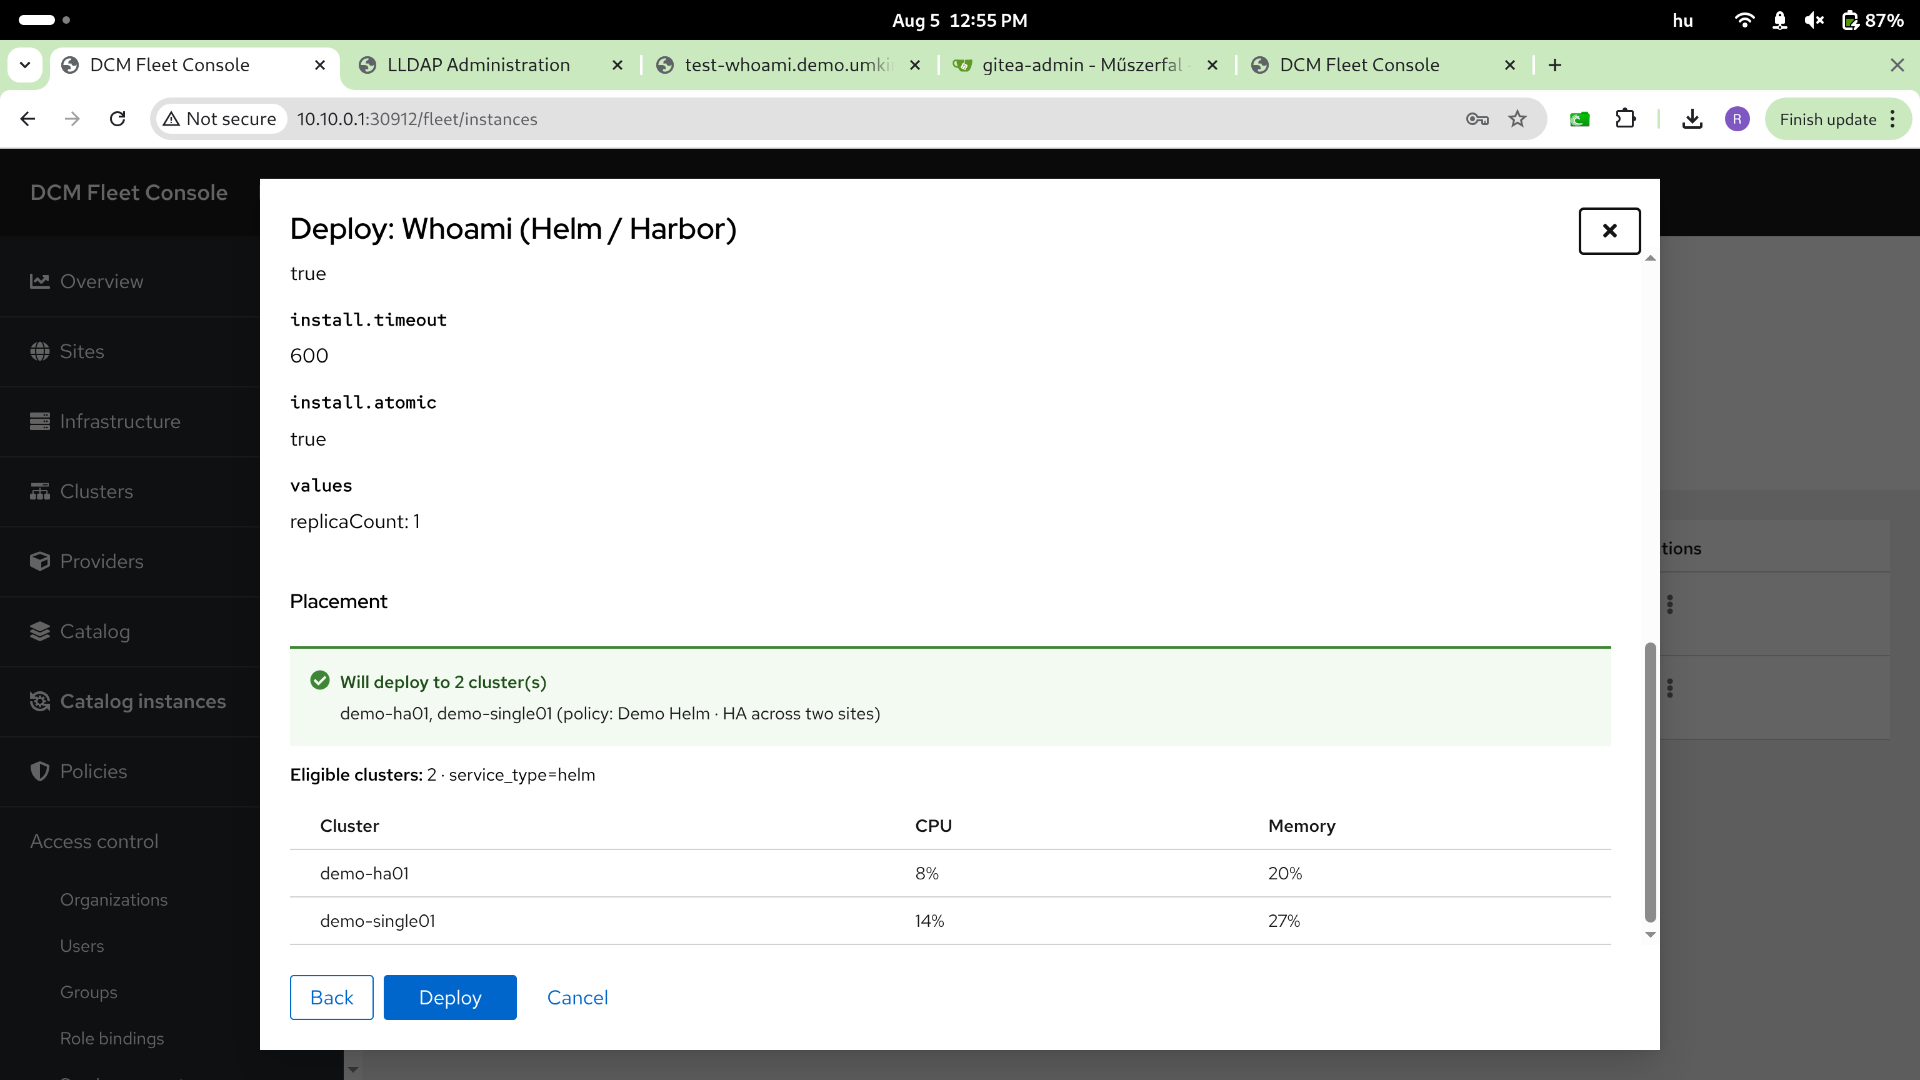
For stateless applications you can configure standby routing on hub-routed apps. This is not a placement engine — you still install FleetApp onto each cluster explicitly.
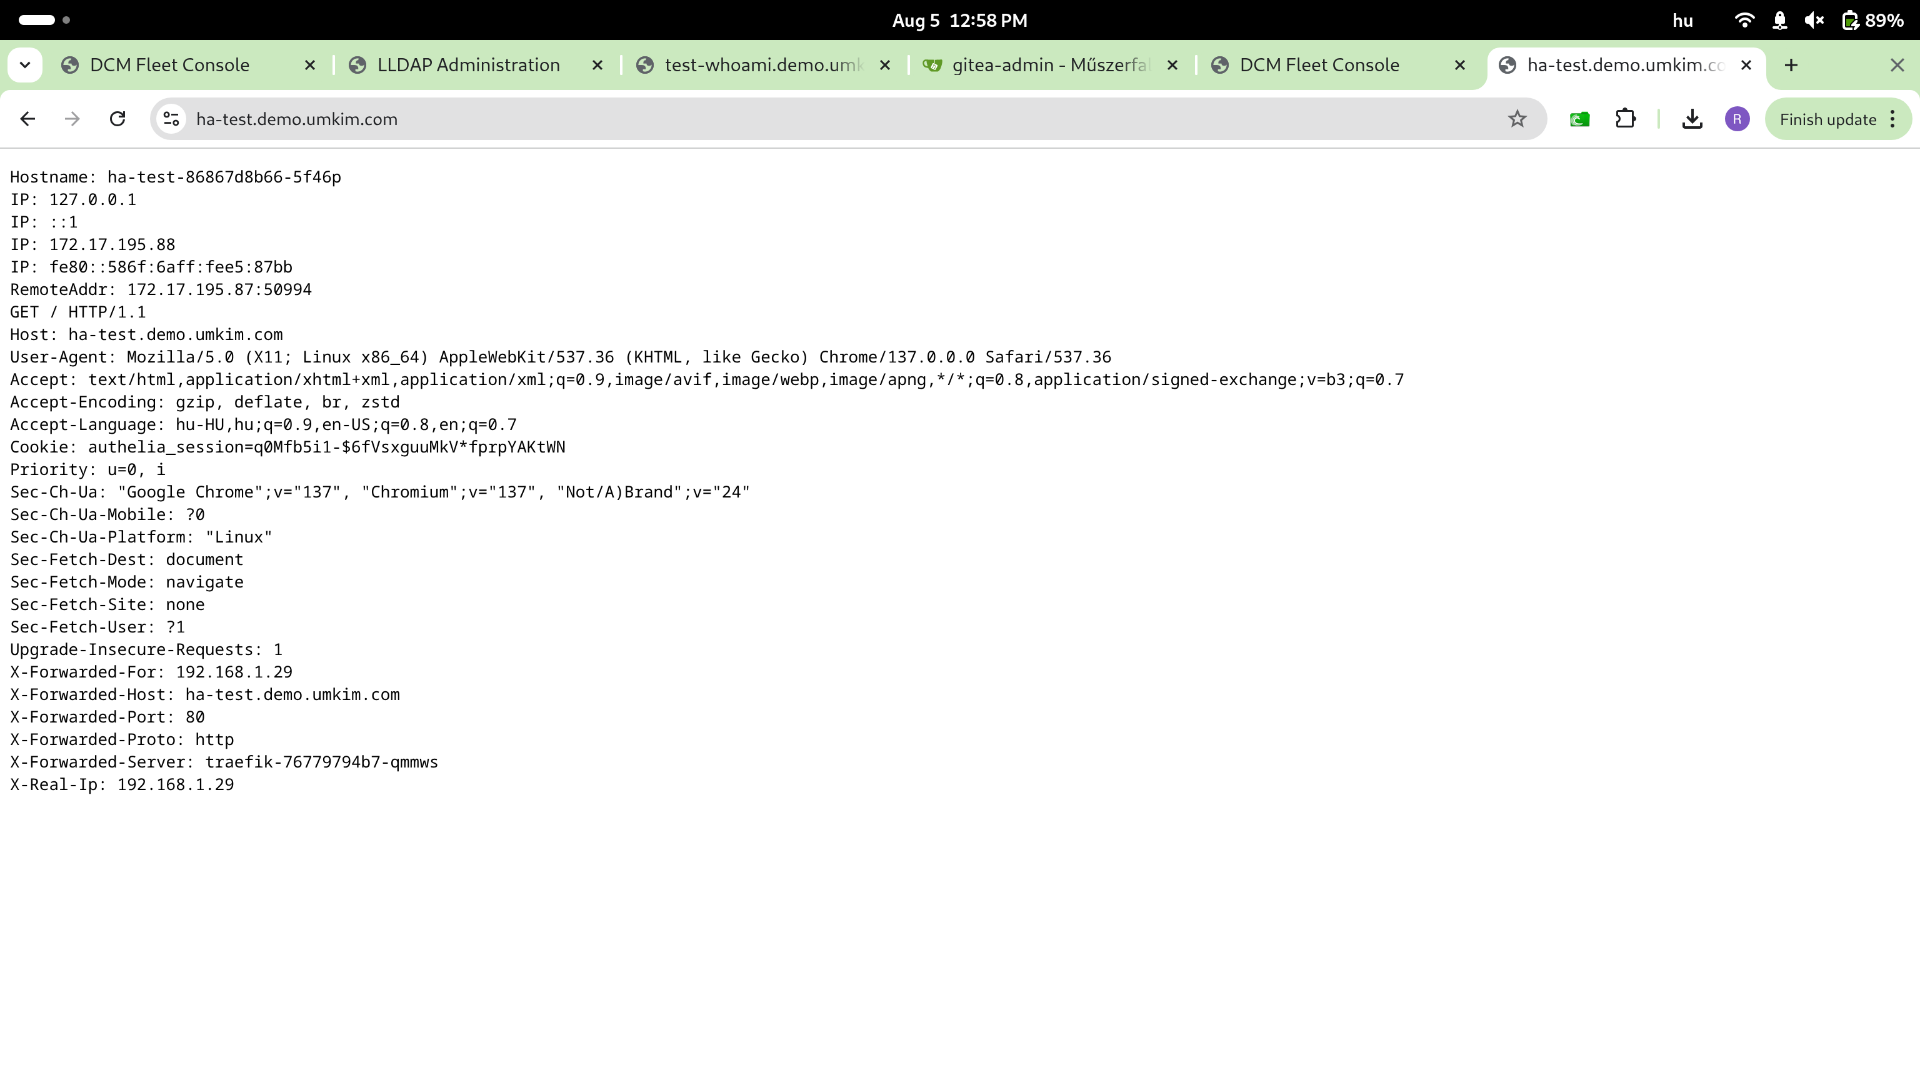
10. Failover to the backup cluster (optional)
Section titled “10. Failover to the backup cluster (optional)”v0.2 disclaimer: failover support is incomplete and must not be treated as a production HA guarantee.
After bringing down the WireGuard interface on the active cluster, the hub may route requests to the backup cluster for hub-routed apps.